
Sonata GLS V6-2.7L (2002)
Compressor Clutch Coil: Service and Repair
MANUAL
DISASSEMBLY
CLUTCH FIELD COIL
1. Remove the clutch hub and pulley following the procedure given.
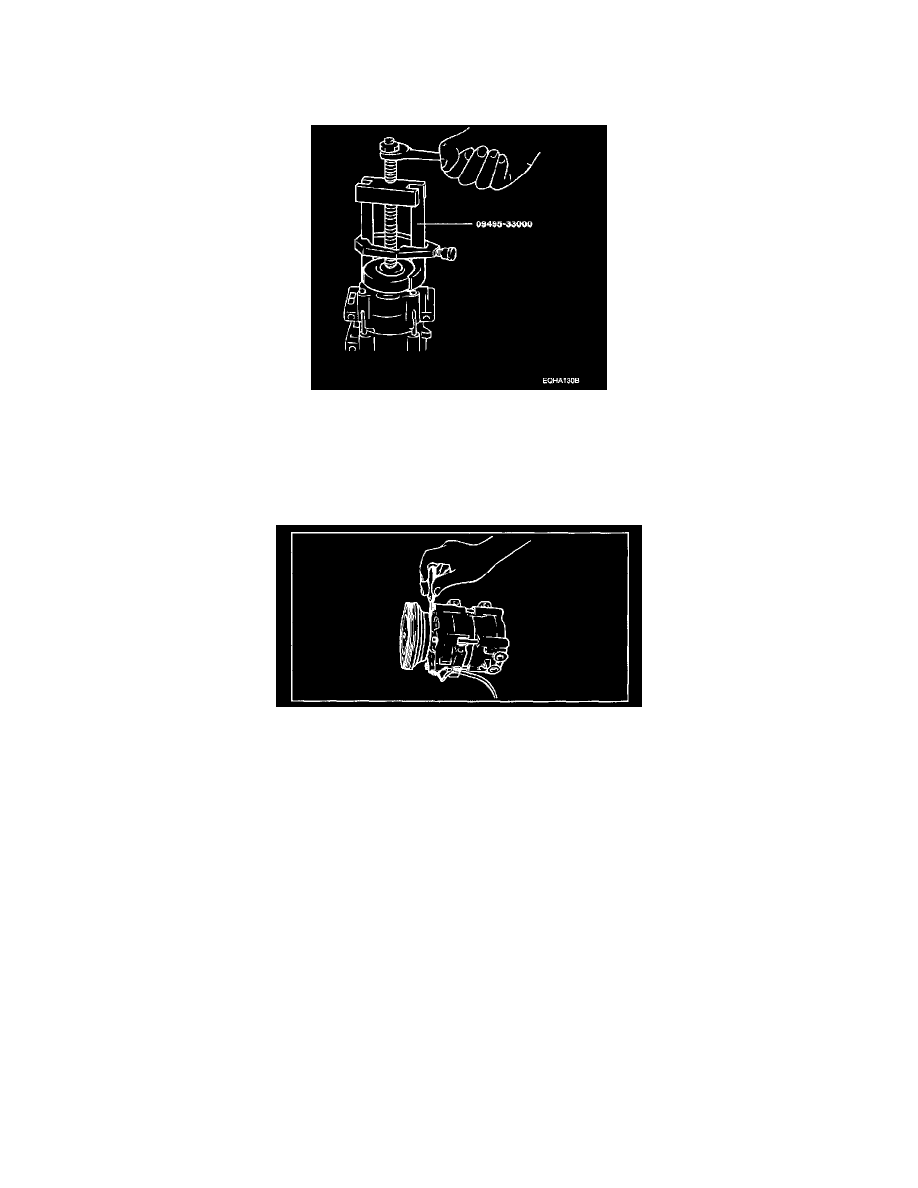
2. Install shaft protector tool on the nose opening of the compressor.
3. Install the pulley on the compressor as shown in the illustration. Place the tip of the puller screw on the center dimple of the shaft protector and the
jaws of the puller around the back side of the field coil.
4. Tighten the forcing screw with a wrench to pull the coil loose from the compressor front head.
REASSEMBLY
1. After reassembling the compressor assembly by the reverse of the disassembly procedure given, check the clutch air gap between the clutch hub
and the pulley mating surface with a feeler gauge. The air gap should be as follows.
Air gap: 0.35 - 0.65 mm (0.014 - 0.026 inch)
NOTE: When reassembling the compressor assembly, clean the pulley bearing surface and coil press diameter of the front head to remove any
dirt or corrosion.
2. If the clutch air gap is not within the dimensions specified above, adjust the various thickness shims until the air gap is within the specified limits.