
Sonata GLS V6-2.7L (2002)
4. Check the dynamic damper for cracks and wear.
INSTALLATION
1. Coat gear oil to the driveshaft splines and differential case sliding surface.
2. Before installing the driveshaft, set the opening side of circlip facing downward.
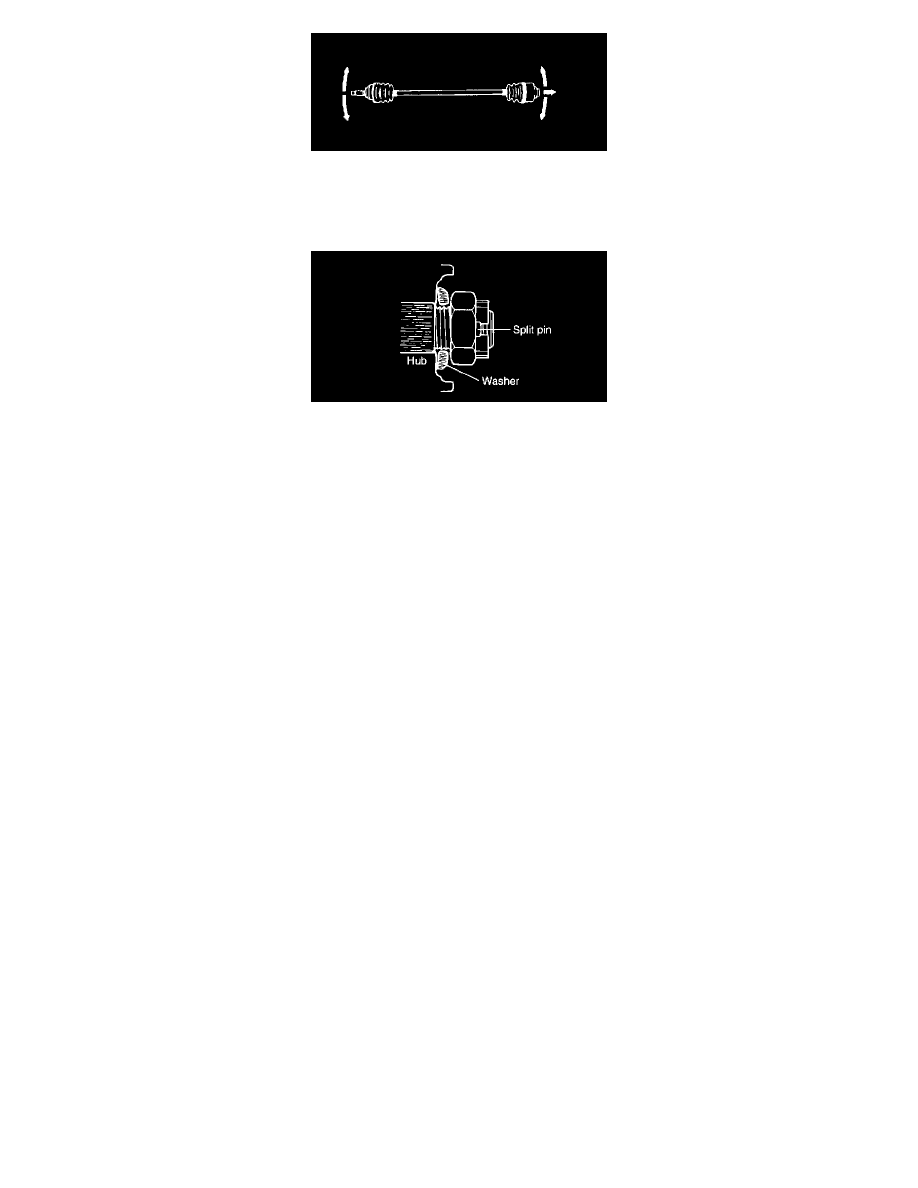
3. After installation, check that the driveshaft cannot be removed by hand.
4. Install the washer under the driveshaft nut with facing the convex side outward as shown in the illustration.
5. Tighten the following parts to the specified torque.
Torque: Nm (kgf-cm, ft. lbs.)
Driveshaft nut: 200 - 280 (2000 - 2800, 148 - 206)
Lower arm ball joint to knuckle 100 - 120 (1000 - 1200, 74 - 88)