
Tiburon L4-1.8L (1997)
Connecting Rod: Service and Repair
REMOVAL
NOTE: Keep the bearings in order with their corresponding connecting rods (according to cylinder numbers) for proper reassembly.
1. Remove the connecting rod cap nuts and then remove the caps and the big end lower bearing.
2. Push each piston-connecting rod assembly toward the top of the cylinder.
3. Remove piston from rod.
INSTALLATION
1. Install piston to rod.
2. Using a suitable ring compressor and rod guide, install piston/rod assembly to engine.
CAUTION:
-
Make sure that front mark of piston and front mark (identification mark) of connecting rod are directed toward front of engine.
-
When connecting rod cap is installed, make sure that cylinder numbers put on rod and cap at disassembly match.
-
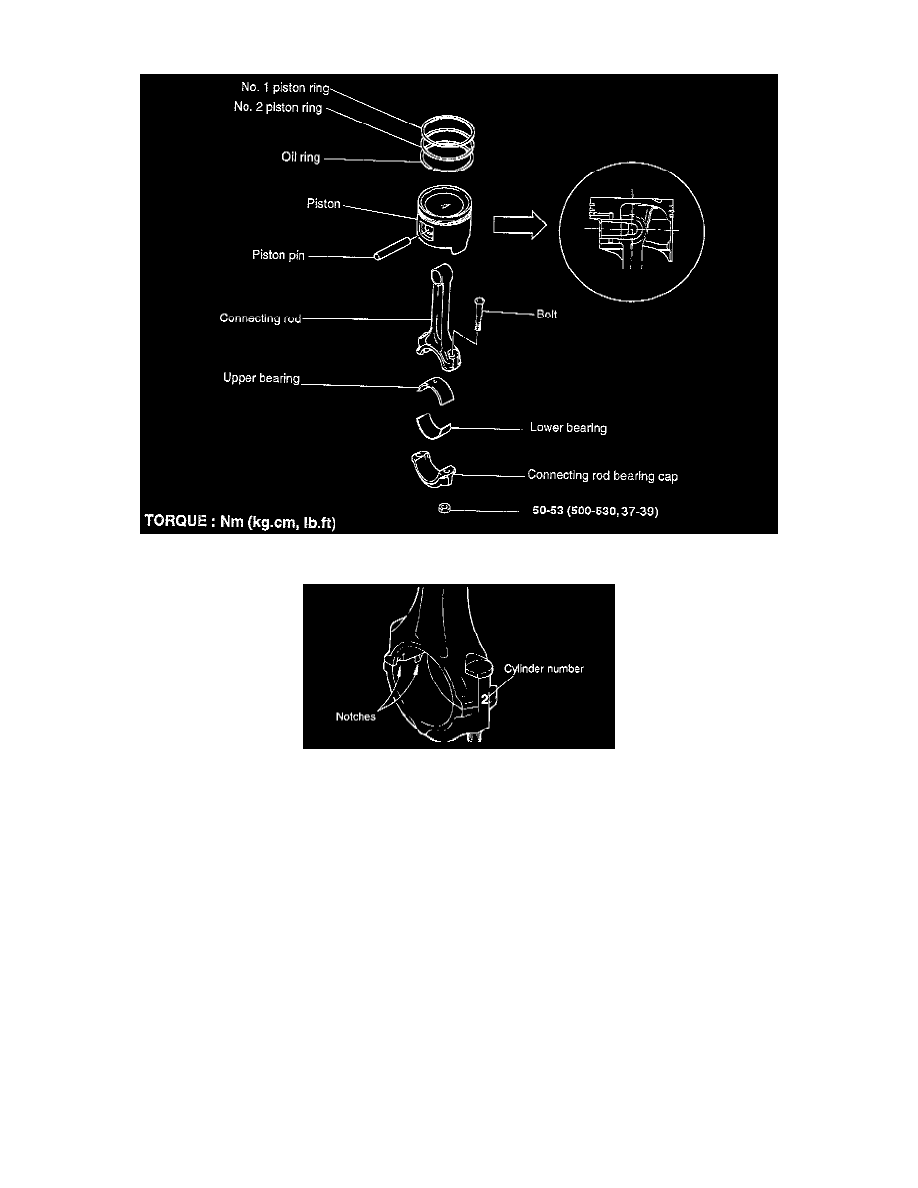
When new connecting rod is installed, make sure that notches for holding bearing in place are on same side.
4. Tighten the connecting rod cap nuts to 50-53 Nm (500-530 kg. cm, 36-39 ft. lbs.)