
Tiburon L4-1.8L (1997)
6. Using a screwdriver, remove the wave spring.
7. Remove the return spring and piston.
8. Remove the two D-section rings from piston.
ASSEMBLY
1. Install the D-section rings in the grooves in the outside and inside surfaces of the piston.
2. After applying automatic transaxle fluid to the outside surface of the D-section rings, push the piston into the rear clutch retainer by hand.
3. Install the return spring on the piston.
4. Compress the return spring with the snap ring, by pushing down with a screwdriver and setting the snap ring in its groove.
5. Install clutch pressure plate, two clutch discs, clutch plate and clutch reaction plate into the rear clutch retainer. When the reaction plate, clutch
plate and clutch disc are removed, reinstall them by reversing the order of disassembly. Prior to installing, apply automatic transaxle fluid to the
plates and discs.
CAUTION: When new clutch discs are used, immerse them in automatic transaxle fluid for a minimum of two hours prior to installation.
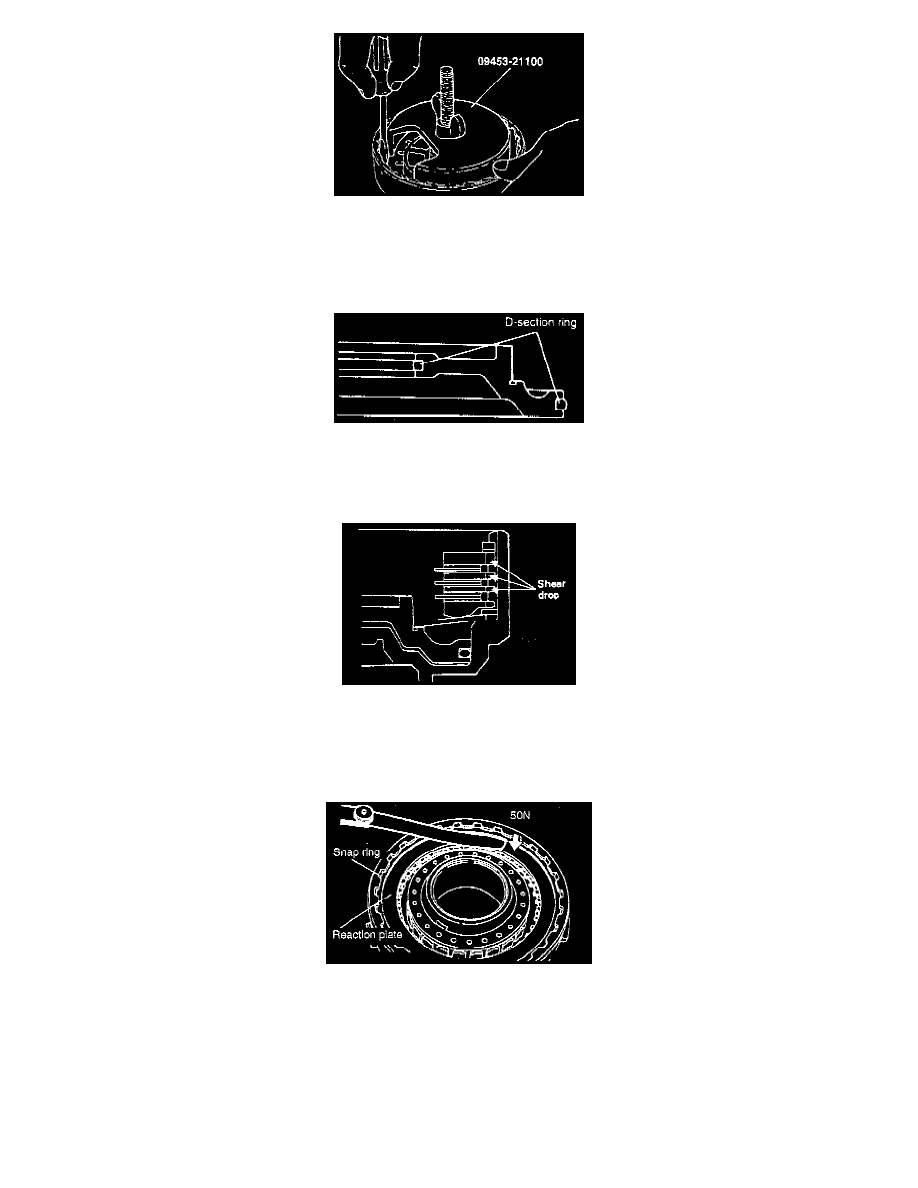
6. Install the snap ring. Check to see that the clearance between the snap ring and clutch reaction plate is 0.4-0.6 mm (0.016-0.024 inch). To check
clearance, hold the entire circumference of the clutch reaction plate down with 50 N (11 lbs.) force. If clearance is out of specification, adjust by
selecting the proper snap ring. Snap rings are the same as those used for the front clutch.
7. Insert the input shaft into the clutch retainer.