
Tiburon L4-2.0L (1999)
3. Raise the vehicle.
4. Remove the mud guard - RH
5. Disconnect the generator B+ terminal wire and connector.
6. Remove the belt and generator mounting bolt (2EA).
7. Remove the generator assembly.
8. Installation is the reverse order of removal.
INSTALLATION
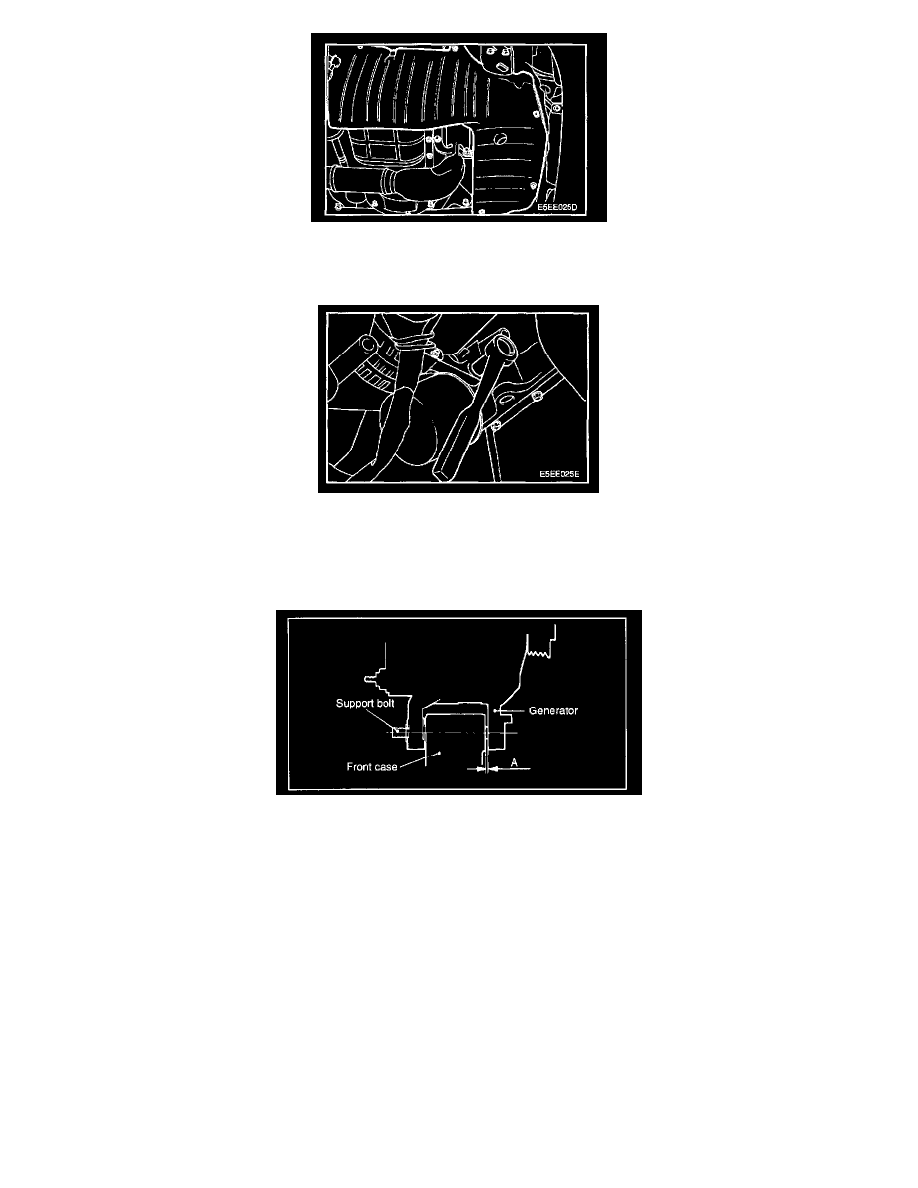
1. Position the generator and insert the support bolt. (Do not attach the nut.)
2. Push the generator forward and determine how many spacers (thickness: 0.198mm) should be inserted between the front leg of the generator and
the front case (space A in the illustration). (There should be enough spacers so that they do not fall out when you let go of them.)
3. Insert the spacers (space A in the illustration), attach the nut, and complete the installation.