
Tiburon L4-2.0L (1999)
7.
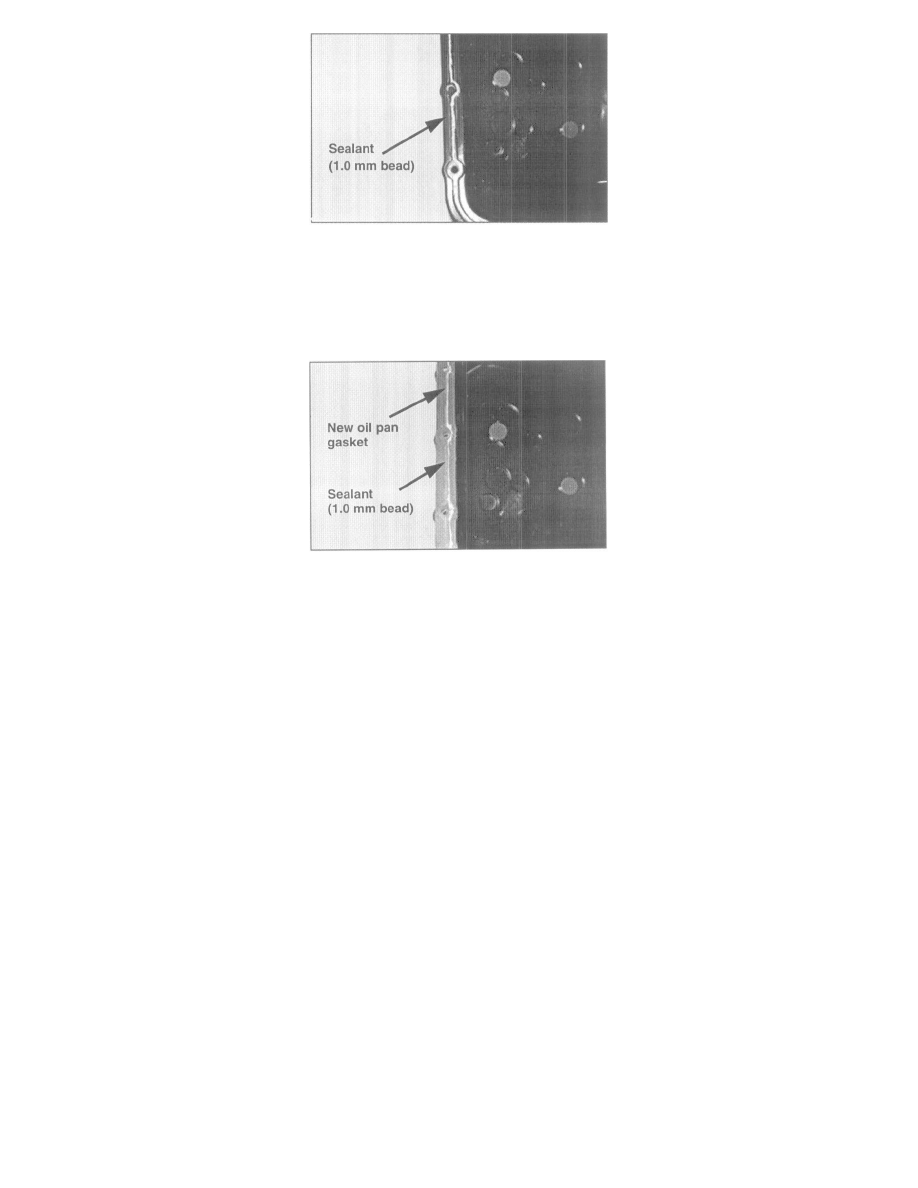
Apply a thin bead of sealant on the oil pan flange approximately 1.0 mm (1/16") thick.
NOTE:
Use Hyundai Ultra-Gray Sealant, P/N 00231-13800, or equivalent.
8.
Install a new gasket on the oil pan flange and align the holes.
9.
Apply a thin bead of sealant on the new gasket approximately 1.0 mm (1/16") thick.
10.
Reinstall the oil pan to the transaxle case. Tightening torque: 10-12 Nm (100-120 kg.cm, 7 - 9 lb.ft).
11.
Reinstall the drain plug.
12.
Reinstall the engine under cover.
13.
Lower the vehicle.
14.
Add approximately 4 quarts of SPIII ATF.
15.
Drive the vehicle until the ATF is at normal operating temperature (70-100°C or 158-212°F).
16.
Park the vehicle on a level surface and set the parking brake.
17.
Move the shift lever through each gear, then to "Neutral". If necessary, add ATF to bring the level within the "HOT" range on the dipstick.
18.
Check the oil pan for leaks.
Technical Service Bulletin # 00-40-005
Date: 000501
A/T - Fluid Leak Behind Torque Converter
Group: TRANSAXLE
Number: 00-40-005
Date: MAY, 2000
Model:
1996-99 ELANTRA
1997-99 TIBURON
Subject
1996-99 ELANTRA / 1997-99 TIBURON
OIL LEAK BEHIND TORQUE CONVERTER