
Veracruz FWD V6-3.8L (2009)
CAUTION:
-
Clean the sealing face before assembling two parts.
-
Remove harmful foreign materials on the sealing face before applying sealant
-
When applying sealant gasket, sealant must not be protrude into the inside of oil pan.
-
To prevent leakage of oil, apply sealant gasket to the inner threads of the bolt holes.
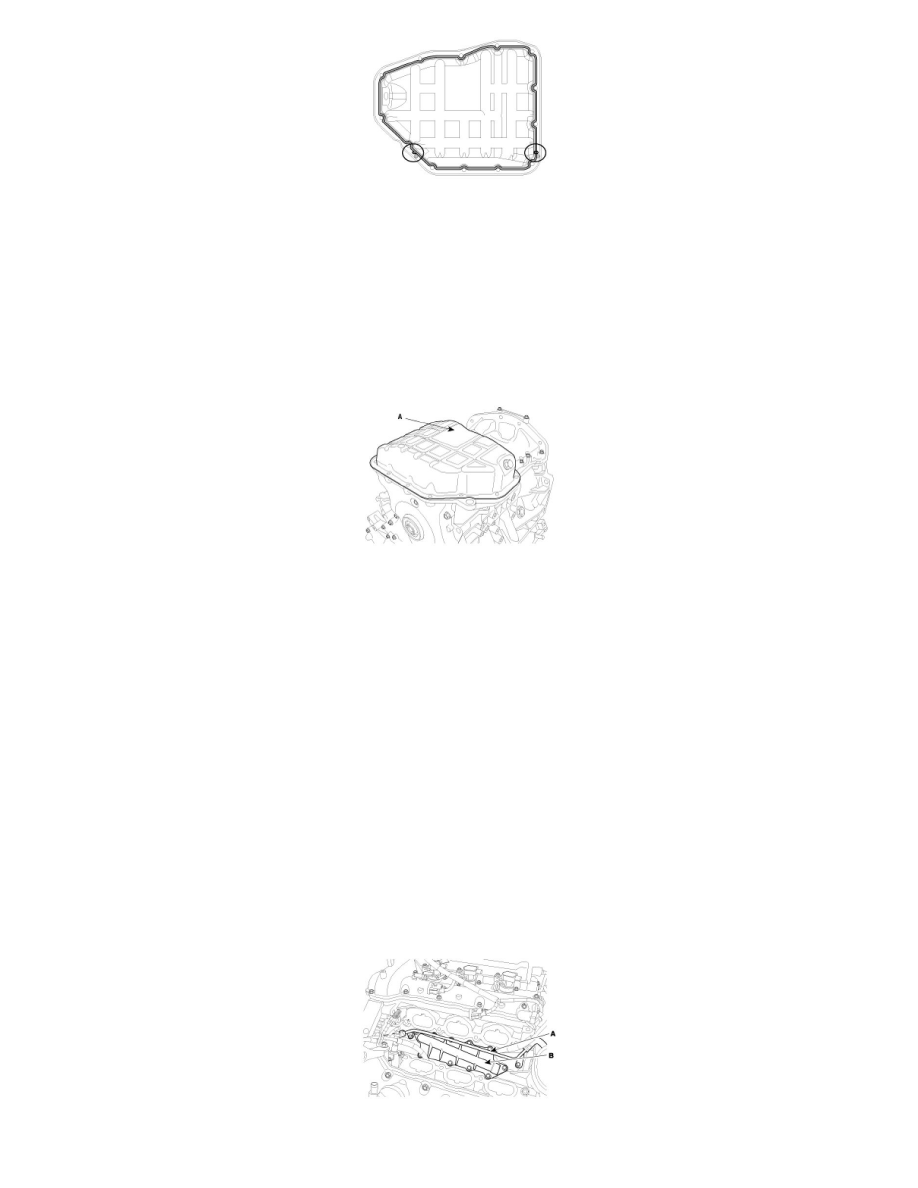
C. Install the lower oil pan(A).
Uniformly tighten the bolts in several passes.
Tightening torque
9.80 - 11.76Nm (1.0 - 1.2kgf.m, 7.23 - 8.68lb-ft)
D. After assembly, wait at least 30 minutes before filling the engine with oil.
Oil Filter Assembly
1. Install the oil filter body and new O-rings.
Tightening torque
9.80 - 11.76Nm (1.0 - 1.2kgf.m, 7.23 - 8.68lb-ft)
NOTE:
-
All rubber gaskets must not be damaged by assembling parts.
-
Be careful of the knock sensor connector.
-
Always use a new O-ring
2. Install the oil filter body cover(B) and a new gasket on the oil filter body.
Tightening torque
9.80 - 11.76Nm (1.0 - 1.2kgf.m, 7.23 - 8.68lb-ft)
3. Connect the water vent hose(A)
Tightening torque
9.80 - 11.76Nm (1.0 - 1.2kgf.m, 7.23 - 8.68lb-ft)
4. Install the water temperature control assembly(A).