
Veracruz FWD V6-3.8L (2009)
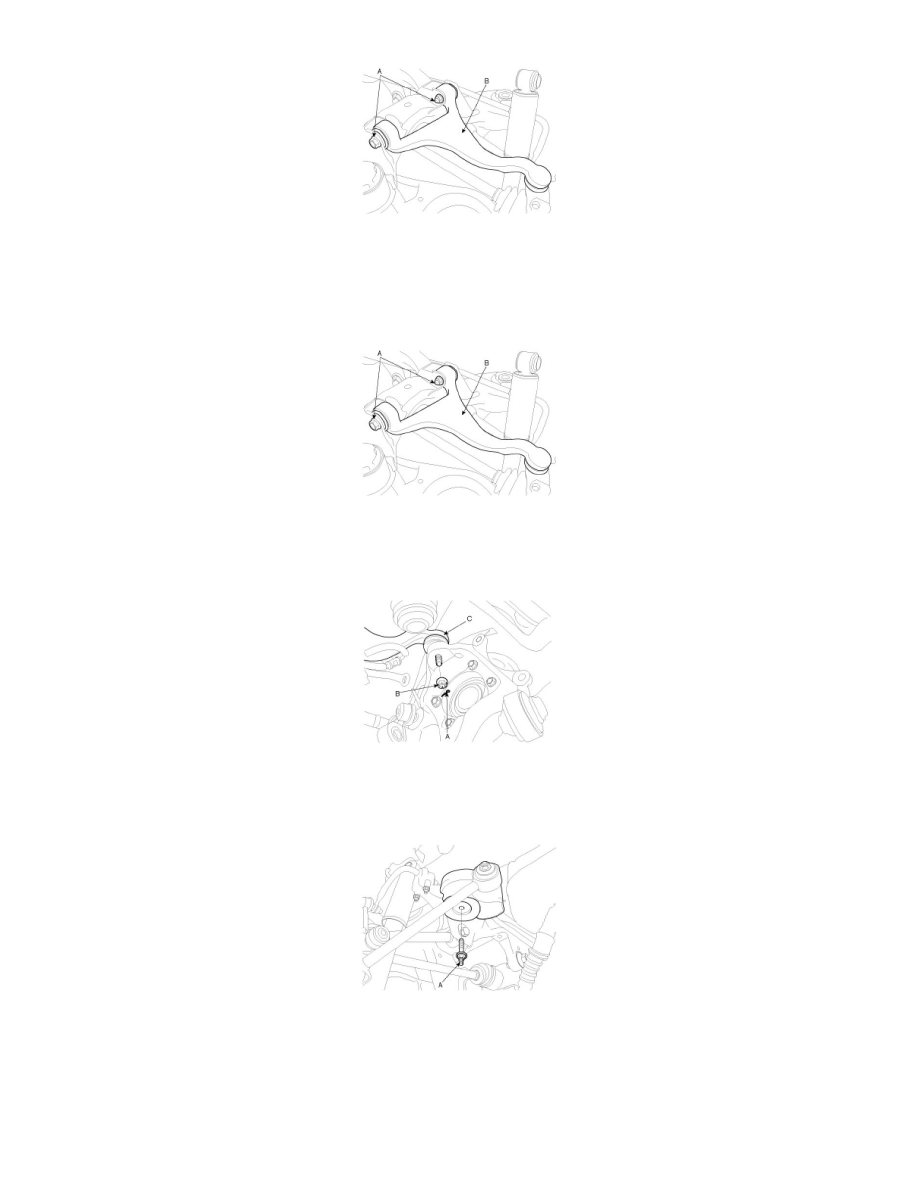
13. Remove the rear upper arm (B) by loosening the bolts and nut (A).
Installation
1. Connect the rear upper arm with the cross member (B) and then tighten the bolts and nuts (A).
Tightening torque :
100 - 120N.m (10.0 - 12.0kgf.m, 72 - 87lb-ft)
2. Connect the rear upper arm ball joint (C) with the carrier assembly and then install the castle nut (B) and the split pin (A).
Tightening torque :
80 - 100N.m (8.0 - 10.0kgf.m, 58 - 72lb-ft)
3. Install the rear cross member to the body by tightening the mounting bolts (A) and nuts (B).
Tightening torque :
160 - 180N.m (16.0 - 18.0kgf.m, 116 - 130lb-ft)