XG 350 V6-3.5L (2002)

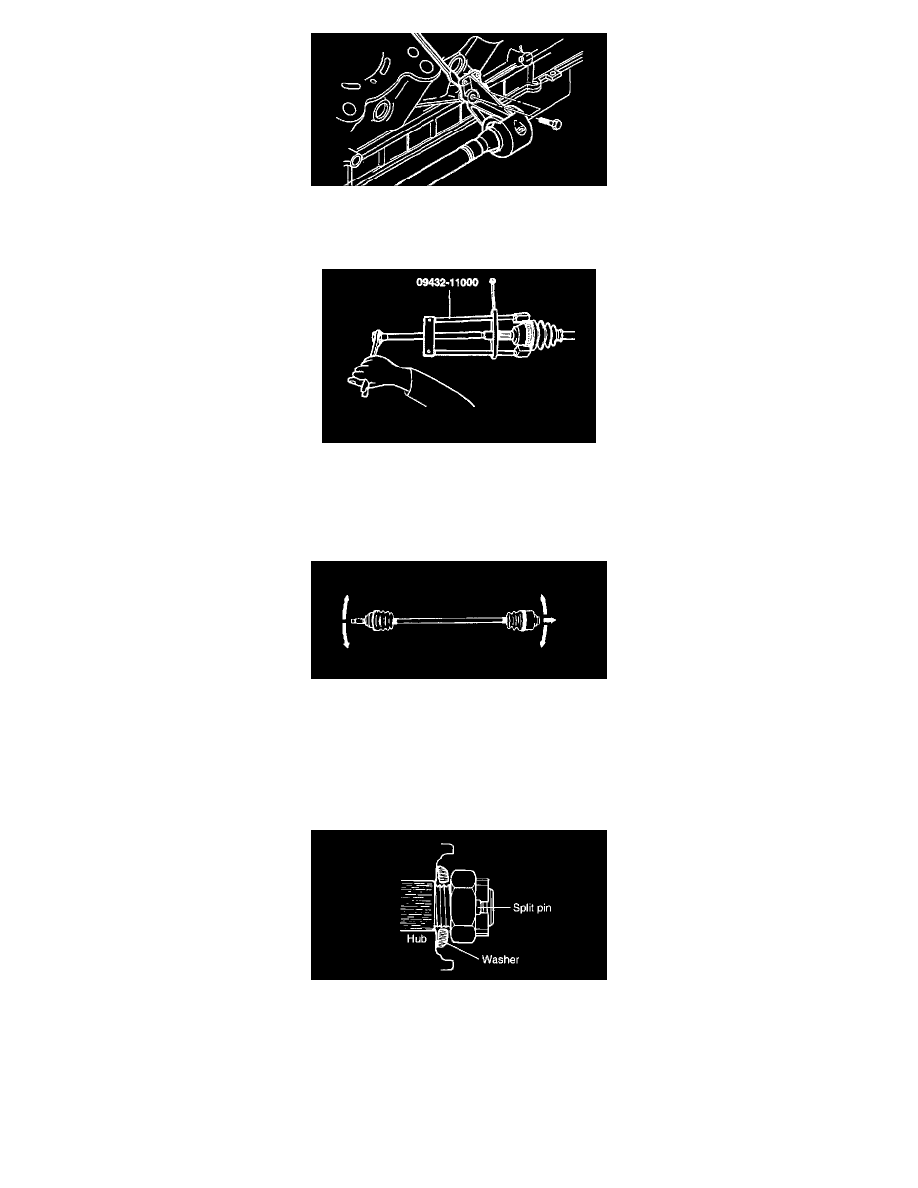
8. Remove the center bearing bracket mounting bolts. Insert the pry bar between the center bearing bracket and the cylinder block to disconnect the
bracket from the cylinder block.
9. Remove the inner shaft from the transaxle.
10. Using the special tool (09432-11000), remove the tone wheel.
INSPECTION
1. Check the driveshaft boots for damage and deterioration.
2. Check the splines for wear and damage.
3. Check the ball joints for wear and operating condition.
INSTALLATION
1. Apply gear oil on the driveshaft splines and differential case contacting surface.
2. Before installing the driveshaft, set the opening side of the circlip so that it faces downward.
3. After installation, check that the driveshaft cannot be removed by hand.
4. Position the washer so that the convex side faces out side and install the nut and split pin.
5. Replace the self-locking nuts and split pin with new ones after removal.
6. Tighten the parts shown to the specified torque.
Driveshaft Nut: 240 - 280 Nm (2400 - 2800 kg.cm, 177 - 206 ft. lbs.)
Lower arm ball joint to knuckle: 100 - 120 Nm (1000 - 1200 kg.cm, 74 - 88 ft. lbs.)
