
Ascender 2WD L6-4.2L (2003)
2.
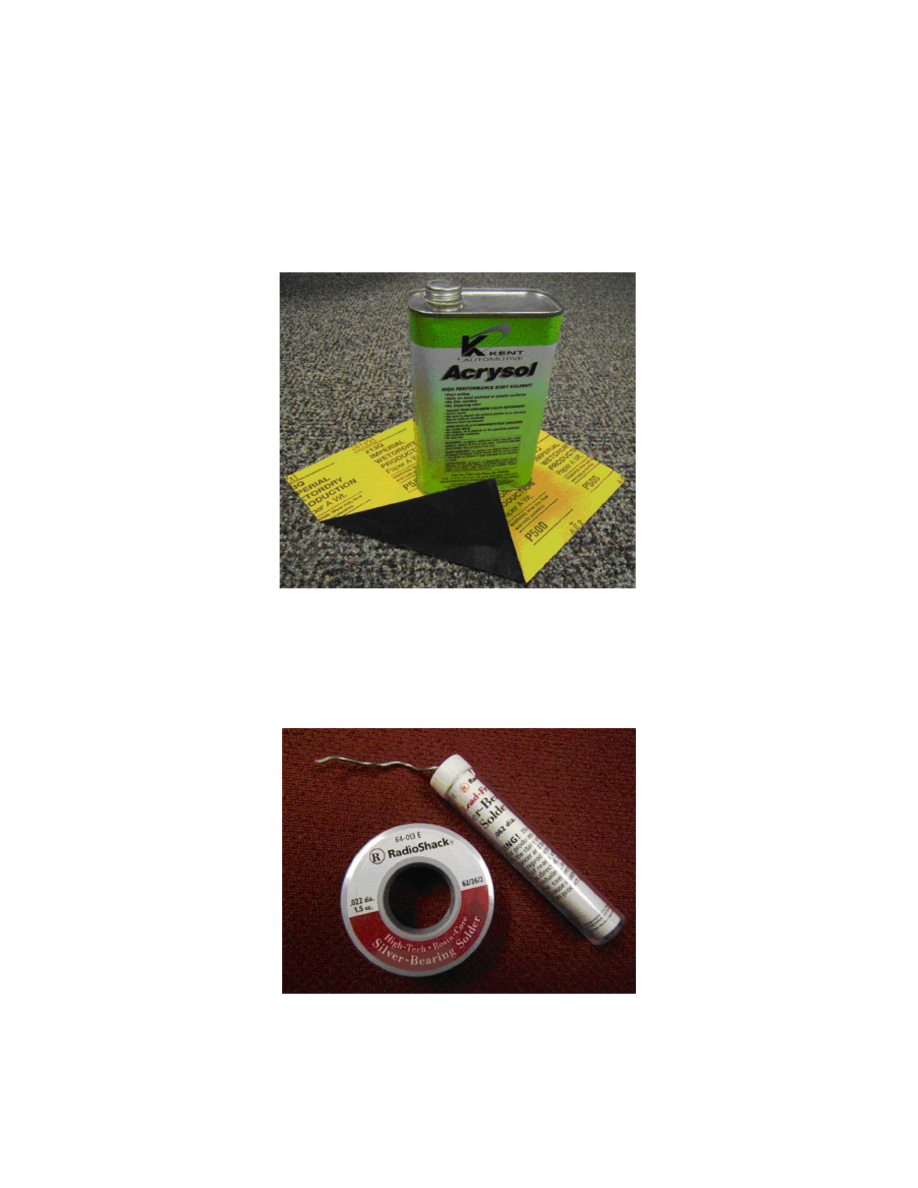
Prepare the surface of the used defroster tab and the defroster buss bar with fine grain (500 grit) sandpaper or Emory cloth. It is not necessary to
remove all of the original solder but it should be scuffed sufficiently so that no oxidation is present. The photo shows a close up of a properly
prepared surface.
Tip
You may want to mask the glass around the contact area with tape. This is easy to do and will allow you to safely prepare the contact surface
without the risk of scratching the glass or the black painted shading.
IMPORTANT:
Most rear glass has a black painted masking around the edge of the glass. When cleaning up the connection surface be very careful not to
damage the surface of the black shading nor the surface of the glass.
3.
Wipe the newly prepared contact area with Kent Automotive Acrysol (or equivalent) to remove any residual oil or dirt.
IMPORTANT:
You must use a Silver-Bearing Solder to make the solder joint. DO NOT attempt this repair with conventional Led/Tin solders. Most suppliers
have this type of solder available, and it is available nationally at Radio Shack. it is sold in two diameters and either is acceptable for this
repair.
4.
For this step it is permitted that two technicians be used if required. Heat the new contact on the surface of the buss bar which it is to be soldered.
Long nose pliers are suggested to hold the contact in place. Keep the solder ready and begin flowing out the solder as soon as the melting
temperature has been reached.