
Axiom 2WD V6-3.5L (2002)
Ball Joint: Service and Repair
Lower
Removal
1. Raise the vehicle and support the frame with suitable safety stands.
2. Remove wheel and tire assembly.
3. Remove the tie-rod end from the knuckle.
4. Remove the retaining ring from the front axle driving shaft to release the shaft from hub (Except 2WD model).
5. Support lower control arm with a jack.
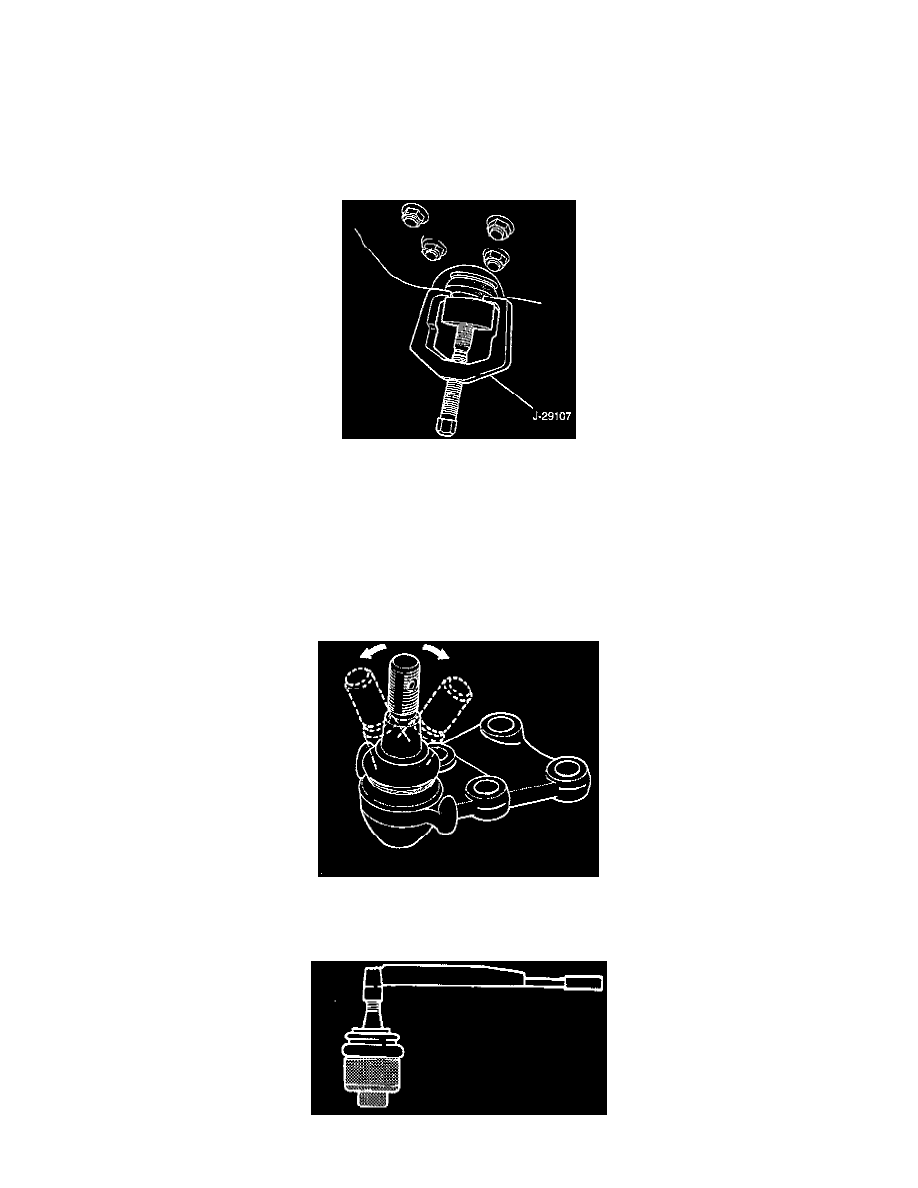
6. Remove lower ball joint nut and cotter pin, then use remover J-29107 to remove the lower ball joint from the knuckle.
Caution: Be careful not to damage the ball-joint boot.
7. Remove nut.
8. Remove bolt.
9. Remove lower ball joint.
Inspection and Repair
Make necessary parts replacement if wear, damage, corrosion or any other abnormal condition are found through inspection.
^
Inspect the lower end boot for damage or grease leak. Move the ball joint as shown in the figure to confirm its normal movement .
^
Inspect screw/taper area of ball for damage.
^
If any defects are found by the above inspections, replace the ball joint assembly with a new one.
^
After moving the ball joint 4 or 5 times, attach nut the measure the preload.