
Hombre S Regular Cab 2WD L4-2.2L CPC (1998)
5. Transmission from wiper motor drive link using J 39232.
6. Wiper motor assembly from the vehicle.
Wiper Motor Assembly Replacement
Install or Connect
NOTE: For steps 1 and 2 refer to the Fastener Note in the GENERAL INFORMATION.
1. Wiper motor assembly to the vehicle with three screws.
Tighten
-
Wiper motor assembly mounting screws to 7 N.m (62 lbs. in.).
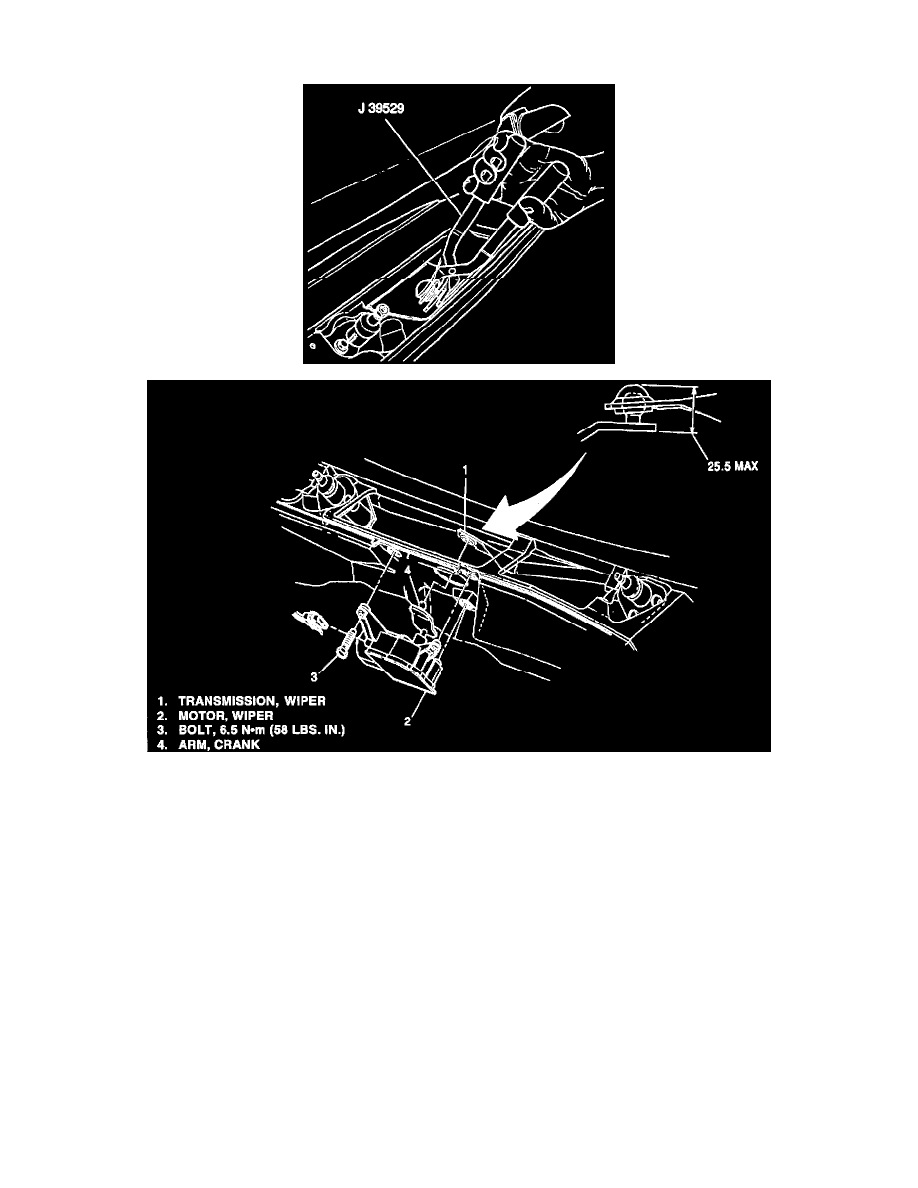
2. Drive link socket onto the crank arm ball of the wiper motor assembly using J 39529.
-
Lubricate the inside of the socket with white lithium grease.
Important
-
Wiper transmission assembly must be assembled to the crank arm past the second detent so the seal is compressed to a maximum height of 25
mm (1 inch).
3. Electrical connector.
4. Cowl vent screen and grille.
5. Wiper arm and blade assemblies. Refer to "Wiper Arm Assembly Replacement."
6. Negative battery cable. Refer to the CHASSIS/BODY ELECTRICAL SYSTEM.