Hombre S Space Cab 2WD V6-4.3L (2000)

Evaporator Core: Service and Repair
EVAPORATOR CORE
Removal Procedure
CAUTION: Refer to Battery Disconnect Caution in Cautions and notes.
1. Disconnect the battery negative cable.
2. Remove the hood. Refer to Hood Replacement in Body Front End.
3. Remove the right fender. Refer to Fender Replacement - Front in Body Front End.
4. Remove the right wheel panel. Refer to Wheelhouse Panel Replacement in Body Front End.
5. Remove the evaporator tube from the evaporator. Refer to Evaporator Tube Replacement.
6. Remove the accumulator. Refer to Accumulator Replacement (2.2L) or Accumulator Replacement (4.3L).
7. Remove the evaporator core assembly heat shield.
8. Remove the electrical connectors/harnesses, as necessary.
9. Remove the blower motor resistor. Refer to Blower Motor Resistor Replacement.
10. Remove the heater core case to the bulkhead mounting bolt.
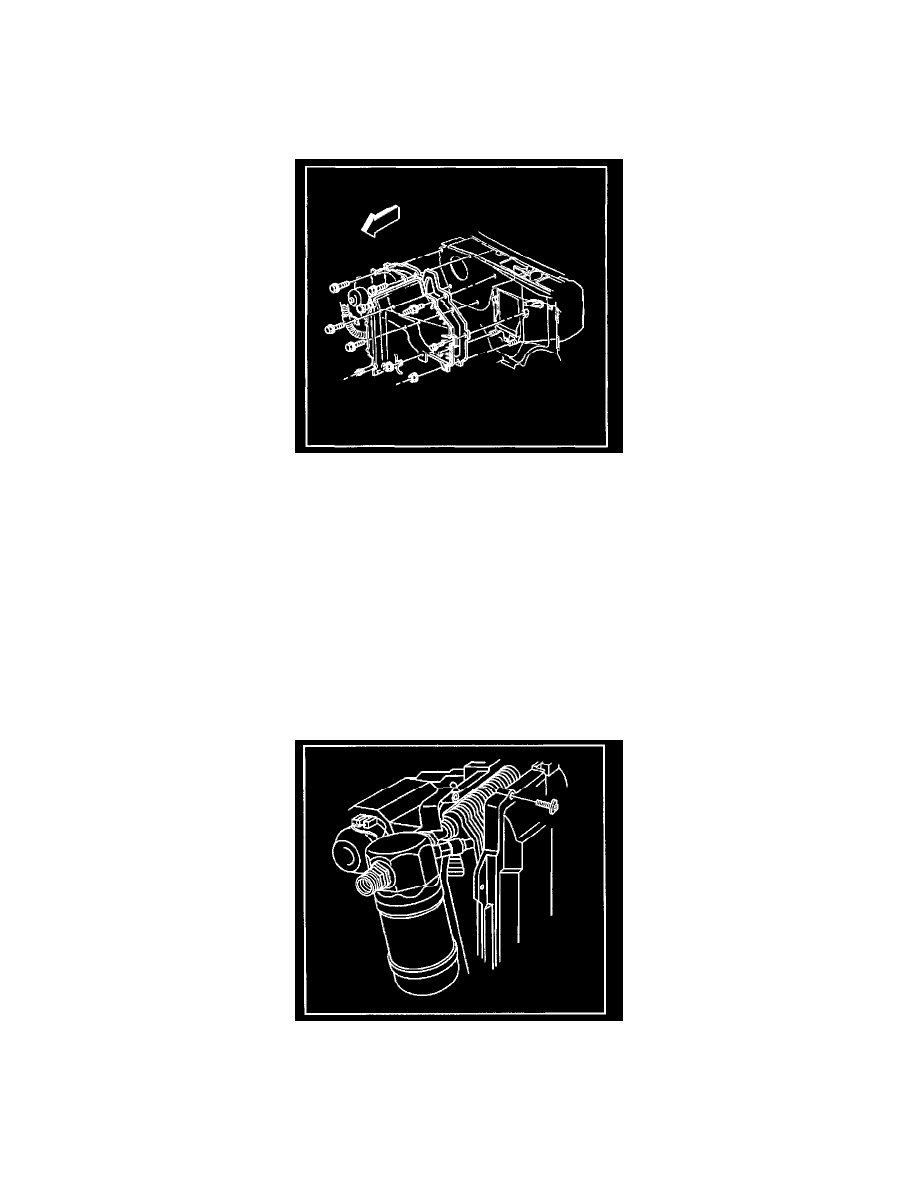
11. Remove the evaporator and the blower module screws and the nuts.
12. Remove the acoustic barrier, if equipped.
13. Remove the lower right heater core case mounting bolts.
The bolts are located on the lower right side of the instrument panel on the 4.3L engine only.
14. With the aid of an assistant, lightly pull the lower right corner of the heater case away from the bulkhead (4.3L engine only).
15. Remove the evaporator core assembly from the vehicle.
16. Disassemble the evaporator core case sections.
17. Remove the evaporator core.
Installation Procedure
