
Hombre S Space Cab 2WD V6-4.3L (2000)
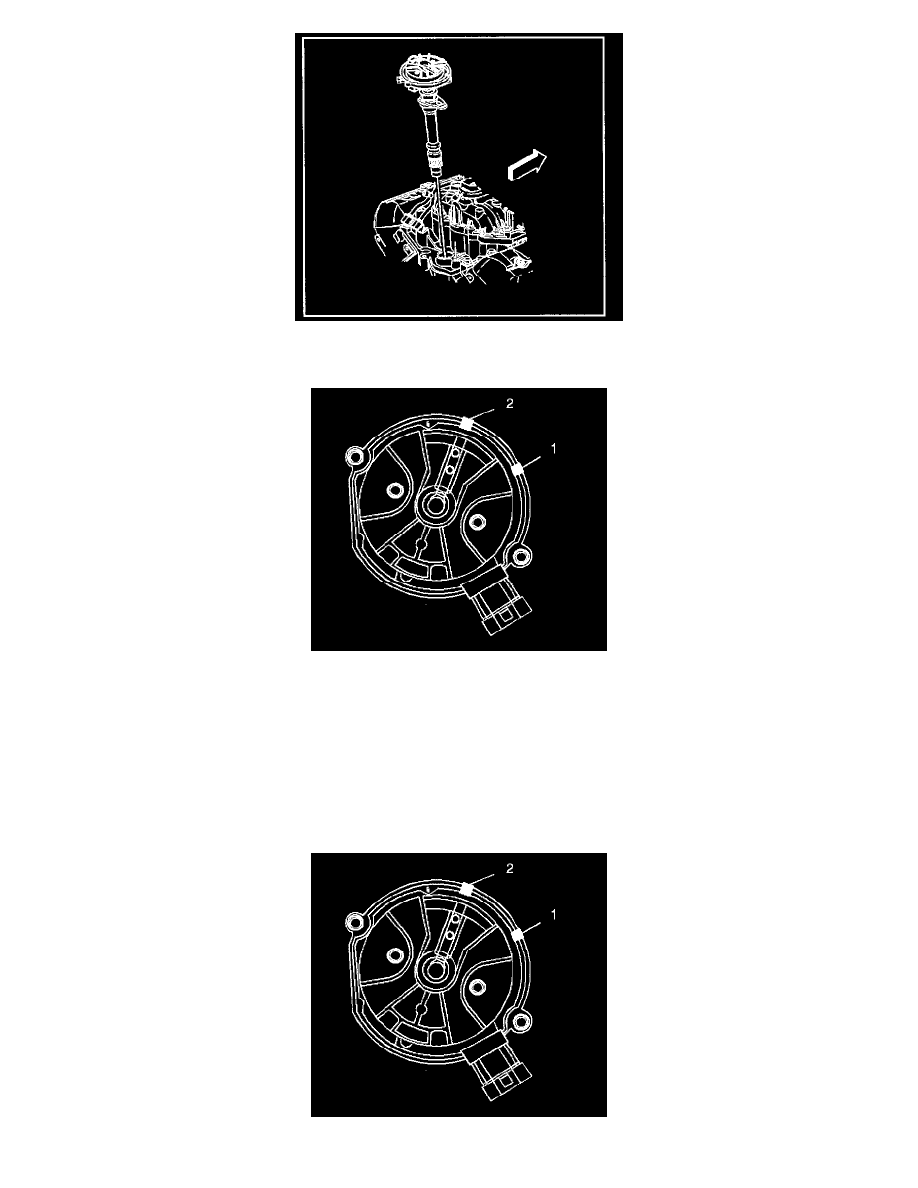
8. Use a grease pencil in order to note the position of the rotor in relation to the distributor housing (1).
9. Mark the distributor housing and the intake manifold with a grease pencil.
10. Remove the mounting clamp hold down bolt.
11. Remove the distributor.
As the distributor is being removed from the engine, watch the rotor move in a counter-clockwise direction about 42 degrees.
This will appear as slightly more than one clock position.
12. Note the position of the rotor segment.
13. Place a second (2) mark on the base of the distributor.
This will aid in achieving proper rotor alignment during the distributor installation.
Installation Procedure 1
1. If installing a new distributor assembly, place two marks on the new distributor housing in the same location as the two marks on the original