
Hombre XS Space Cab 2WD L4-2.2L CPC (1999)
Crankshaft Main Bearing Seal: Service and Repair
Crankshaft Rear Oil Seal Replacement
Removal Procedure
1. Remove the flywheel bolts and the flywheel.
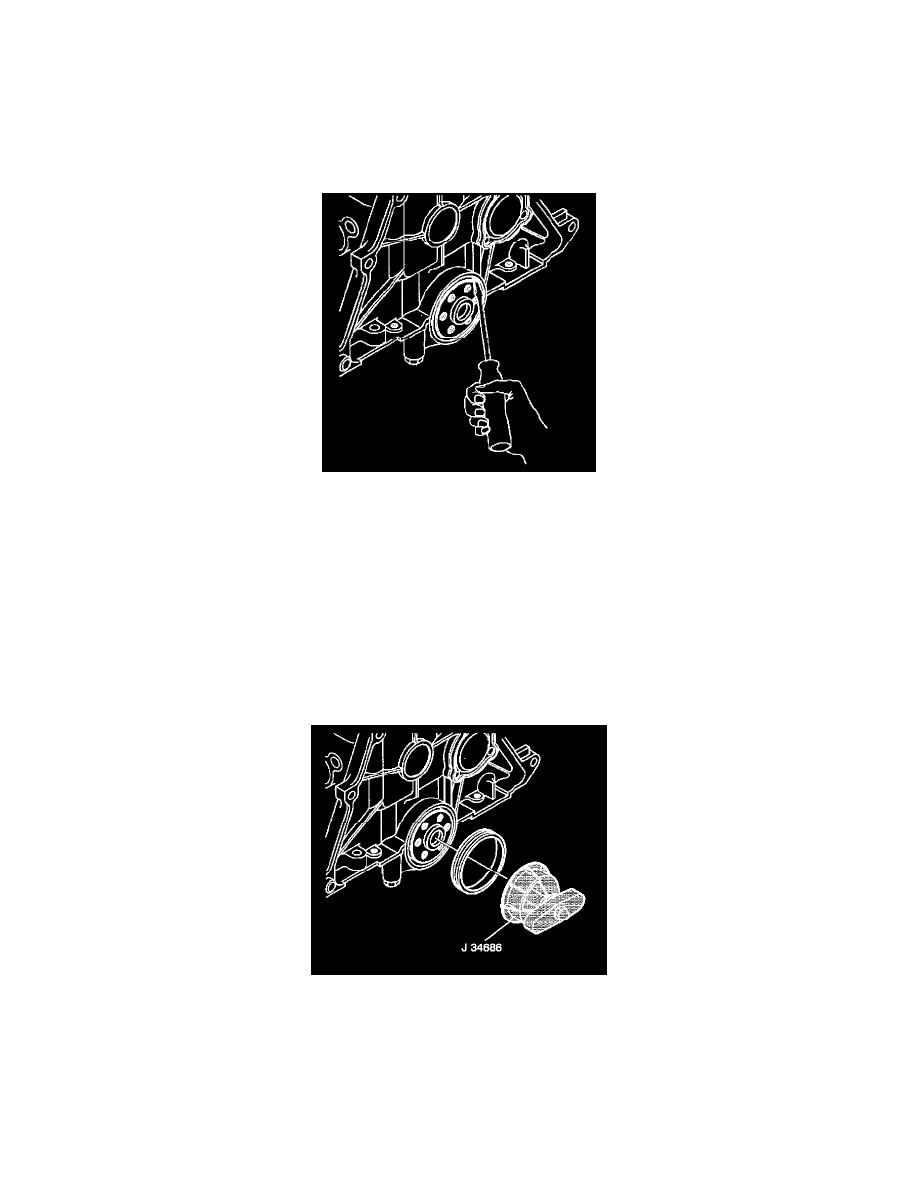
Notice: Do not damage the crankshaft surface when prying out the crankshaft rear oil seal.
2. Remove the crankshaft rear oil seal. Pry the crankshaft rear oil seal out with a suitable pry tool.
3. Clean the crankshaft rear oil seal to engine block mating surface.
4. Inspect the following areas:
-
Inspect the seal bore for nicks
-
Inspect the seal bore for burrs
-
Inspect the seal mating surface on the crankshaft for nicks
Installation Procedure
Tools Required
-
J 34686 Crankshaft Rear Oil Seal Installer
1. Lubricate the seal bore-to-seal mating surface and the crankshaft seal area with engine oil.
2. Slide a new crankshaft rear oil seal onto the J 34686.
The dust lip of the crankshaft rear oil seal should be flush against the tool collar.
3. Align the dowel pin of the tool J 34686 with the dowel pin hole in the crankshaft.
4. Attach the J 34686 to the crankshaft by tightening the attaching screws. Tighten the J 34686 attaching screws to 5 N.m (40 lb in).
5. Tighten the handle of the J 34686. This will push the crankshaft rear oil seal into position. Be sure that the J 34686 collar is flush against the
engine block.
6. Loosen the handle completely.
7. Remove the J 34686 attaching screws.
8. Remove the J 34686 tool from the engine block.