
Hombre XS Space Cab 2WD V6-4.3L (1998)
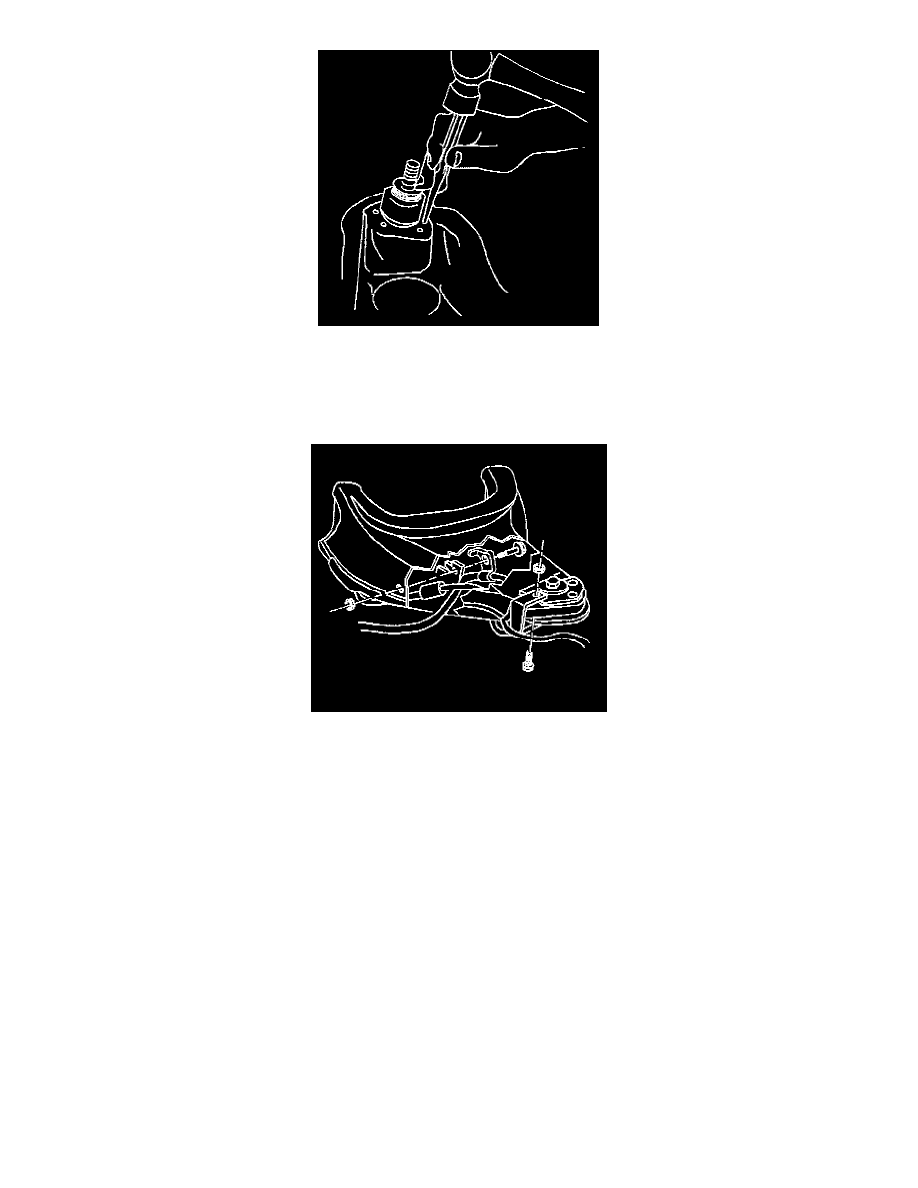
9. Remove the rivets using a pin punch.
10. Remove the ball joint.
INSTALLATION PROCEDURE
1. Install the ball joint to the upper control arm.
2. Install the bolts and the nuts to the ball joint.
Tighten
-
Tighten the nuts to 23 Nm (17 ft. lbs.).
3. Install the ball joint to the knuckle.
4. Install the upper ball joint to steering knuckle nut.
Tighten
-
Tighten the nut in order to align the cotter pin. Do not tighten the nut more than 1/6 turn.
-
Lower the nut to 108 Nm (79 ft. lbs.).
-
Tighten the upper nut to 83 Nm (61 ft. lbs.).
5. Install new cotter pin. Bend the pin ends against the nut.
6. Install the tire and the wheel.
7. Lower the vehicle.
8. Check the front wheel alignment.