
i-290 2WD L4-2.9L (2008)
Antenna Cable: Service and Repair
Digital Radio Antenna Cable Replacement
Digital Radio Antenna Cable Replacement
Removal Procedure
1. If the vehicle is equipped with OnStar(R) refer to Mobile Telephone and Navigation Antenna Coaxial Cable Replacement (UE1) (See: Mobile
Telephone and Navigation Antenna Coaxial Cable Replacement (UE1))Mobile Telephone and Navigation Antenna Coaxial Cable Replacement
(UE1, U2K) (See: Mobile Telephone and Navigation Antenna Coaxial Cable Replacement (UE1, U2K)).
2. Lower the front portion of the headliner to reveal the digital radio antenna connectors. Refer to Headlining Trim Panel Replacement (Crew Cab) (
See: Body and Frame/Interior Moulding / Trim/Headliner/Service and Repair/Headlining Trim Panel Replacement (Crew Cab))Headlining Trim
Panel Replacement (Extended Cab) (See: Body and Frame/Interior Moulding / Trim/Headliner/Service and Repair/Headlining Trim Panel
Replacement (Extended Cab))Headlining Trim Panel Replacement (Regular Cab) (See: Body and Frame/Interior Moulding /
Trim/Headliner/Service and Repair/Headlining Trim Panel Replacement (Regular Cab)).
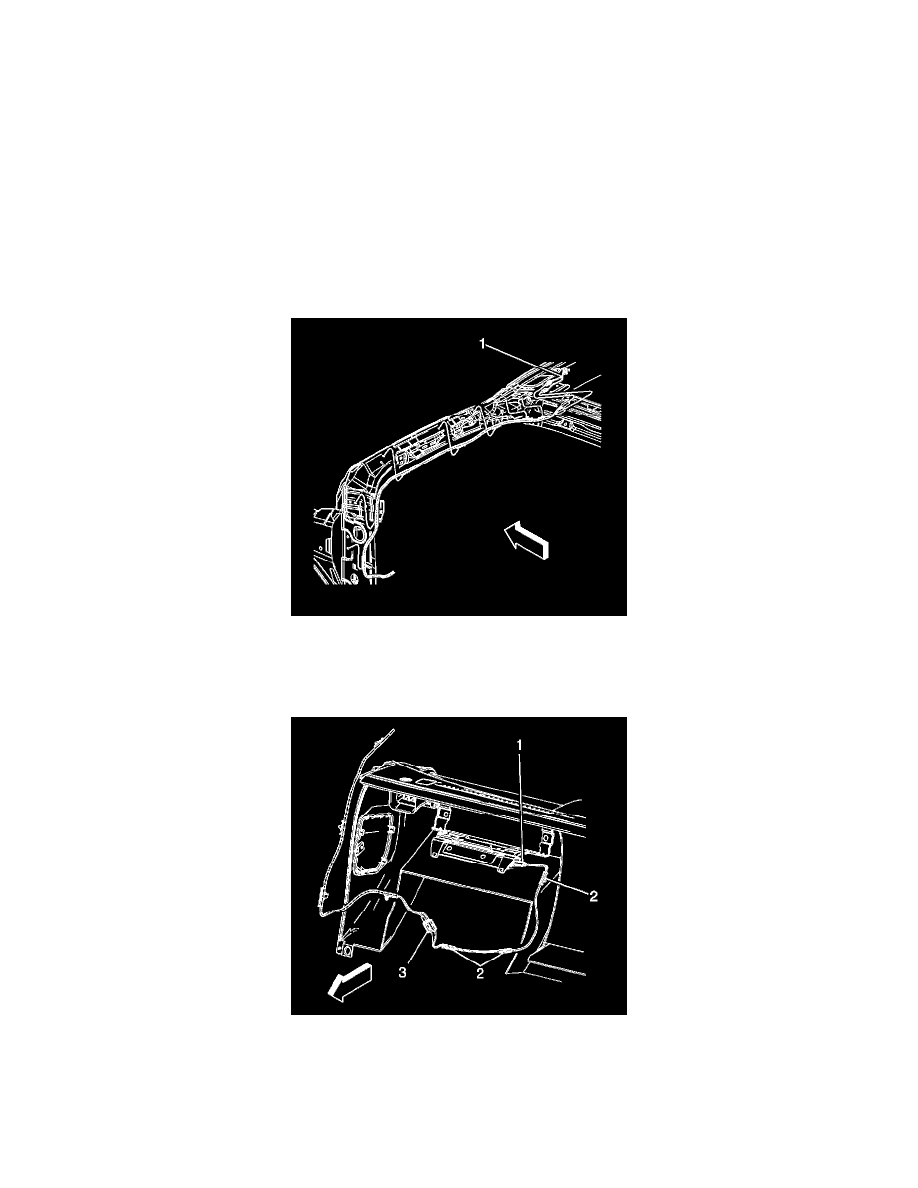
3. Disconnect the digital radio antenna connectors (1).
4. Detach the 2 upper coax cable retainers from the header panel.
5. Detach the 3 coax cable retainers from the windshield pillar.
6. Lower the instrument panel (I/P) compartment door to a full down position.
7. Disconnect the digital receiver extension cable (1) from the receiver.
8. Remove the retainers (2) from the I/P.
9. Disconnect the electrical connector (3).
10. Remove the extension cable from the vehicle.