
i-290 2WD L4-2.9L (2008)
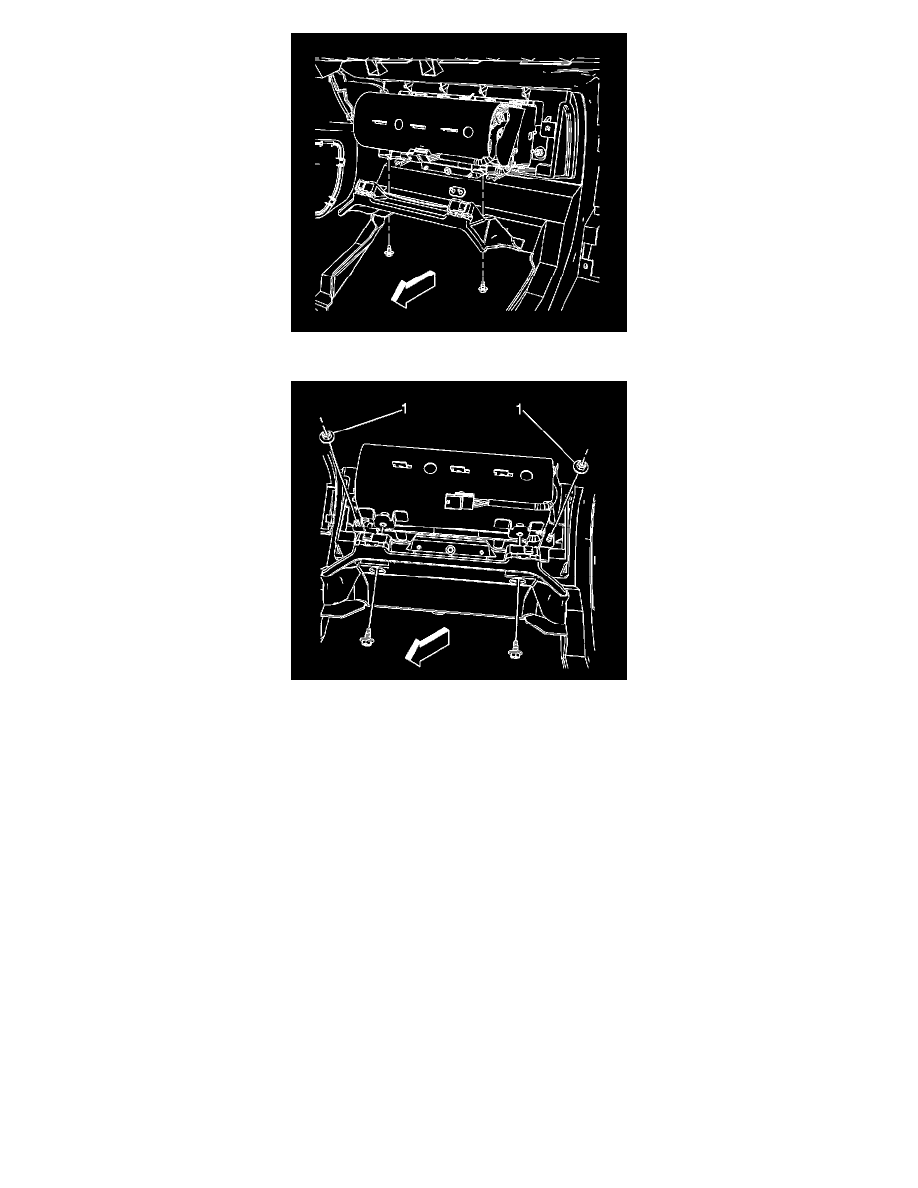
7. Partially Install the 2 lower fasteners retaining the PSIR module to the I/P structure.
8. Install the 2 side retaining nuts (1) to the PSIR inflator module.
Tighten the 4 PSIR fasteners until fully driven, seated and not stripped.
9. Install the digital radio receiver, if equipped. Refer to Digital Radio Receiver Replacement (See: Accessories and Optional Equipment/Radio,
Stereo, and Compact Disc/Radio/Stereo/Service and Repair/Digital Radio Receiver Replacement) .
10. Install the radio. Refer to Radio Replacement (See: Accessories and Optional Equipment/Radio, Stereo, and Compact Disc/Radio/Stereo/Service
and Repair/Radio Replacement) .
11. Install the I/P accessory trim panel. Refer to Instrument Panel Accessory Trim Plate Replacement (See: Body and Frame/Interior Moulding /
Trim/Dashboard / Instrument Panel/Service and Repair/Instrument Panel Accessory Trim Plate Replacement) .
12. Install the right air outlet. Refer to Instrument Panel Outer Air Outlet Replacement - Right Side (See: Heating and Air Conditioning/Air
Register/Service and Repair/Instrument Panel Outer Air Outlet Replacement - Right Side) .
13. Install the right access cover to the I/P end cap.
14. Enable the SIR System. Refer to SIR Disabling and Enabling (See: Air Bag(s) Arming and Disarming/Service and Repair) .
15. Install the I/P compartment door. Refer to Instrument Panel Compartment Door Replacement (See: Body and Frame/Interior Moulding /
Trim/Glove Compartment/Service and Repair/Removal and Replacement/Instrument Panel Compartment Door Replacement) .