
i-350 L5-3.5L (2006)
^
4WD (3, 4)
11. Important: Use care not to drop the following items that will be removed along with the spacer plate:
^
The number 1 checkball
^
The 3-4 accumulator spring
Remove the spacer plate support.
^
RWD (1)
^
4WD (2)
12. Remove the following:
^
The spacer plate to valve body gasket
^
The spacer plate
^
The spacer plate to transmission case gasket
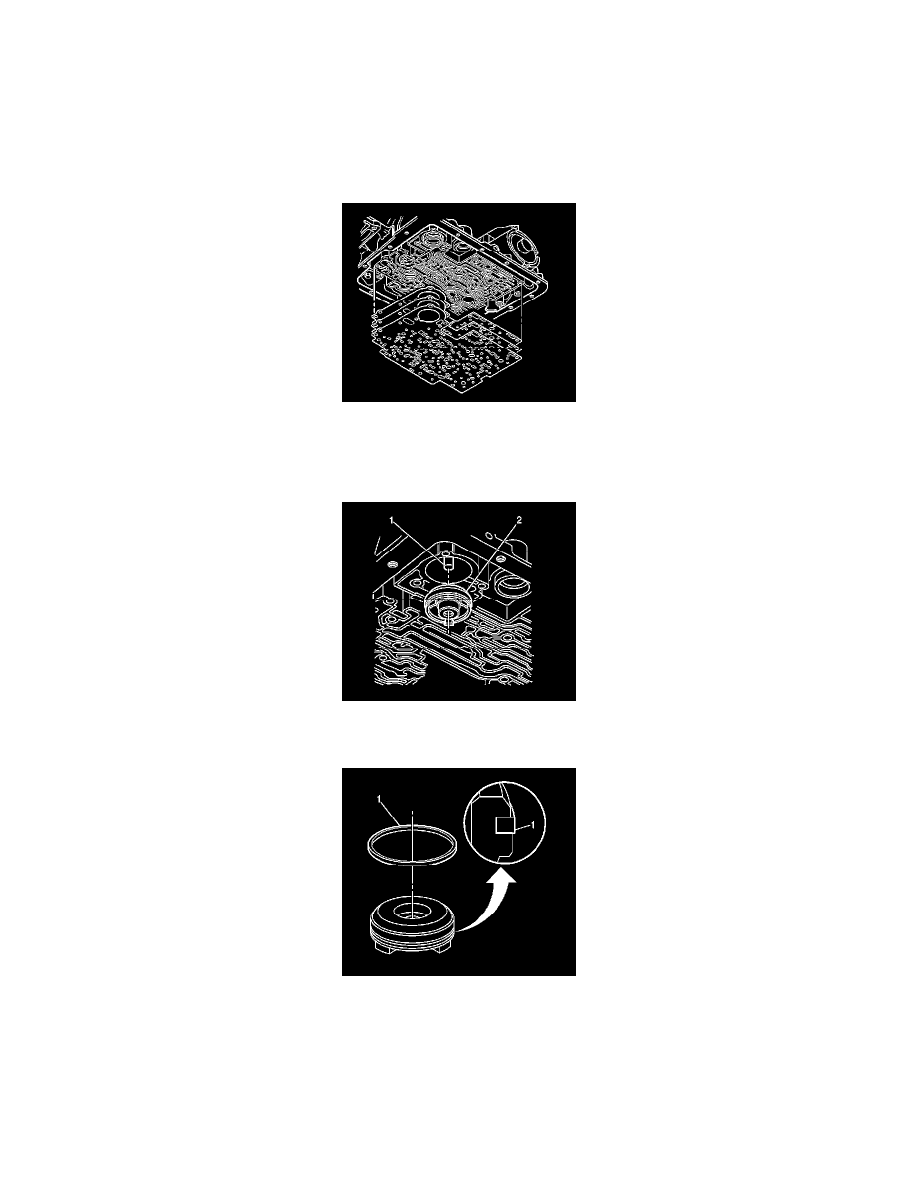
13. Remove the 3-4 accumulator piston (2).
14. Inspect the 3-4 accumulator spring for cracks.
15. Remove the 3-4 accumulator piston seal (1) from the 3-4 accumulator piston.
16. Inspect the 3-4 accumulator piston for the following defects:
^
Porosity
^
Cracks
^
Scoring
^
Nicks and scratches
Installation Procedure