Oasis S L4-2253cc 2.3L SOHC VTEC MFI (1998)

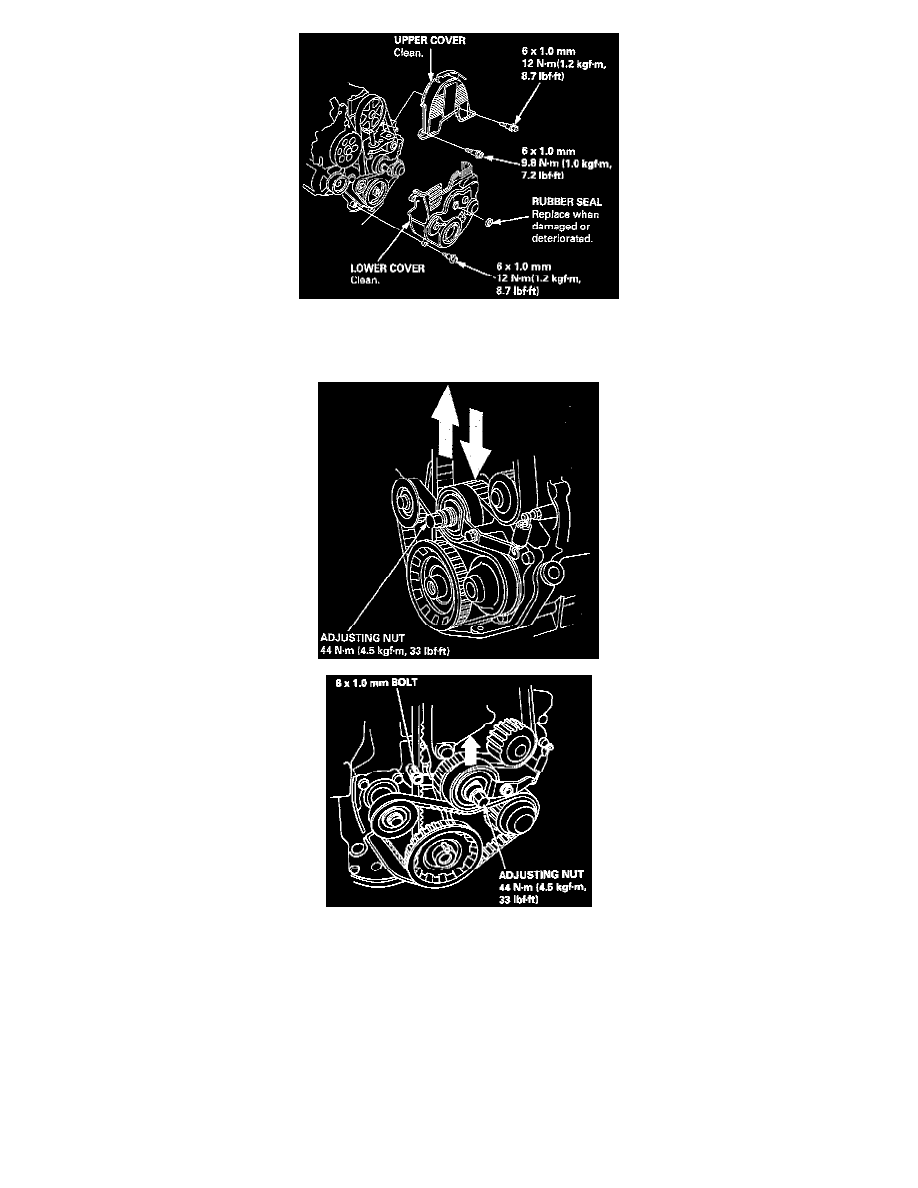
11. Remove the rubber seal from the adjusting nut, then remove the upper and lower covers.
NOTE: Do not use the upper and lower covers for storing removed items.
12. Loosen the adjusting nut V3 -1 turn. Push the tensioner to remove tension from the timing belt and balancer belt, then retighten the adjusting nut.
NOTE: When removing the balancer belt only:
^
Lock the timing belt adjuster arm in place by installing one of the 6 x 1.0 mm bolts.
^
Loosen the adjusting nut 2/3 - 1 turn. Push the tensioner to remove tension from the balancer belt, then retighten the adjusting nut.
13. Remove the balancer belt and timing belt.
INSTALLATION
Install the timing belt and balancer belt in the reverse order of removal.
Only key points are described here.
-
When installing only the balancer belt, go to step 13.
