Rodeo 2WD V6-3.2L (2003)

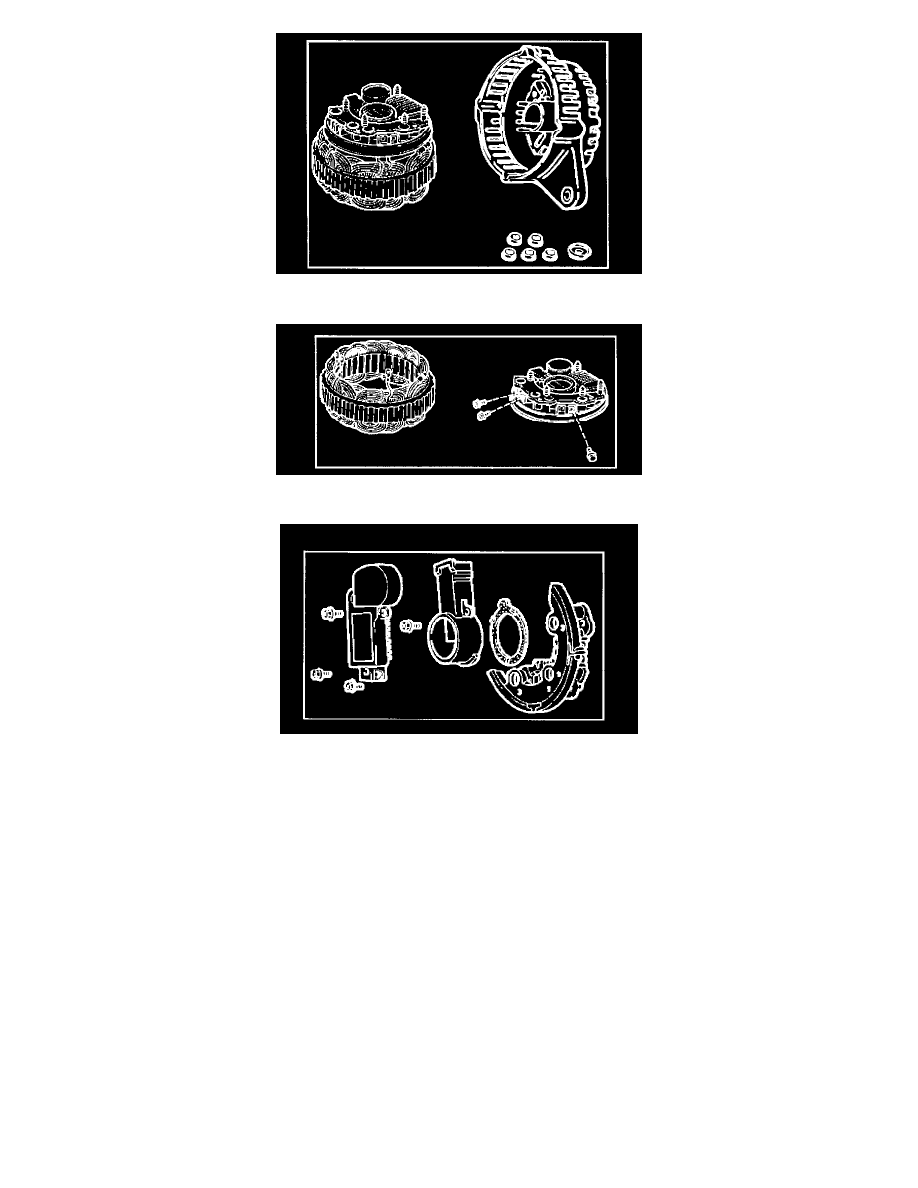
6. Separate the rear cover from the stator.
7. Remove bolts which secure stator terminal to rectifier terminal, and remove stator.
8. Remove bolts which secure regulator, rectifier and brush-holder, and separate these parts.
NOTE: Do not apply a shock or load to regulator, rectifier and brush holder.
Reassembly
To reassemble, follow the disassembly steps in the reverse order, noting the following points:
NOTE:
-
Never make battery connections with polarities reversed, or battery will be shorted via the diodes.
This will cause damage to the diodes.
-
Do not connect generator B terminal to ground; it is connected directly to the battery.
This cable will burn if it is connected to ground.
-
Make sure to disconnect the positive (+) terminal of the battery when quick-charging battery.
Diodes may be damaged due to abnormal pulse voltage generated bye the quick charger.
-
When reassembling the front section to rear section, insert a stiff wire into hole in the rear face of the rear cover from the outboard side to support
the brush in raised position, then insert the front section to which rotor is assembled.
-
Reassemble parts carefully to be sure they fit into their original position, paying attention to the insulated portions.
-
Wipe insulating tubes, washers and plates clean and install them in position carefully to avoid getting oil or grease on them.
