Rodeo Sport 2WD L4-2.2L (2002)

4. Remove the hatchgate hinge nuts from body side.
5. Remove the hatchgate glass.
-
When pulling down the hatchgate glass, exercise special care so as not to damage it.
-
Hatchgate glass assembly is heavy and removal operation requires two people.
6. Remove the two screws to remove hatchgate striker and fastener.
7. Remove the outside handle.
8. Remove the hinges.
9. Remove the high mount stoplight.
10. Remove the hatchgate finisher.
Installation
To install, follow the removal steps in the reverse order, noting the following points:
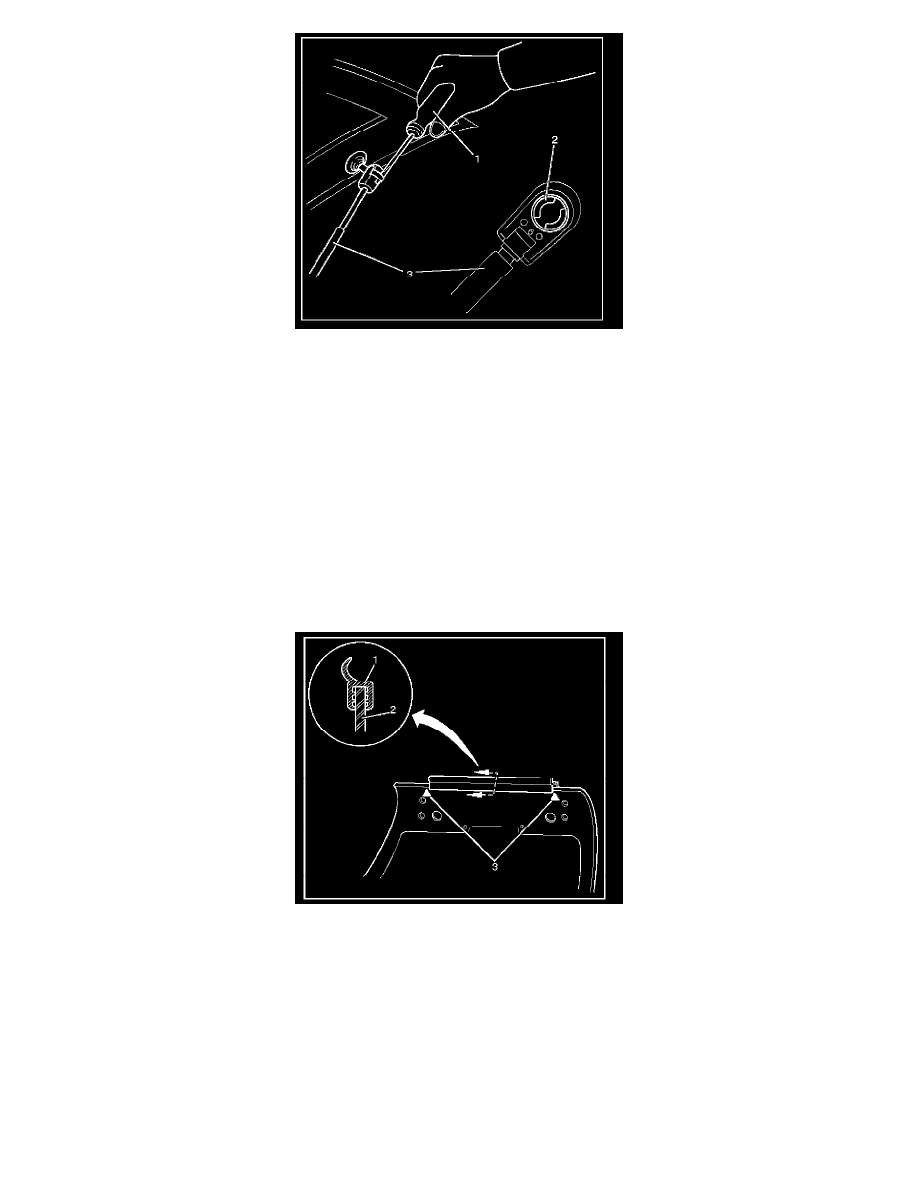
1. Attach the upper seal (1) to the hatchgate glass (2) indicated portion (3) so that the end of the glass contacts the bottom of the upper seal.
2. When installing the hatchgate glass, first attach the hinge to the hatchgate glass. Align the stud of the hinge to the hole at body while supporting
the hatchgate glass with two people at indicated positions (1), and then partially tighten the hinge to body nut (2).
After adjustment is completed, fully tighten the nut, hinge to body nut.
-
Hatchgate hinge assembly for left and right sides from each other.
