
Rodeo Sport 4WD V6-3.2L (2002)
18. Remove the trim cover (Seat cushion side).
Installation
To install, follow the removal steps in the reverse order, noting the following points:
1. Bolt-tightening order is very important. Carefully follow the installation procedure outlined below.
-
Install the inner and outer reclining device to the seat cushion and seat back. Tighten the bolts just enough to hold the reclining device in
position. Do not final-tighten the bolts.
-
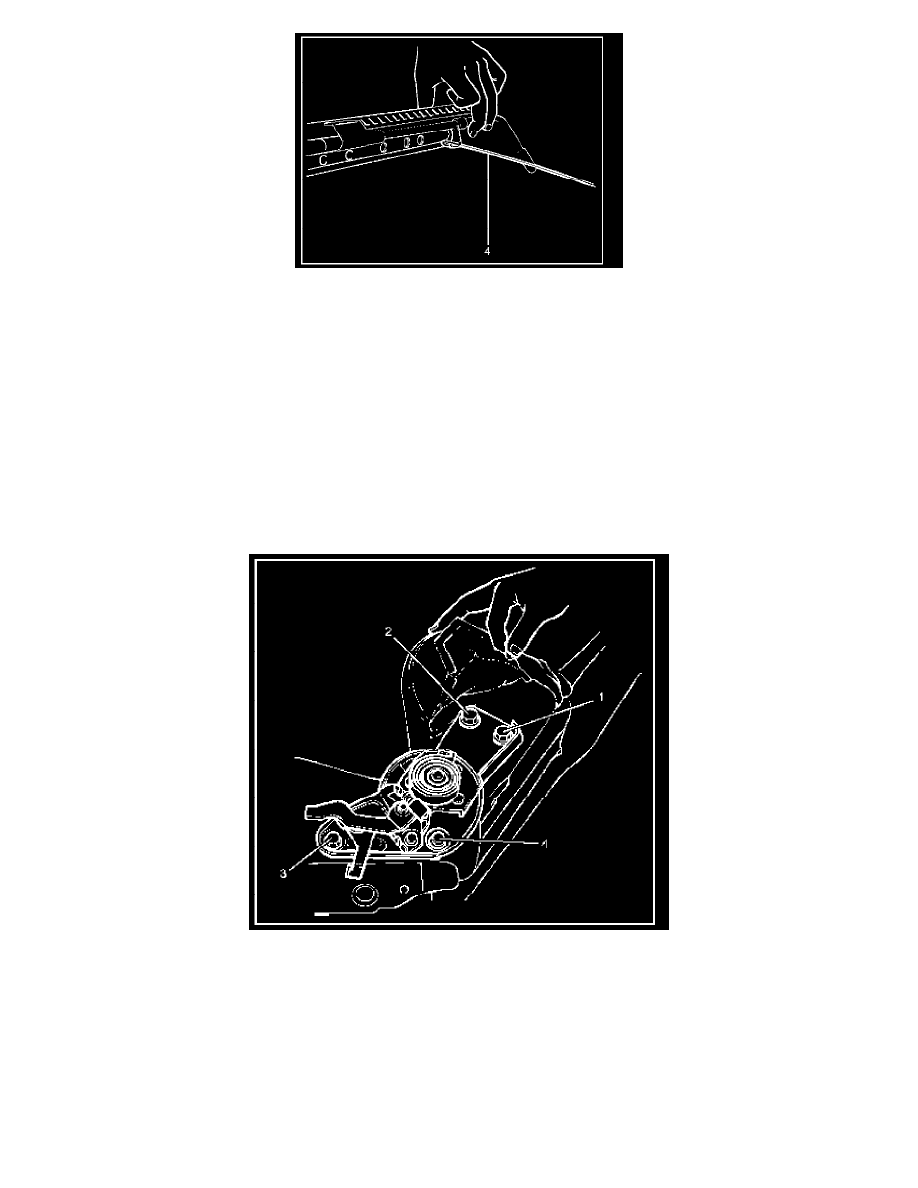
Final-tighten the inner reclining device bolts (1), (2) in that order to the seat back.
-
Final-tighten the outer reclining device bolts (3), (4) in that order to the seat back.
-
Final-tighten the inner reclining device bolts (3), (4) in that order to the seat cushion.
-
Final-tighten the outer reclining device bolts (3), (4) in that order to the seat cushion. Do not allow the reclining lever to move.
NOTE: To separate the seat back from the seat cushion, remove the seat cushion bolts (3), (4). Do not remove the seat back bolts (1), (2).
2. Tighten the reclining device fixing bolts to the specified torque.
Torque: 46 N.m (34 lb ft)
3. Tighten the front seat assembly fixing bolts to the specified torque.
Torque: 39 N.m (29 lb ft)
4. Tighten the front seat bolt buckle assembly fixing bolt to the specified torque.
Torque: 29 N.m (22 lb ft)