
Rodeo Sport 4WD V6-3.2L (2002)
2. Remove the bolt, suction pipe and O-ring.
3. Remove the connector, O-ring, relief valve and spring.
4. Remove the pressure switch assembly.
5. Remove the bolt, rear housing and O-ring.
6. Remove the snap ring.
7. Remove the shaft assembly.
8. Remove the oil seal.
Caution: When removing the oil seal, be careful not to damage the housing.
9. Remove the pump cartridge assembly from the front housing.
10. Remove two O-rings.
Inspection and Repair
Make all necessary adjustments, repairs, and part replacements if wear, damage, or other problems are discovered during inspection.
Rotor
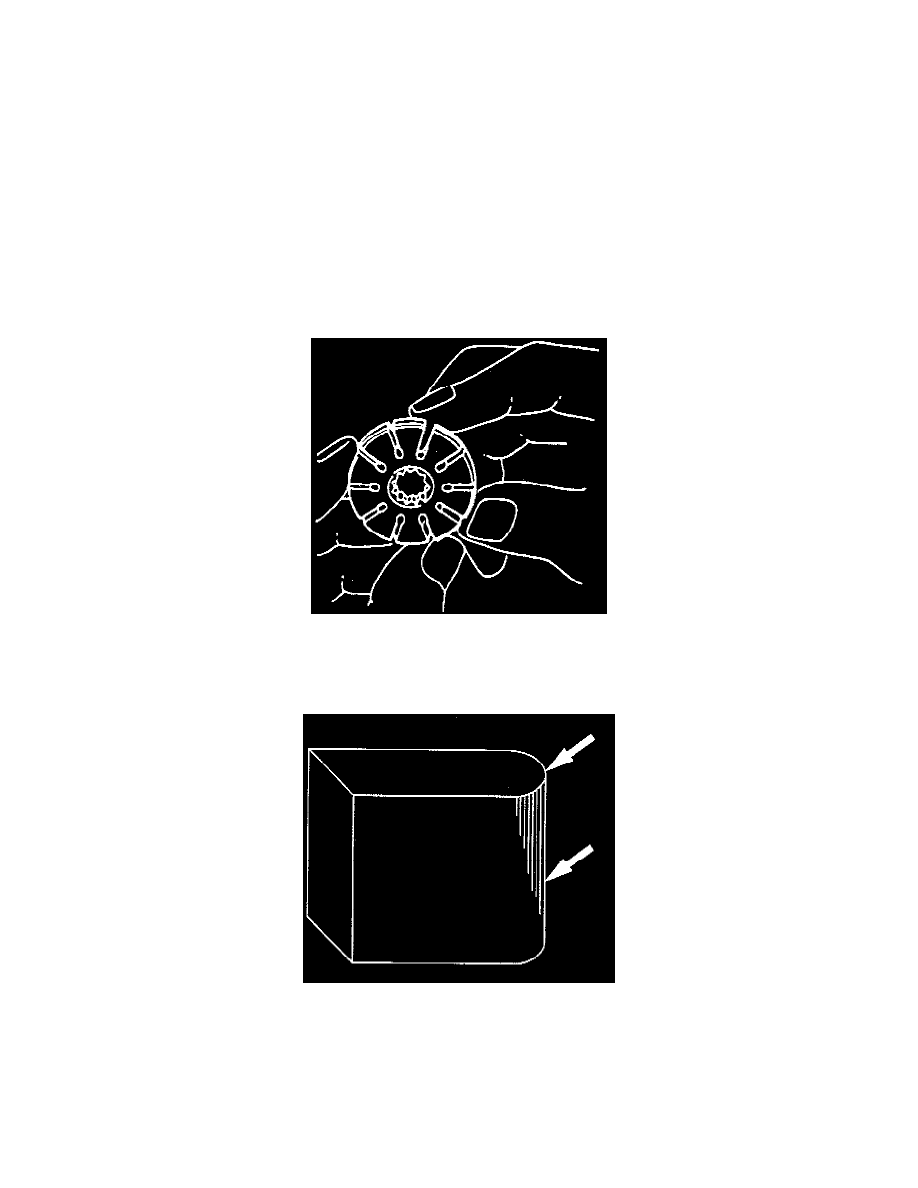
Check that the groove in the vane is free from excessive wear and that the vane slides smoothly. When part replacement becomes necessary, the pump
cartridge should be replaced as a subassembly.
Vane
Sliding faces of the vane should be free from wear. (Particularly the curved face at the tip that contact with the cam should be free from wear and
distortion). When part replacement becomes necessary, the pump cartridge should be replaced as a subassembly.
Cam
The inner face of the arm should have a uniform contact pattern without a sign of step wear. When part replacement becomes necessary, the pump
cartridge should be replaced as a subassembly.
Side Plate