
Trooper LS 2WD V6-3.5L (2001)
UNLIKELY EVENT OF ACCIDENTAL DEPLOYMENT. FAILURE TO FOLLOW PROCEDURES MAY RESULT IN PERSONAL INJURY.
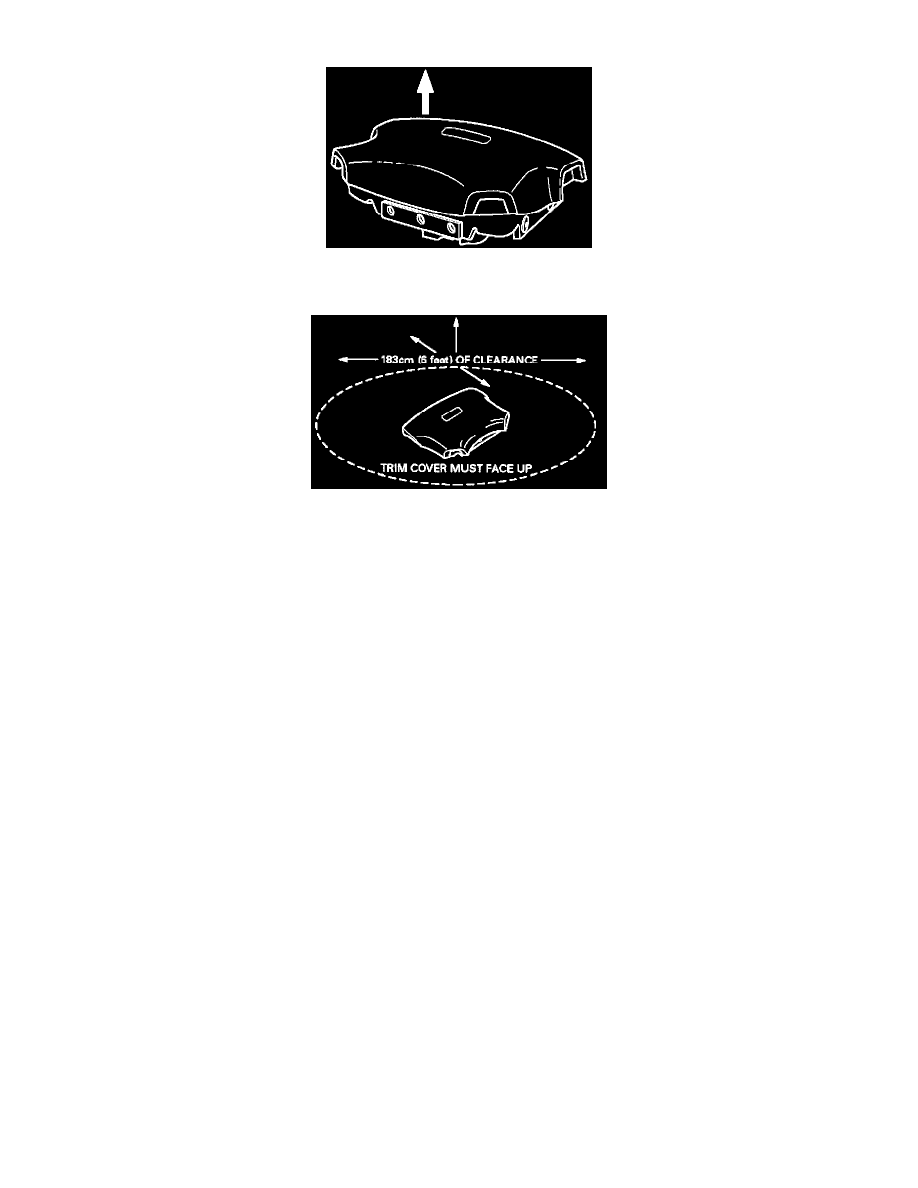
6. Place the driver air bag assembly on a work bench or other surface away from all loose or flammable objects with its trim cover facing up, away
from the surface.
7. Clear a space on the ground about 183 cm (six feet) in diameter where the driver air bag assembly is to be deployed. A paved, outdoor location
where there is no activity is preferred. If an outdoor location is not available, a space on the shop floor where there is no activity and sufficient
ventilation is recommended. Ensure no loose or flammable objects are within the deployment area.
8. Place the driver air bag assembly, with its trim cover facing up, on the ground in the space just cleared.
9. Stretch the SRS deployment harness and pigtail adapter from the driver air bag assembly to its full length.
10. Place a power source near the shorted end of the SRS deployment harness. Recommended application: 12 volts minimum, 2 amps minimum. A
vehicle battery is suggested.
11. Connect the driver air bag assembly to the pigtail adapter on the SRS deployment harness. Deployment harness shall remain shorted and not be
connected to a power source until the air bag is to be deployed. The driver air bag assembly will immediately deploy the air bag when a power
source is connected to it.
NOTE: Ensure that the pigtail adapter is firmly seated into the driver air bag assembly connector. Failure to fully seat the connectors may leave
the shorting bar located in the driver air bag assembly connector functioning (shorted) and may result in nondeployment Of the driver air bag
assembly.
12. Verify that the area around the driver air bag assembly is clear of all people and loose or flammable objects.
13. Verify that the driver air bag assembly is resting with its trim cover facing up.
14. Notify all people in the immediate area that you intend to deploy the driver air bag. The deployment will be accompanied by a substantial noise
which may startle the uninformed.
15. Separate the two banana plugs on the SRS deployment harness.
NOTE: When the air bag deploys, the driver air bag assembly may jump about 30 cm (one foot) vertically. This is a normal reaction of the driver
air bag to the force of the rapid gas expansion inside the air bag.
NOTE: When the air bag deploys, the rapid gas expansion will create a substantial noise. Notify all people in the immediate area that you intend
to deploy the driver air bag.
WARNING: DEPLOYMENT HARNESS SHALL REMAIN SHORTED AND NOT BE CONNECTED TO A POWER SOURCE UNTIL
THE AIR BAG IS TO BE DEPLOYED. THE AIR BAG ASSEMBLY WELL IMMEDIATELY DEPLOY THE AIR BAG WHEN A
POWER SOURCE IS CONNECTED TO IT. CONNECTING THE DEPLOYMENT HARNESS TO THE POWER SOURCE SHOULD
ALWAYS BE THE LAST STEP IN THE AIR BAG ASSEMBLY DEPLOYMENT PROCEDURE. FAILURE TO FOLLOW
PROCEDURES IN THE ORDER LISTED MAY RESULT IN PERSONAL INJURY.
16. Connect the SRS deployment harness wires to the power source to immediately deploy the driver air bag. Recommended application: 12 volts
minimum, 2 amps minimum. A vehicle battery is suggested.
17. Disconnect the SRS deployment harness from the power source.
18. Short the two SRS deployment harness leads together by fully seating one banana plug into the other.
19. In the unlikely event that the driver air bag assembly did not deploy after following these procedures, proceed immediately with Steps 24 through