
Trooper LS 2WD V6-3.5L (2001)
commonly sold as an edible salt-substitutes. even if water is applied. Post deployment products are relatively pH neutral. Disposing the inflator by
burying it in a landfill will not products any hazardous products. As with any dusty environment, safety goggles, dust mask and gloves should be worn.
Damaged Airbag/Tensioner Special Procedure
WARNING: If an airbag (or Seat Belt Tensioner) cannot be deployed, it should not be treated as normal scrap; it should still be considered a
potentially explosive device that can cause serious injury.
Special Procedure For Damaged Airbag
1. If installed in a vehicle, follow the removal procedure.
2. In all cases, make a short circuit by twisting together the two airbag inflator wires.
3. Package the airbag in exactly the same packaging that the new replacement part came in.
4. Mark the outside of the box "DAMAGED AIRBAG (or TENSIONER) NOT DEPLOYED" so it does not get confused with your parts stock.
5. Contact your Isuzu District Service Manager for how and where to return it for disposal.
Removal and Installation
WARNING: SAFETY PRECAUTIONS MUST BE FOLLOWED WHEN HANDLING A DEPLOYED AIR BAG ASSEMBLY. AFTER
DEPLOYMENT, THE AIR BAG ASSEMBLY SURFACE MAY CONTAIN A SMALL AMOUNT OF SODIUM HYDROXIDE, A
BY-PRODUCT OF THE DEPLOYMENT REACTION, THAT IS IRRITATING TO THE SKIN AND EYES. MOST OF THE POWER ON
THE AIR BAG ASSEMBLY IS HARMLESS. AS A PRECAUTION, WEAR GLOVES AND SAFETY GLASSES WHEN HANDLING A
DEPLOYED AIR BAG ASSEMBLY, AND WASH YOUR HANDS WITH MILD SOAP AND WATER AFTERWARDS.
WHEN CARRYING A LIVE AIR BAG ASSEMBLY, MAKE SURE THE BAG AND TRIM COVER ARE POINTED AWAY FROM YOU.
NEVER CARRY AIR BAG ASSEMBLY BY THE WIRES OR CONNECTOR ON THE UNDERSIDE OF MODULE. IN THE CASE OF AN
ACCIDENTAL DEPLOYMENT, THE BAG WILL THEN DEPLOY WITH MINIMAL CHANCE OF INJURY. WHEN PLACING ALIVE
AIR BAG ASSEMBLY ON A BENCH OR OTHER SURFACE, ALWAYS FACE BAG AND RIM COVER UP, AWAY FROM THE
SURFACE NEVER REST A STEERING COLUMN ASSEMBLY ON THE STEERING WHEEL WITH THE AIR BAG ASSEMBLY FACE
DOWN AND COLUMN VERTICAL. THIS IS NECESSARY SO THAT A FREE SPA CE IS PROVIDED TO ALLOW THE AIR BAG
ASSEMBLY TO EXPAND IN THE UNLIKELY EVENT OF ACCIDENTAL DEPLOYMENT. OTHERWISE, PERSONAL INJURY COULD
RESULT.
NOTE: In the event deployment has occurred, inspect Coil assembly wire for any signs of scorching, melting or any other damage due to excessive
heat. If the coil has been damaged, replace it.
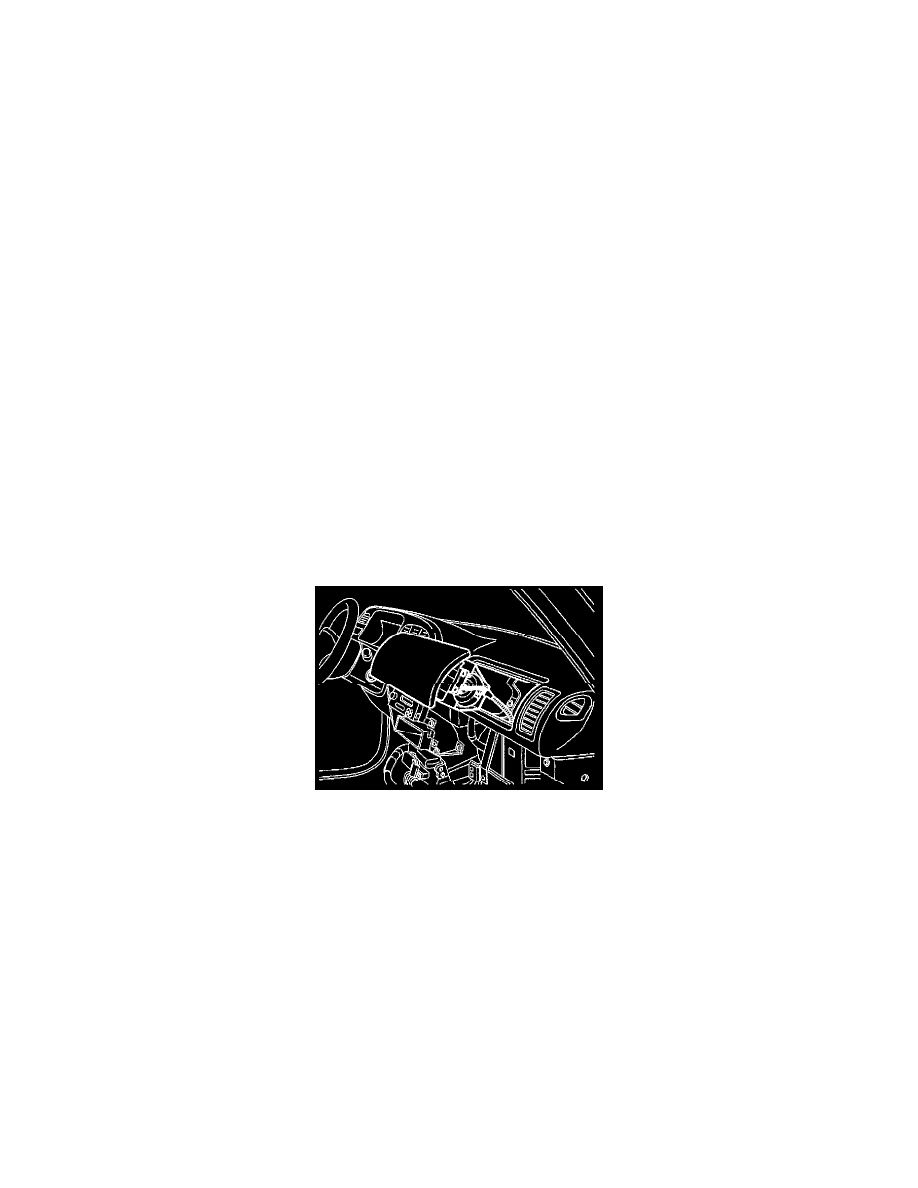
Passenger Airbag Assembly
Removal
1. Disable the SRS.
2. Remove gear control knob.
3. Remove front console assembly.
4. Remove rear console assembly and disconnect harness connector.
5. Remove ECM and SDM cover.
6. Remove glove box assembly with lid.
7. Remove glove box cover.
8. Remove instrument panel assist side lower cover.
9. Disconnect engine hood opener lever.
10. Remove instrument panel door side lower cover.
11. Remove lower cluster with ashtray.
12. Remove meter cluster assembly and disconnect harness connector.
13. Remove instrument panel lower center cover.
14. Disconnect passenger air bag assembly harness connector.
15. Remove air bag assembly fixing bolts and nuts.
16. Remove passenger air bag assembly.