
Trooper LTD 4WD V6-3.5L (2002)
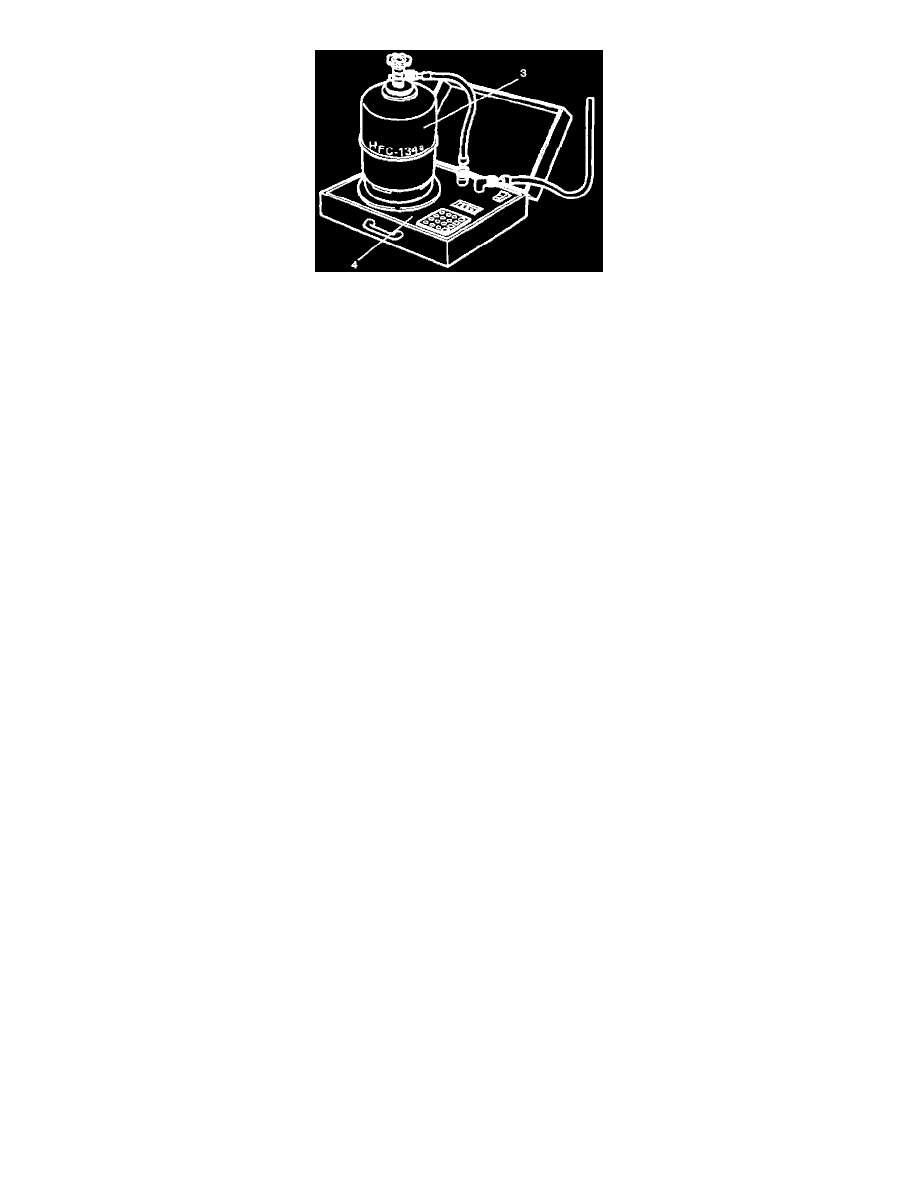
b. Open the low side vale on the manifold gauge set. Refer to the manufacturer's instructions for a weight scale charging station.
6. Perform a system leak test:
-
Charge the system with approximately 200 g (0.44 lbs) of HFC-134a.
-
Make sure the high pressure valve of the manifold gauge is closed.
-
Check to ensure that the degree of pressure does not change.
-
Check for refrigerant leaks by using a HFC-134a leak detector.
-
If a leak occurs, recover the refrigerant. Repair the leak and start all over again from the first step of evacuation.
7. If no leaks are found, continue charging refrigerant to the air conditioning system.
-
Charge the refrigerant until the scale reading decreases by the amount of the charge specified.
Specified amount: 800 g (1.76 lbs)
-
If charging the system becomes difficult:
1. Run the engine at idle and close all the vehicle doors.
2. Turn A/C switch "ON".
3. Set the fan switch to its highest position.
4. Set the air source selector lever to "CIRC".
5. Slowly open the low side valve on the manifold gauge set.
WARNING: BE ABSOLUTELY SURE NOT TO OPEN THE HIGH PRESSURE VALVE OF THE MANIFOLD GAUGE.
SHOULD THE HIGH PRESSURE VALVE BE OPENED, THE HIGH PRESSURE REFRIGERANT WOULD FLOW
BACKWARD, AND THIS MAY CAUSE THE REFRIGERANT CONTAINER TO BURST.
8. When finished with the refrigerant charging, close the low pressure valve of the manifold gauge and container valve.
9. Check for refrigerant leaks.