
Trooper LTD 4WD V6-3.5L (2002)
Outside Temperature Display: Technical Service Bulletins
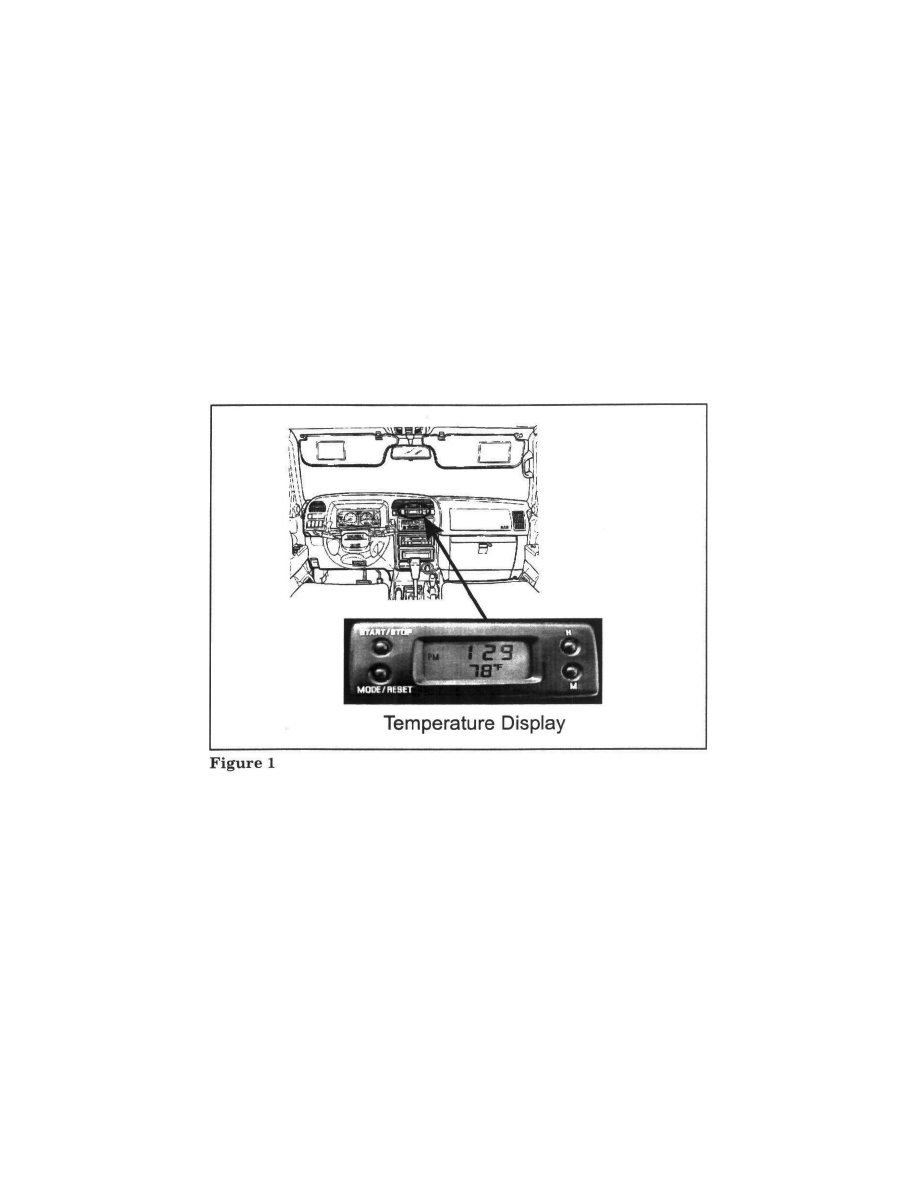
Instruments - Temperature Display Mode Change Procedure
BULLETIN NUMBER:
IB02-04-S004
ISSUE DATE:
APRIL 2002
GROUP:
ELECTRICAL
2002 TROOPER (UX) PROCEDURES TO CHANGE THE "TEMPERATURE DISPLAY" MODE (SUPERSEDES IB02-04-S002)
AFFECTED VEHICLES
2002 Trooper (UX)
SERVICE INFORMATION
In some cases, you may elect to change the Temperature Display reading from Centigrade to Fahrenheit or from Fahrenheit to Centigrade. On 2002
Trooper models the Temperature Display can be changed utilizing the following procedure:
1.
Ensure that the display is showing CLOCK only. Turn ignition ON while pressing MODE/RESET switch by the display. It should show CLOCK
and 0/S TEMP.
2.
Turn on STOP/START switch to start display. This enables the unit to set the destination specific display mode.
3.
If the display on screen is correct, turn off the MODE/RESET and STOP/Start buttons in order to complete the setting process. MODE/RESET
must be turned off within 5 seconds of ignition switch ON. (This setting mode will be automatically canceled when the process takes more than 5
seconds. If this happens, start the process from the beginning.)
4.
When a different setting needs to be selected, after the number 3 process turn off MODE/RESET, then turn on again. The display will then show
the next destination setting. By repeating the on and off process, choose the desired setting. To complete the process, turn off MODE/RESET and
STOP/START switches in that order. When the setting process is completed correctly the display flashes for one (1) second and stabilizes for two
(2) seconds, Then automatically goes back to CLOCK and 0/S TEMP display.
5.
If, for some reason or error, the setting process was incomplete the display remains the same as the original setting.