Trooper S 2WD V6-3.5L (2001)

-
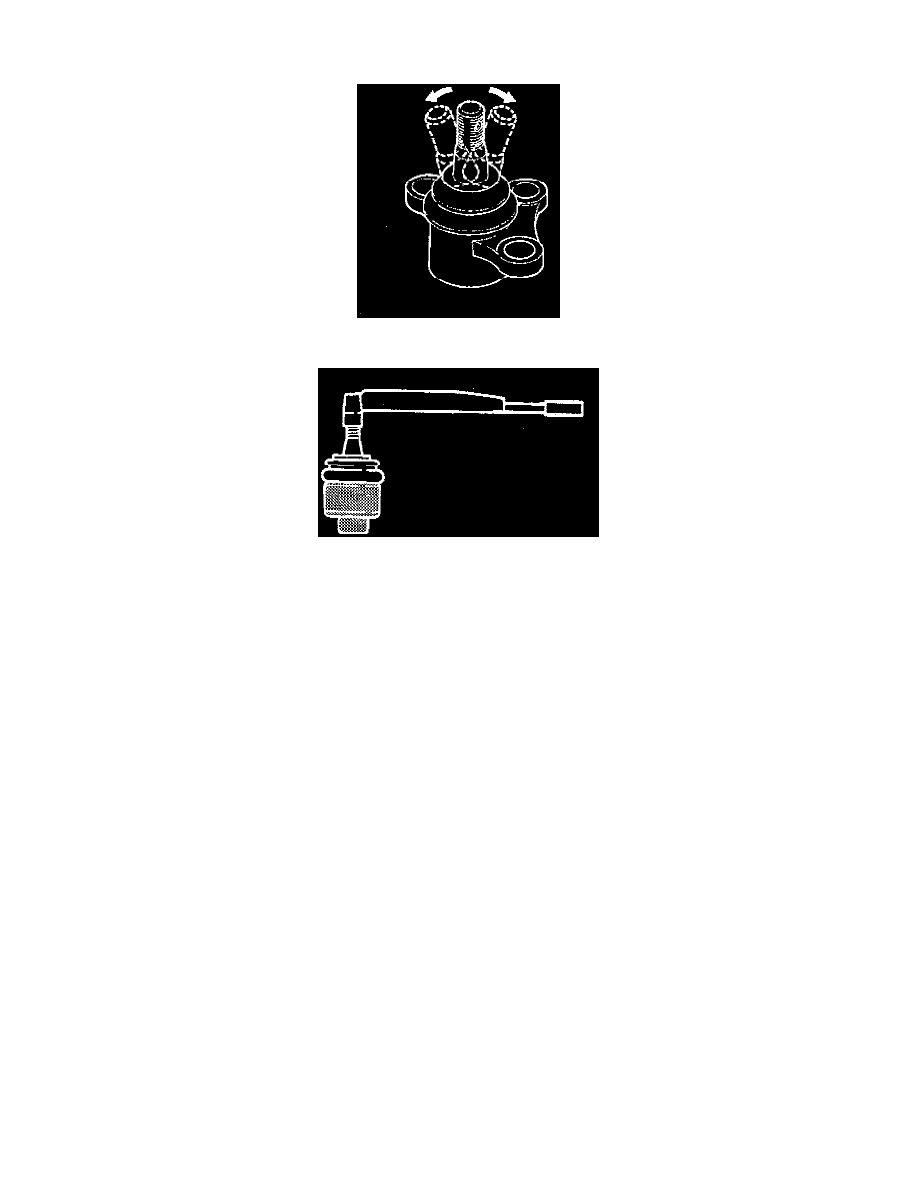
Inspect the lower end boot for damage or grease leak. Move the ball joint as shown in the figure to confirm its normal movement.
-
Inspect screw/taper area of ball for damage.
-
If any defects are found by the above inspections, replace the ball joint assembly with new one.
-
After moving the ball joint 4 or 5 times, attach nut then measure the preload.
Starting torque: 0.5 - 3.2 Nm (0.4 - 2.4 ft. lbs.)
-
If the above limits specified are exceeded, replace the ball joint assembly.
Installation
1. Install upper ball joint.
2. Install bolt and nut, then tighten them to the specified torque.
Torque: 57 Nm (42 ft. lbs.)
3. Install nut and cotter pin, then tighten the nut to the specified torque with just enough additional torque to align cotter pin holes.
Install new cotter pin.
Torque: 98 Nm (72 ft. lbs.)
