
VehiCROSS 4WD V6-3.5L (1999)
4. Remove the rear quarter protector.
-
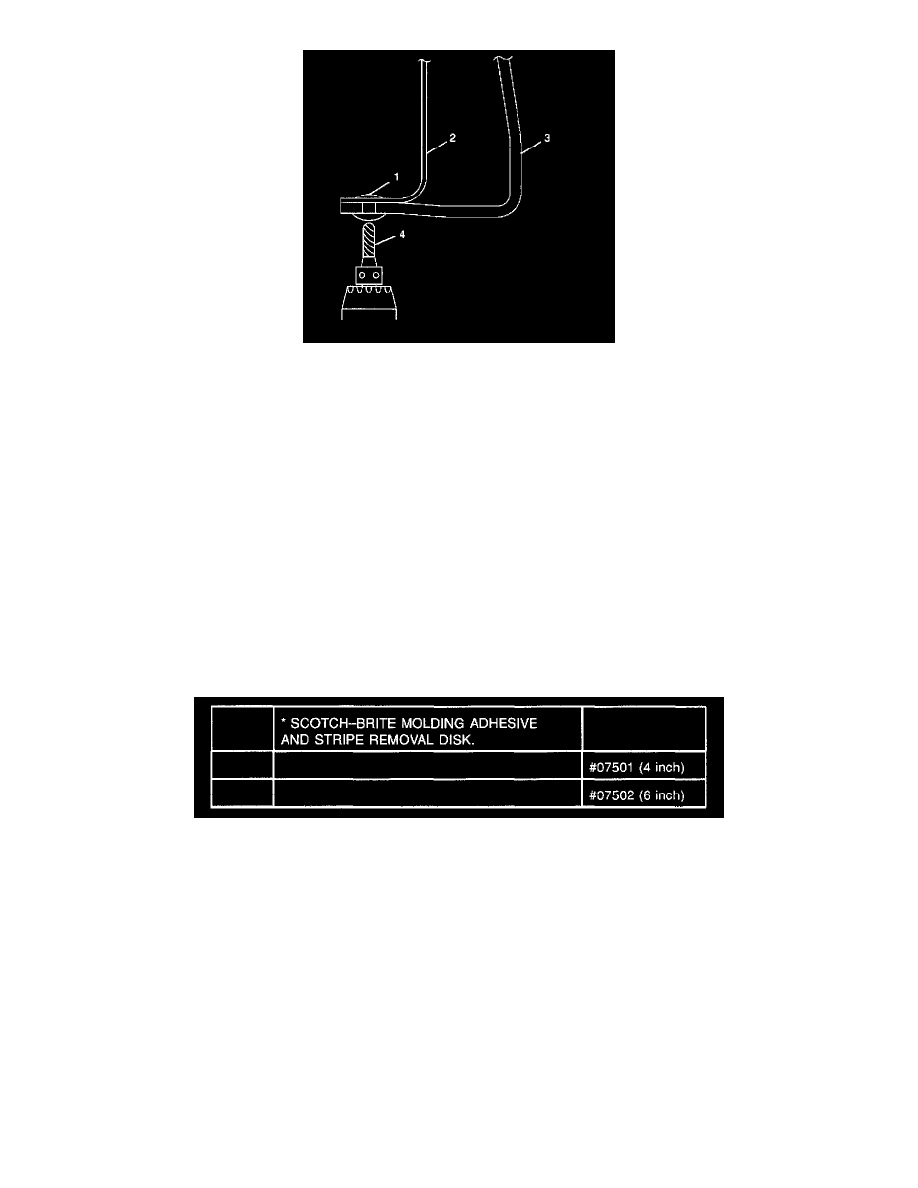
Let a 5 mm (0.2 in) drill (4) go through the five blind rivets (1) to disengaged riveted portions.
-
Remove the six inside hex screws, the three fixing screws, the fixing bolt and disengage the seven clips (LH) or six clips (RH).
-
Pull out the portion of the double-sided adhesive tape of protector from body panel carefully.
5. Remove the rear side marker light.
-
Disconnect the connector.
-
Remove the two fixing nuts.
6. Remove the fuel filler lid assembly (RH only).
-
Remove the four fixing nuts and seven fixing bolts.
7. Remove the front door protector.
-
Remove the four inside hex screws and disengage the six clips.
-
Pull out the portion of the double-sided adhesive tape of protector from body panel carefully.
Installation
To install, follow the removal steps in the reverse order, noting following points:
1. Use a new double-sided adhesive tape whenever installing the front fender protector front door protector and rear quarter protector. Using a white
gasoline, clean the places in advance where a double-sided adhesive tape is affixed.
2. To tear the remaining old double-sided adhesive tape off, use 3M * or equivalent.
*