
VehiCROSS 4WD V6-3.5L (1999)
Valve opening vacuum kPa (psi) 1.96 - 4.91 (0.28 - 0.71)
Radiator Core
1. A bent fin may result in reduced ventilation and overheating may occur. All bent fins must be straightened. Pay close attention to the base of the
fin when it is being straightened.
2. Remove all dust, bugs and other foreign material.
Flushing The Radiator
Thoroughly wash the inside of the radiator and the engine coolant passages with cold water and mild detergent.
Remove all signs of scale and rust.
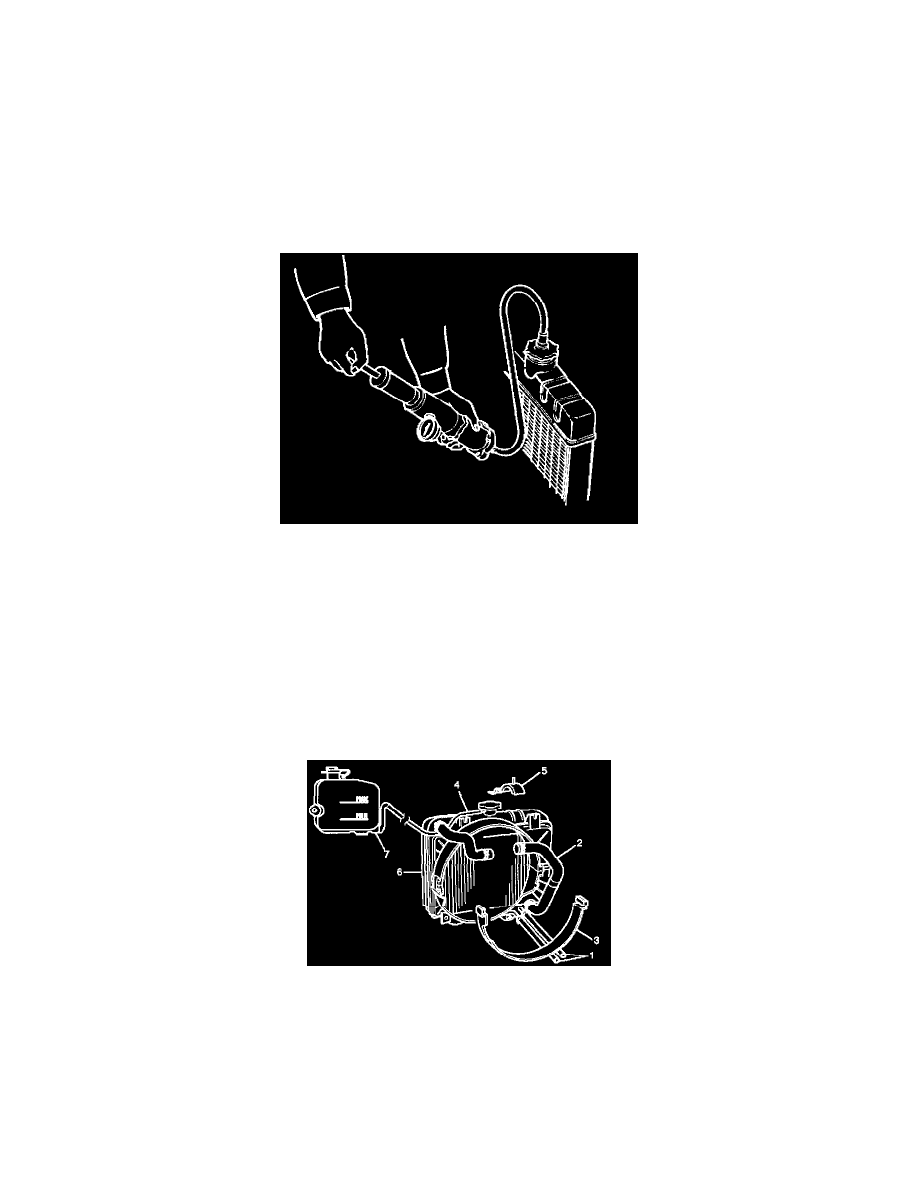
Cooling System Leakage Check
Use a radiator cap tester to force air into the radiator through the filler neck at the specified pressure of 196 kPa (28.5 psi) with a cap tester:
^
Leakage from the radiator
^
Leakage from the coolant pump
^
Leakage from the water hoses
^
Check the rubber hoses for swelling.
Cap tester: J-24460-01
Adapter: J-33984-A
Installation
To install, follow the removal steps in the reverse order, noting the following points:
1. Install rubber cushions on both sides of radiator bottom.
2. Install radiator assembly with hose, taking care not to damage the radiator core with a fan blade.
3. Install bracket (6) and support the radiator upper tank with the bracket (5) and secure the radiator.
4. Connect reserve tank hose (4).
5. Install lower fan guide (3).
6. Connect radiator inlet hose and outlet hose to the engine.
7. Connect oil cooler hose (1) to automatic transmission.
8. Connect battery ground cable.