
Majestic L6-3.6L (1989)
Bell Housing: Technical Service Bulletins
Engine Oil Sump - Install to Prevent Drive Plate Cracks
12-40
Engine Oil Sump - Installation Procedure -
To Prevent Engine Drive Plate Cracks
MODEL:
AJ6 Engines
DATE:
11/92
ISSUE:
Incorrect installation of the engine oil sump can distort the transmission adaptor and cause the engine drive plate to crack.
ACTION:
If the engine drive plate is cracked, perform the following:
^
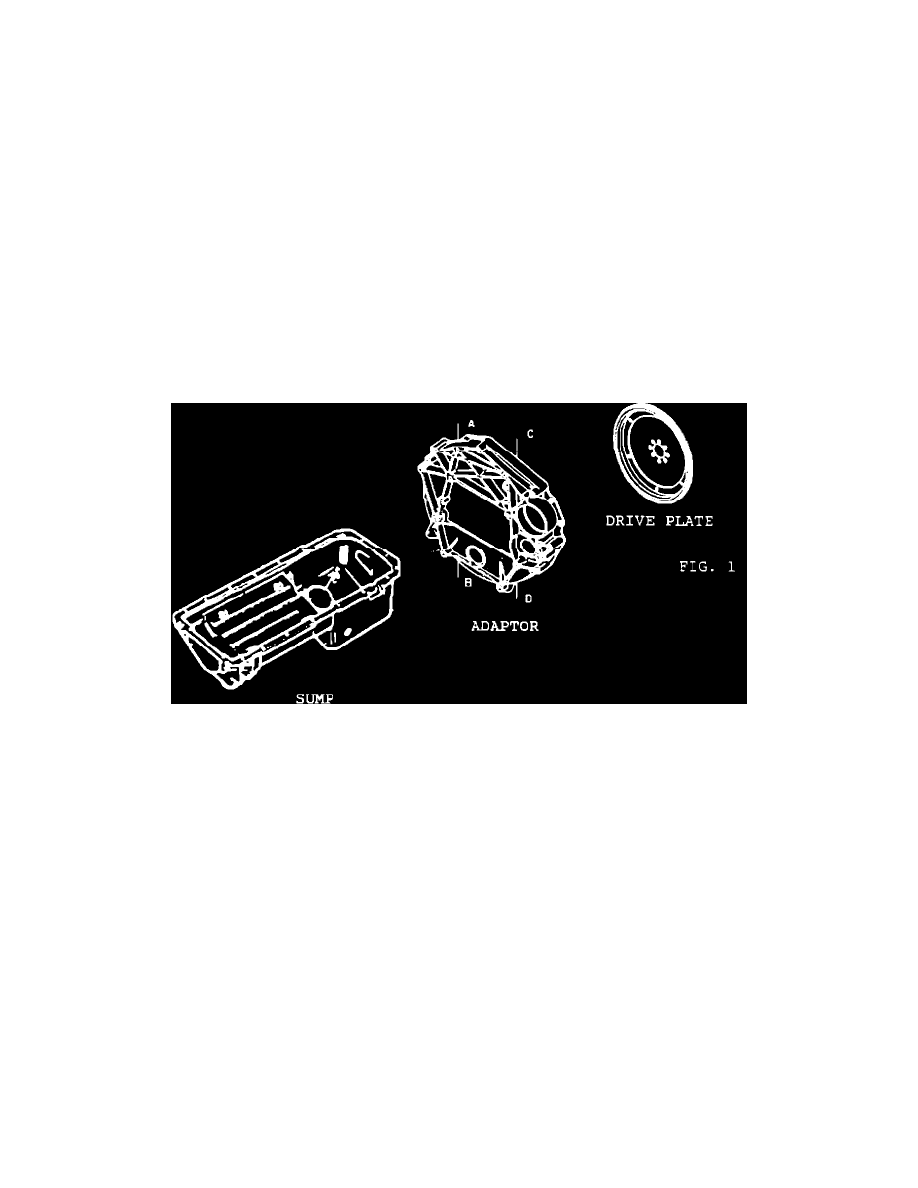
Remove the drive plate. Check for distortion of the transmission adaptor using a straight edge across planes AB and CD, (Fig. 1).
^
If the adaptor is distorted, replace it. DO NOT install the two lower transmission to sump bolts at this time. Remove and install the engine sump as
follows:
Revised oil sump installation procedure:
Refer to the XJS Service Manual section 12.60.38 and use the following additional instructions to seat the sump against the transmission adaptor:
^
While lifting the sump into position, push it rearward against the transmission adaptor.
^
Install four sump to crankcase bolts, two on each long side. Lightly tighten the four bolts in a diagonal pattern, then loosen 1/4 turn each. This will
allow the sump to move as the adaptor plate bolts are tightened.
^
Install and tighten the two adaptor plate to sump bolts, then loosen 1/2 turn each.
NOTE:
If the transmission has been removed, use 1" spacers on the transmission to engine mounting bolts.
Install the remaining sump to crankcase bolts.
^
Torque all of the sump to crankcase bolts to 23-27, N-m (17-20 ft.lbs.)
^
Torque the two adaptor plate to sump bolts to 49-54 N-m (36-40 ft.lbs.).