
Sovereign L6-4.0L (1991)
Fan Shroud: Service and Repair
RENEW
- Disconnect the battery.
- Disconnect the upper and lower fans multi-way connectors and displace the harnesses from the fans motor body securing tangs.
- Cut and remove the tie-strap securing the high pressure ride level hose.
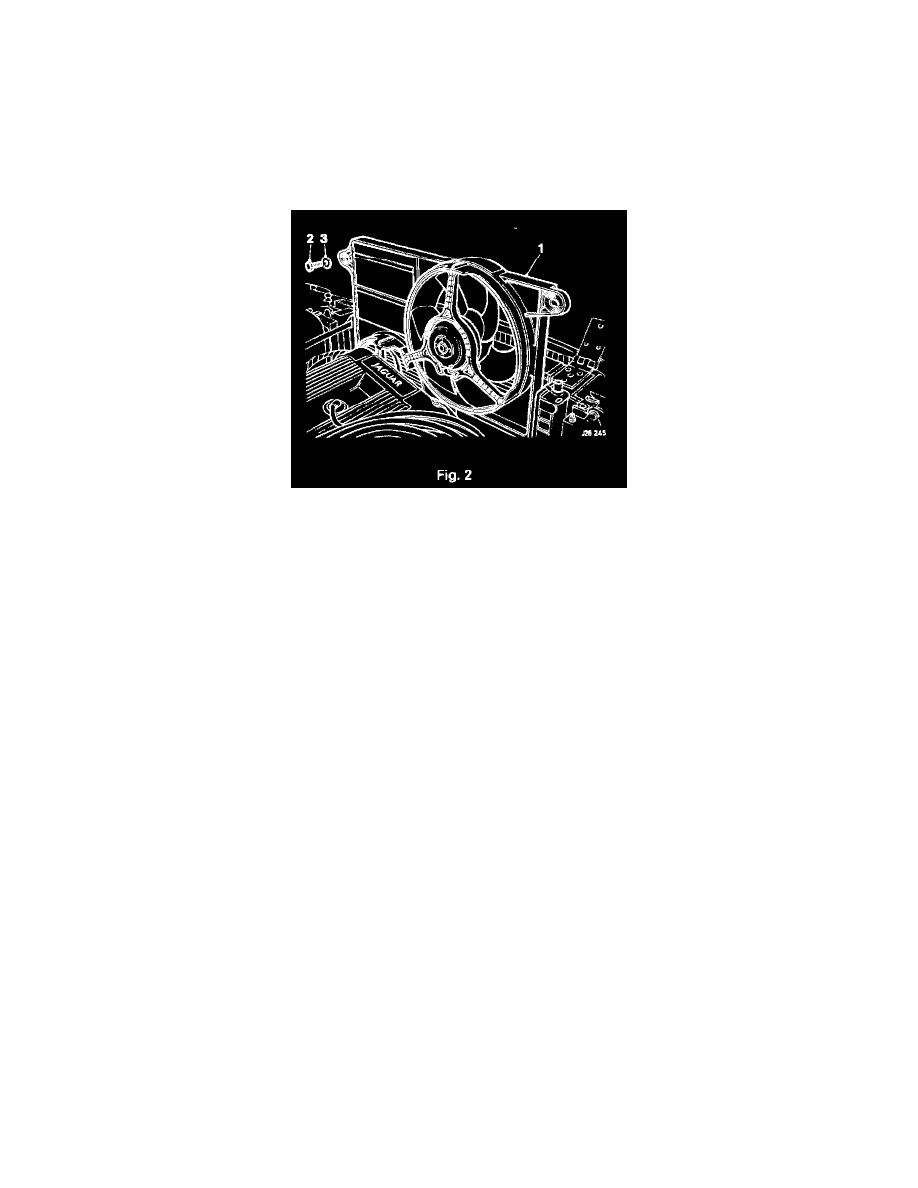
- Remove the two screws and washers (2,3 Fig. 2) and raise the fan cowl assembly (1 Fig. 2) clear of its mountings.
- Lower the new fan cowl assembly into position ensuring that the lugs to the lower edge of the assembly engage into the sockets on the radiator.
- Secure the fan cowl assembly (1 Fig. 2) into position with the two screws and washers already removed (2,3 Fig. 2).
- Reposition the two harnesses and secure into the fans motor body tangs. Reconnect the multi-way connectors.
- Secure the high pressure ride level hose to the fan cowl with a suitable tie-strap.
- Reconnect the battery.