
Sovereign L6-4.0L (1991)
Blower Motor: Service and Repair
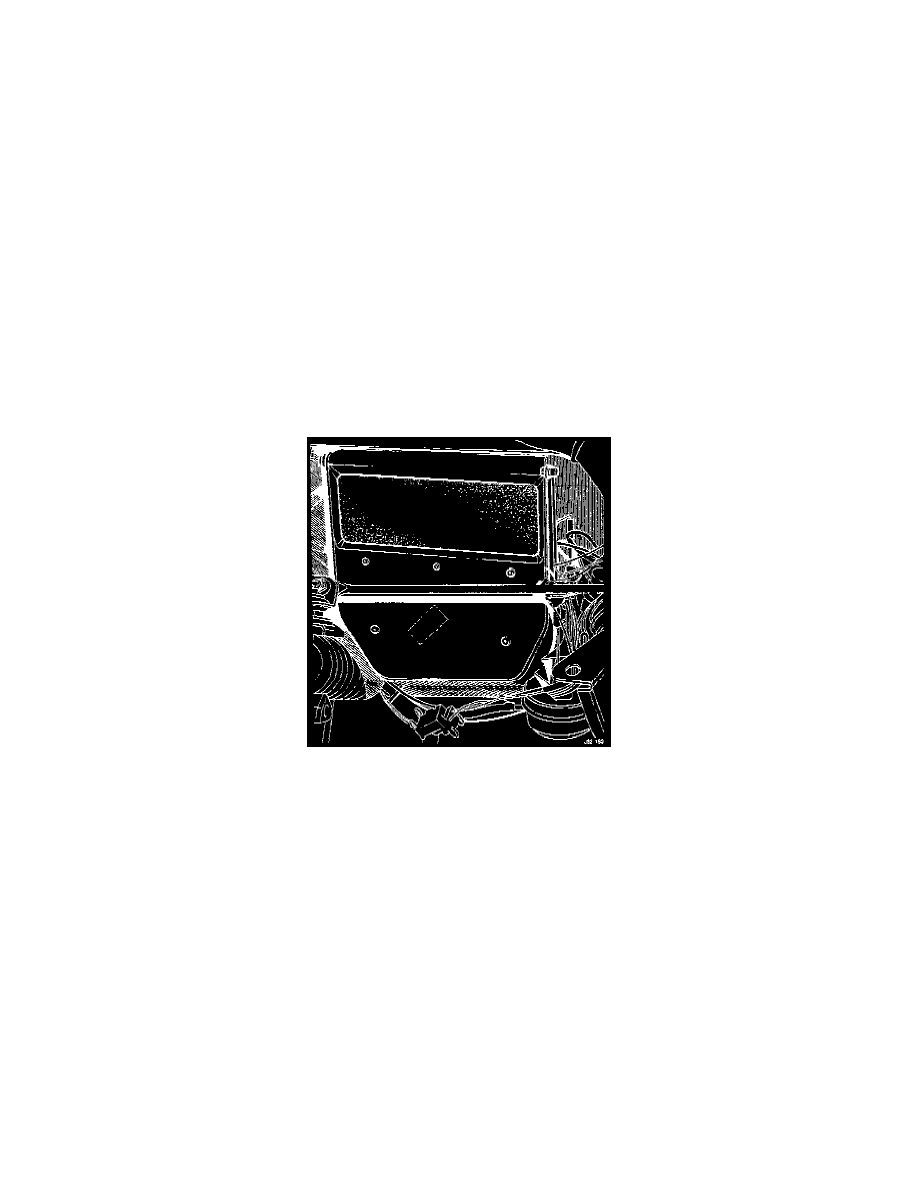
Blower Assembly - Passenger Side
Blower Assembly - Passenger Side
Removal
1. Disconnect the battery earth lead.
2. Remove the passenger's dash liner.
3. Remove the glove box lid and glove box.
4. Remove the lower screw securing the central processor.
5. isplace the earth lead and remove the spacers.
6. Slacken the upper screw securing the processor.
7. Raise the processor to disengage from the upper screws and place downwards.
8. Remove the screws and bolts securing the processor mounting bracket.
9. Remove the bracket.
10. Remove the bolts securing the blower motor assembly.
11. Disconnect the cable harness multi-plug connector.
12. Disconnect the in-car sensor hose from the pliable trunking.
13. Disconnect the vacuum pipe from the servo.
14. Remove the clip retaining the pliable trunking to the heater unit.
15. Displace the pliable trunking from the heater unit.
16. Remove the blower assembly
17. Remove the gasket and trunking from the blower motor assebly
18. Secure the trunking and new gasket to the new blower motor assembly.
19. Smear the gasket with glue and fit the assembly in position.
20. Fit but do not tighten the securing bolts
21. Connect the vacuum hose to the servo
22. Connect the cable harness multi-plug connectors
23. Connect the in-car sensor to the trunking.
24. Connect and secure with retaining clip the trunking to the heater unit.
25. Tighten the blower motor securing bolts.
26. Fit the central processor in the reverse order of the removal procedure.
27. Refit the dash liner.