
Sovereign L6-4.0L (1991)
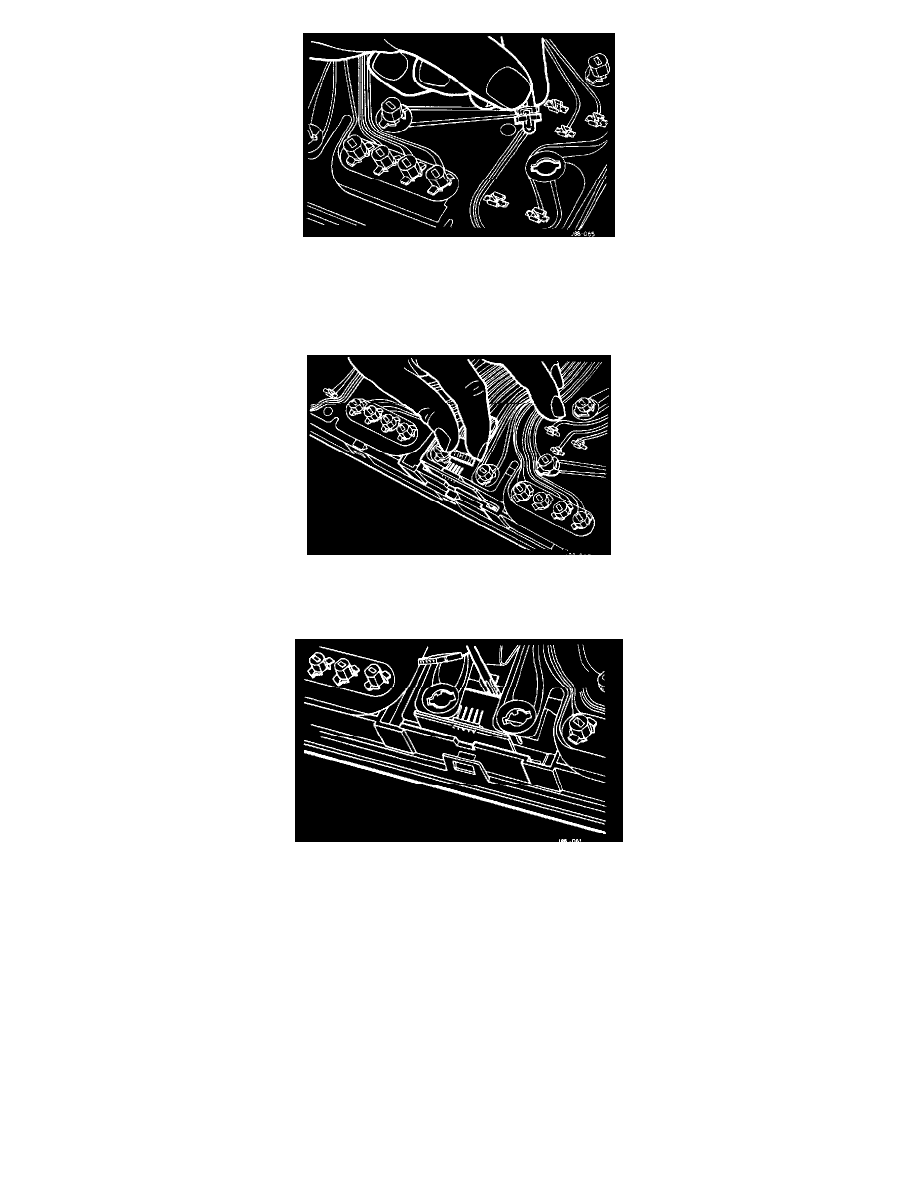
Fig 3
Displace and remove all warning bulbs (bayonet fitting, twist 1/8th turn anti-clockwise to release - Fig 3).
NOTE: There are two different types of colored bulb holders, each type must be returned to the correct location.
Fig 4
Disconnect the flexible printed circuit to LCD multi-plug (Fig 4). DO NOT remove plug from the outer case of the Instrument Pack.
Fig 5
Remove the 7 veneer panel securing screws (Fig 5), carefully peeling back top corners of the flexible printed circuit to gain access to 2 of the veneer
panel securing screws.
With the gauges uppermost, release the cowl/lens securing clips and remove the cowl/lens assembly.
CAUTION: With the cowl/lens removed, DO NOT rest the pack face down. The gauge needles are extremely delicate and are easily damaged. Also,
take care not to scratch or damage the gauge faces, ensure cleanliness when handling the pack.