
Sovereign L6-4.0L (1991)
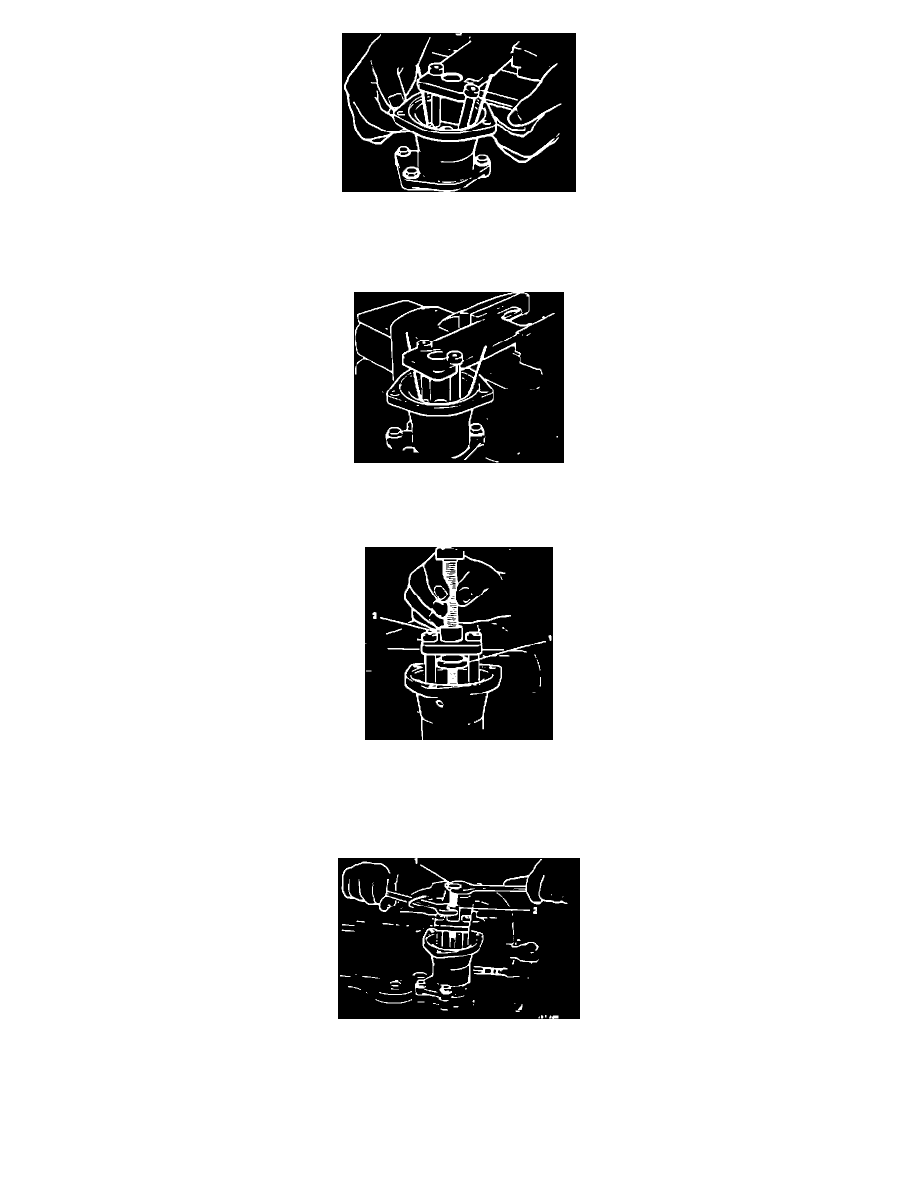
FIG. 4
^
Screw one of the two bolts into the nut and tighten it, (fig. 3). Repeat this procedure for the other nut and bolt, but only enter the bolt by
approximately two threads. Position the pump under the plate, (fig. 4).
FIG. 5
^
Position the bolt heads in the slots to support the pump and tighten the second bolt (fig. 5).
FIG. 6
^
Assemble tool 18G 1445 as indicated in fig. 6. Ensure that the hexagon (1) is below the plate and the two flats (2) above the plate. Screw the
center bolt of the tool into the pump shaft so that it is fully engaged and finger tight. Screw the center section's hexagon up so that it contacts
the underside of the plate.
FIG. 7
^
Using a 22 mm wrench, hold the center bolt so that it cannot turn, (fig. 3). Using a 19 mm open ended wrench, turn the center section of the
tool counter-clockwise to remove the drive dog.