Vanden Plas L6-3.6L (1988)

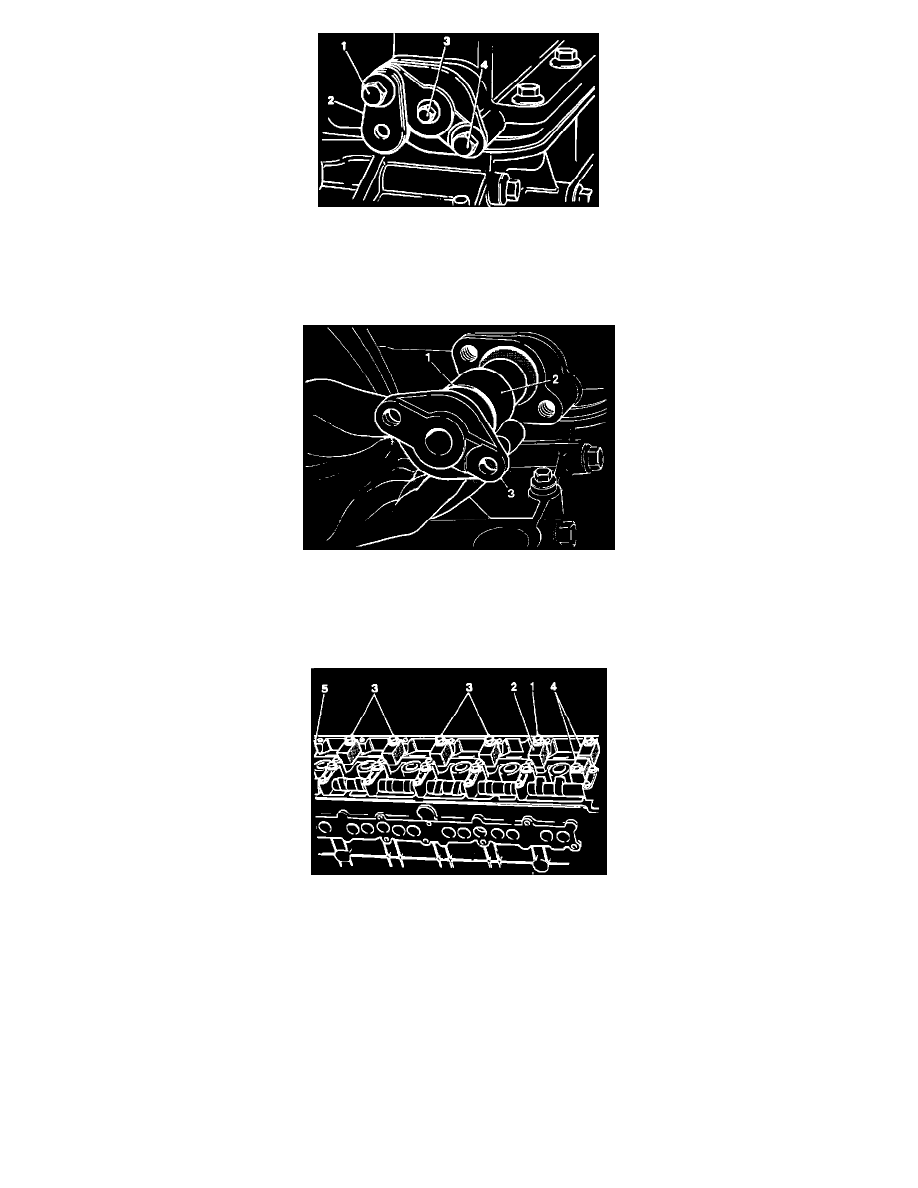
Fig. 14 Upper Timing Chain Tensioner Removal
- Remove the upper chain tensioner valve clamp bolt (1), remove the clamp (2), and remove the valve (3).
- Using a 3mm Allen key, wind back the tensioner (turn clockwise) until the snail engages in the park position.
- Remove the tensioner housing securing bolt (4).
Tensioner
- Withdraw the tensioner assembly (2,3).
- Remove and discard the O-ring (1) and gasket.
- Remove the camshaft sprocket securing bolts/tab washers and remove the sprockets.
Fig. 15 Cylinder Head Bolt Spacer Locations
- Remove the cylinder head bolt from No 2 cap, LH camshaft (1).
- Remove the cap securing bolts from No 2 cap, LH camshaft.
- Remove No 2 cap from the LH camshaft.
- Fit spacer tool 18G 1435 (2) to the head. Fit and torque tighten the cylinder head bolt.
- Repeat the procedure for Nos 3, 4, 5 and 6 caps, LH camshaft (3).
- Remove the cylinder head bolt from No 7 cap, LH camshaft.
- Remove alternately the securing bolts from Nos 1 and 7 caps, until the LH camshaft is free. Lift the camshaft from the cylinder head, and fit spacer
tool 18G 1435 to No 7 cylinder head bolt position (5). Fit and torque tighten the bolt.
- Repeat the procedure for the RH camshaft.
- Clean all components and examine for wear and damage. Replace all worn or damaged components.
- Lubricate the new LH camshaft.
- Fit the camshaft at approximately TDC.
- Lubricate Nos 1 and 7 caps.
