
Vanden Plas L6-4.0L (1990)
4.
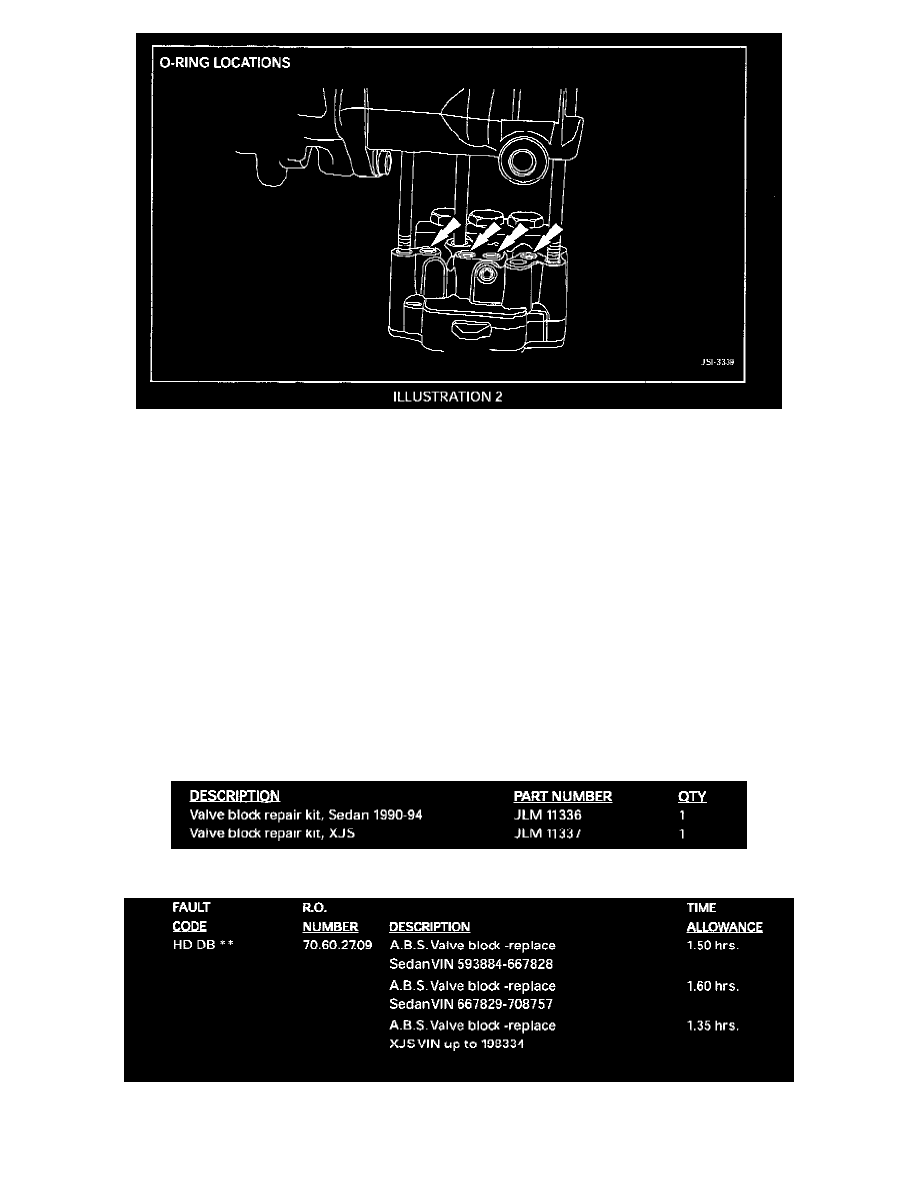
Remove the 3 nuts (arrowed in Illustration 1) that retain the valve block to the actuator body to remove the valve block. Discard the 4 0-ring seals
arrowed in Illustration 2.
5.
Using a lint-free cloth, clean the faces of the actuator unit and the replacement valve block.
6.
Lubricate the four (4) 0-ring seals provided in the kit with brake fluid, and locate them in the four (4) recesses arrowed in Illustration 2.
7.
Hold the actuator and valve block as illustrated, to keep the four (4) 0-rings from shifting, and position the replacement valve block on the studs
and push it into firm contact with the actuator unit.
Reinstall the center nut finger-tight, after verifying that the 0-rings are correctly located.
8.
Reinstall the remaining 2 nuts, and fully tighten all three to 25 Nm (18 lb.ft).
9.
Reinstall the complete actuator assembly to the vehicle, as detailed in the appropriate Workshop Manual, Section 70, SRO 70-60-06, including
refilling and bleeding the brake system.
NOTE:
To prevent contamination of the valve block assembly in the future, clamp the brake line and open the bleeder valve when pushing the piston
back during pad replacement.
PARTS INFORMATION:
WARRANTY INFORMATION: