
Vanden Plas L6-4.0L (1990)
Housing Assembly HVAC: Service and Repair
Heater/Cooler Unit Evaporator
Renew
Open the bonnet and disconnect the battery earth lead.
Depressurize the air conditioning system.
Partially drain the engine coolant into a suitable container.
Remove the right and left dash liners.
Remove the steering wheel. See: Steering and Suspension/Steering/Steering Wheel/Service and Repair
Remove the instrument module and control panel assembly. See: Instrument Panel, Gauges and Warning Indicators/Instrument Cluster /
Carrier/Service and Repair
Remove the glove box lid. See: Body and Frame/Interior Moulding / Trim/Glove Compartment/Service and Repair
Remove the right and left fascia end panels.
Remove the center veneer panel and ventilator.
Remove the center console finisher. See: Body and Frame/Interior Moulding / Trim/Console/Service and Repair
Remove the ashtray. See: Body and Frame/Interior Moulding / Trim/Ash Tray/Service and Repair
Remove the radio console. See: Accessories and Optional Equipment/Radio, Stereo, and Compact Disc/Radio/Stereo/Service and Repair
Remove the rear ventilator outlet.
Remove the glove box. See: Body and Frame/Interior Moulding / Trim/Glove Compartment/Service and Repair
Remove the center console assembly. See: Body and Frame/Interior Moulding / Trim/Console/Service and Repair
Remove the fascia assembly. See: Body and Frame/Interior Moulding / Trim/Dashboard / Instrument Panel/Service and Repair
Remove the battery.
Disconnect the evaporator pipes from the expansion valve.
Remove and discard "0" ring seals. Tighten to: upper port 20-27 Nm (14.7-20 ft lb), lower port 28-37 Nm (20.6-27.8 ft lb).
Fit protective caps to the expansion valve outlets and to the disconnected pipes.
Disconnect the coolant hoses from the heater matrix inlet and outlet pipes.
From the engine compartment remove the nuts securing the air conditioning unit.
Loosen the upper screw securing the central processor unit and remove the lower screw.
Displace the earth lead, lift and disengage the central processor from its mounting bracket.
Remove the screw securing the mounting bracket and remove the bracket complete with spacers.
Displace the pliable trunking from the air conditioning unit.
Remove the nut and bolt securing the evaporator outlet pipe guide to the bulkhead.
Disconnect the condensate drain tubes. Disconnect the recirculation vent vacuum tubes at the left hand "T" piece and re-route to one side for access.
Disconnect the left and right hand blower motor cable harness multi-plug connectors.
Note their positions and disconnect the vacuum hoses.
Disconnect the air conditioning unit main harness multi-plug connector.
Disconnect the left hand blower motor pliable trunking.
Remove the bolts securing the air conditioning unit support bracket and remove the bracket.
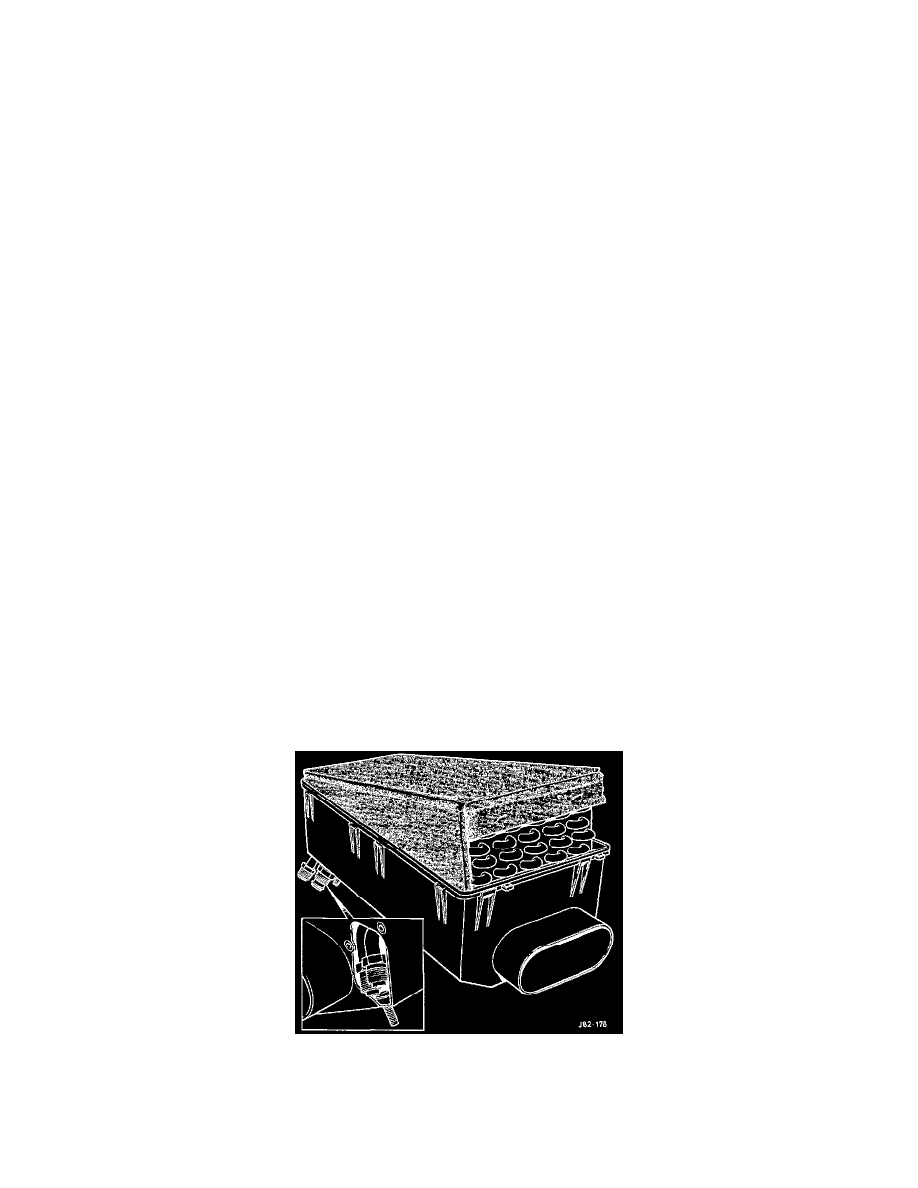
Displace and remove the air conditioning unit.
NOTE:
With the unit face down on a workbench cut and remove the cable harness securing straps.
Remove the screws securing the evaporator temperature sensor and carefully remove the sensor.