
Vanden Plas L6-4.0L (1990)
Suspension Strut / Shock Absorber: Service and Repair
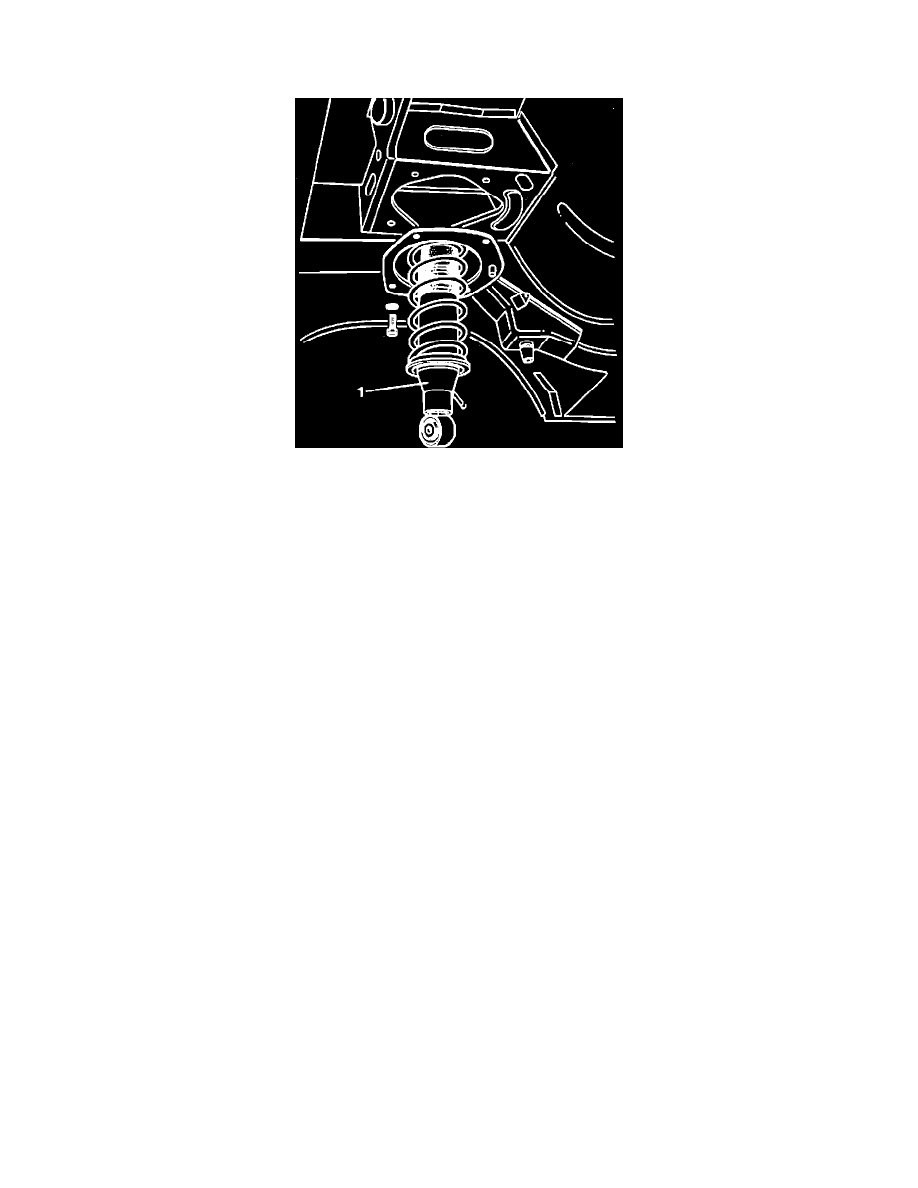
Rear Suspension
Fig. 5 Rear Strut Replacement
1.
Raise and support rear of vehicle.
2.
Relieve hydraulic system pressure.
3.
Remove wheel, then disconnect hydraulic line to connector union nut.
4.
Plug line and connector.
5.
Remove lower strut securing bolt/nut.
6.
Remove strut to body securing bolts. Remove front inner bolt first. Fig. 5.
7.
Remove strut assembly.
8.
Remove and plug feed line from strut and connector.
9.
Remove restrictor from strut and plug strut.
10.
Note position of mounting plate to strut. Mount rear spring compressor tool No. JD-125 or equivalent, to strut assembly.
11.
Tighten tool center bolt to compress spring.
12.
Connect tool and strut assembly to a vise. Grip vise on upper castellated washer. Close vise and hold assembly.
13.
Remove strut upper securing nut, then remove assembly from washer.
14.
Open vise and remove washer. Remove micron buffer from strut.
15.
Remove strut mounting ring, micron ring, spring seat and seating washer from strut.
16.
Remove strut assembly from spring, then the lower spring seating washer from strut.
17.
Reverse procedure to install, noting the following:
a. Ensure strut is fully extended before installing spring compressor.
b. Bleed hydraulic system.
c. Torque strut securing nuts to 16-20 ft. lbs.
d. Torque line union nuts to 12-14 ft. lbs.