
Vanden Plas L6-4.2L (1982)
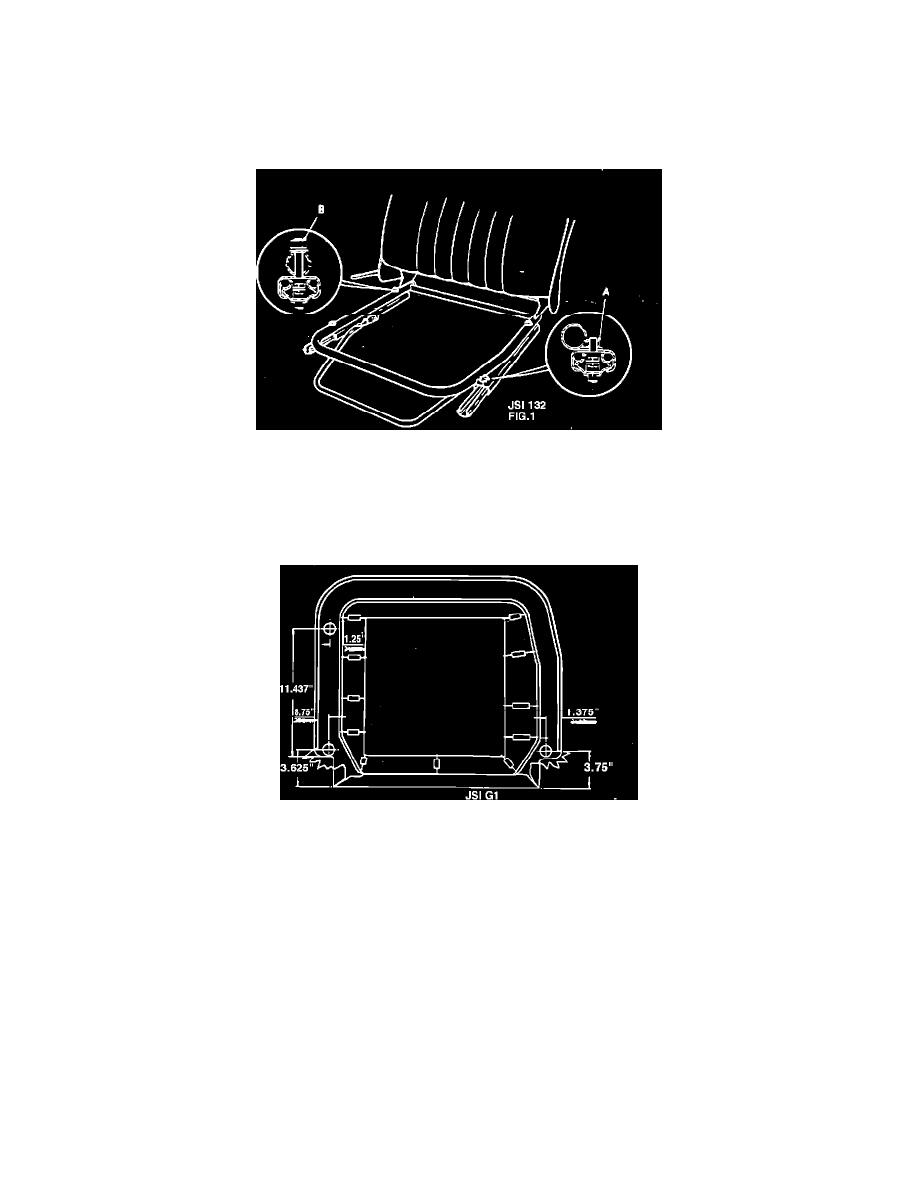
FIGURE 2
9.
Replacement of the rivets at the rear of the seat assembly will necessitate the drilling of new holes forward of the originals. Mark out and drill as
indicated in Fig. 2.
NOTE:
It is essential that the holes are drilled exactly central between point Y and Z on Fig. 2. Failure to do so will cause bolt head X to foul the
seat runners. Bolt head is shown in exact position to avoid fouling runners.
FIGURE 1
10.
Insert 5/16" X 1-1/2" U.N.F. hexagon head bolts, plain washers and nyloc nuts. Do not tighten. ("B" Fig. 1)
11.
Drill out pop rivets and discard distance brackets (BD-46429). Tighten bolts.
NOTE:
All bolts to be tightened to 14/16 ft.lbs.
FIGURE 3
12.
Three of the bolts which have replaced the pop rivets are now protruding through the top of the seat frame. To enable the seat cushion to fit
correctly, three 0.875" clearance holes must be drilled into the seat pan. Dimensions for this operation are shown in Fig. 3. However, as there may
be a difference in seat pan dimensions, it will be necessary to mark up hole positions in the seat pan and then place the cushion into the frame to
check the markings prior to drilling.
NOTE:
The drillings at the rear of the seat pan will necessitate some alteration of the trim.
METHOD OF RECTIFICATION STANDARD SEATS
1.
Release screw from front seat cushion, remove cushion.
2.
Release adjuster tensioning spring, remove four screws securing seat assembly to floor, remove seat assembly to floor, remove seat assembly from
car.
3.
Place seat on a suitable surface which will not damage the soft trim. Drill out four pop rivets from seat runner to frame mountings using a 1/4"
drill.
4.
Open holes out to 11/32".