
Vanden Plas L6-4.2L (1982)
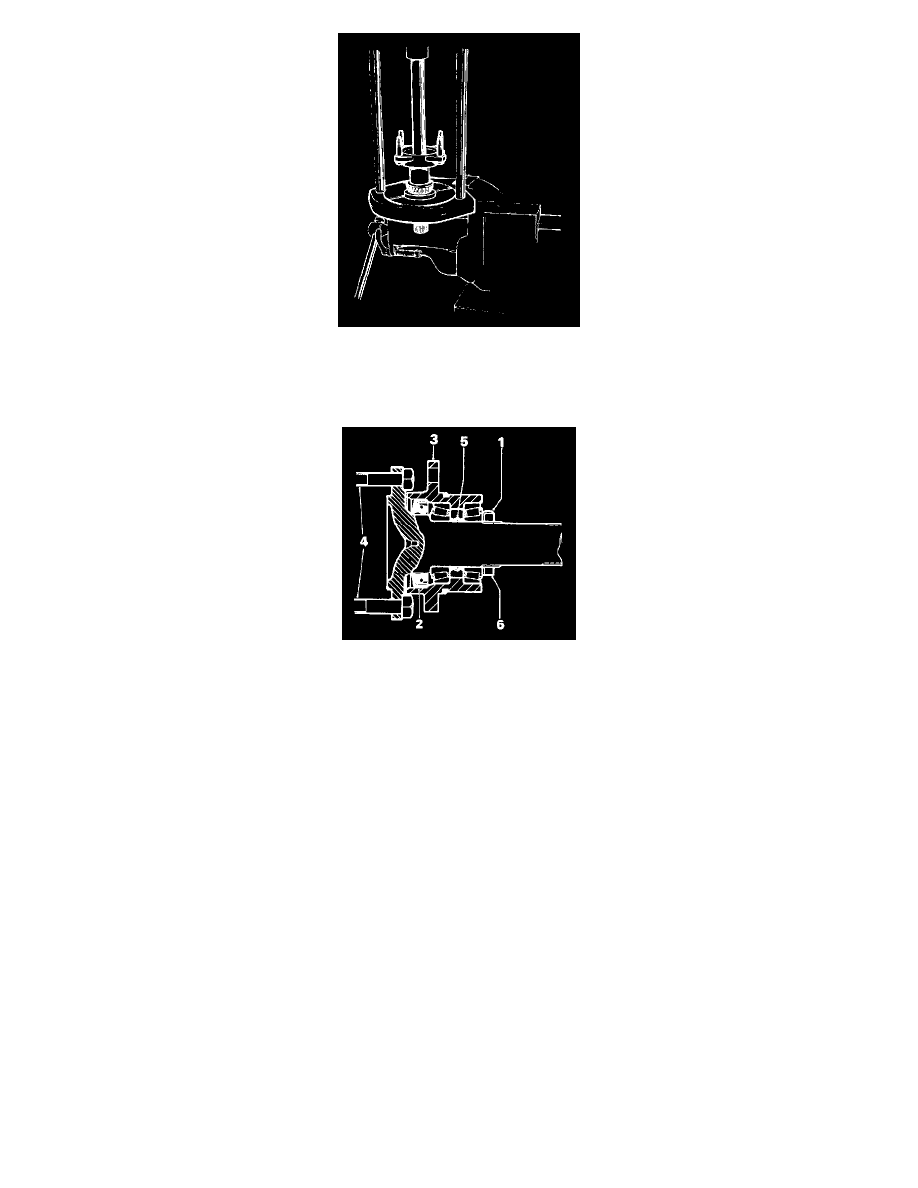
Fig.1b
Clamp caliper mounting bracket (3, Fig.16) between protected jaws of vice. Check that four special bolts (4, Fig.16) for brake disc are in position in
output shaft flange and enter shaft through seal and fit the outer bearing using tools SL47-311, SL47-3/2 (1, Fig.19).
Fig.16
Smear oil on portion of shaft in contact with seal. Fit new collapsible spacer (5, Fig. 16) and fill the space between bearings with Hypoid EP 90 oil
before replacing rollers and cone of inner bearing and fitting new lock washer on shaft.
Place nut (6, Fig.16) on shaft, grease face next to washer and tighten finger tight only.
Using torque screwdriver 18G 681 and adaptor check torque required to turn shaft in caliper mounting bracket against resistance of the oil seal. Record
the torque.
NOTE: Set screwdriver initially to 0.05 kgf/m (4 lbf/in.). Setting should then be progressively increased until torque figure is established at the point
when shaft commences to turn.
Using spanner SL 15A and a tommy-bar at disc attachment bolts to oppose torque, tighten nut on shaft just sufficiently to almost eliminate play from
bearings. Repeat torque check. Torque required to turn shaft should be unchanged, if it has increased, slacken nut very slightly and re-check.
Further tighten nut, very slightly (not more than a thirty-second of a turn about 5 mm (3/16 in.) at perimeter of nut and recheck torque required to turn
shaft. If this torque exceeds by 0.05 to 0.10 kgf/m (4 to 8 lbf/in.) the torque recorded earlier, correct bearing pre-load has been achieved, otherwise
continue to tighten nut in very small increments, turning shaft to seat hearings and measuring torque after each increment, until correct figure is reached.
CAUTION: If torque required to turn shaft exceeds by more than 0.10 kgf/m (8 lbf/in.) torque recorded initially, it is necessary to dismantle assembly,
discard collapsed spacer and rebuild with new collapsible spacer. It is not permissible to slacken back nut after collapsing spacer as bearing cones are
then no longer rigidly clamped.
Turn down tab washer in two places to lock nut and remove assembly from vice.
Refit output shaft assembly to final drive unit, See: Output Shaft/Service and Repair