
Vanden Plas L6-4.2L (1982)
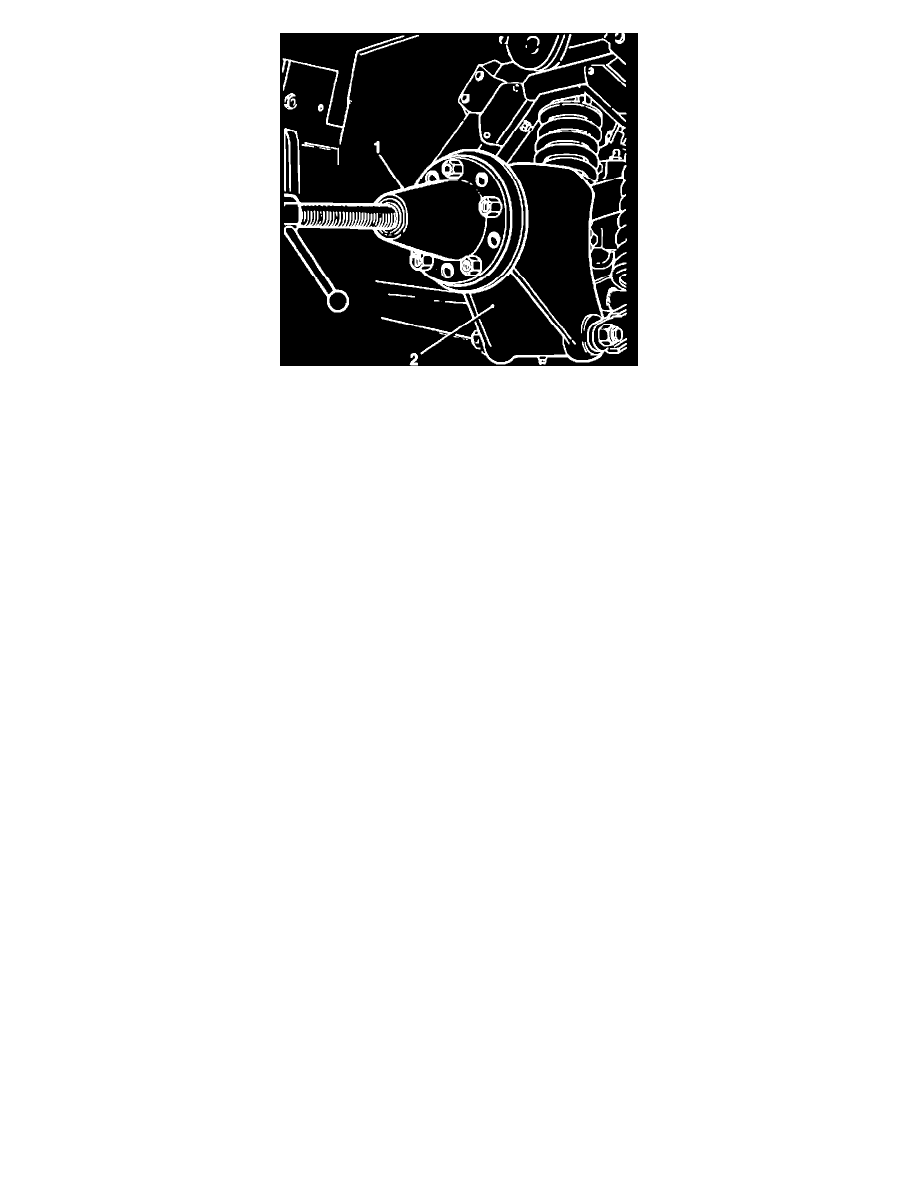
Fig. 3 Hub Removal
4.
Remove grease nipple from hub carrier. Connect hub puller tool No. JD-1D or equivalent, to hub, Fig. 3.
5.
Pull hub assembly off of splined shaft and remove tool.
6.
Pivot hub assembly on fulcrum shaft (2) Fig. 1.
7.
Remove damper mounting nut (3), detach lash down bracket (4), drive pin forward and release lower end of damper. Fig. 1.
8.
Remove driveaxle assembly, collect flange and brake disc shims.
9.
Remove phosphor bronze spacer and inner oil seal track from splined shaft.
10.
Drill out pop rivets from shrouds and remove clips.
11.
Place shroud halves on replacement shaft, line up holes and pop rivet halves together.
12.
Seal shroud joints with underseal, install clips, place outer shroud in position and tighten clip.
13.
Insert inner oil seal track (ensure chamfer clears radius on driveaxle) and spacer to splined shaft.
14.
Clean and install camber shims, place flanged end of shaft in position and install securing nuts, but do not tighten.
15.
Insert damper to lower mounting pin, connect lash down bracket.
16.
Apply loctite to splines, ensure spacer and oil seal track are installed, raise hub carrier and enter splined shaft into hub.
17.
Tap hub on to splines, replace washer, install and tighten securing nut.
18.
Insert new cotter pin, check end float and install fulcrum grease nipple into hub carrier.
19.
Final tighten driveaxle flange nuts, then slide inner shroud into position and tighten clip.
20.
Install wheel and lower vehicle.