
XJ-6 L6-3.6L (1989)
Condenser HVAC: Service and Repair
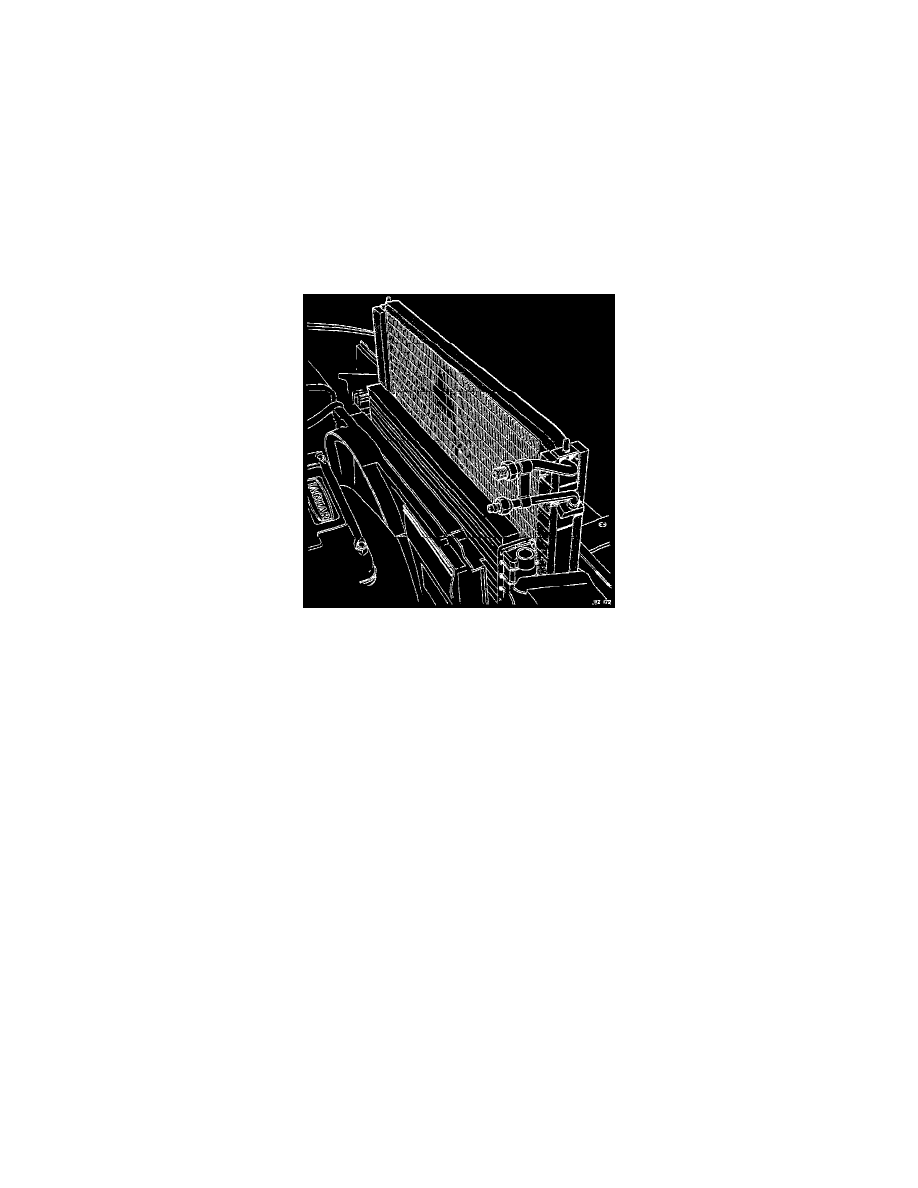
Removal and Installation
Removal
1. Depressurize the air conditioning system.
2. Remove the clips securing the fan cowl.
3. Remove the bolts securing the radiator cross member and remove the cross member complete with the mounting rubbers.
4. Disconnect the compressor hose from the condenser. Tightening torque 28-37 NM (20.6-27.8 ft lb).
5. Remove and discard the "0" ring seal.
6. Fit a protective cap to the hose.
7. Loosen the condenser to receiver/dryer union nut. Tightening torque 15-17 Nm (11-12.5 ft lb).
8. Disconnect the condenser from the receiver/dryer, remove and discard the "0" ring seal.
9. Fit a protective cap to the receiver/dryer.
10. Remove the nuts securing the receiver/dryer and displace the receiver/dryer for access. Tightening torque 7-10 Nm (5.1-7.3 ft lb).
11. Remove the condenser complete with the rubber mounting grommets.
NOTE: When installing the new condenser, glue rubber foam to the top and sides.
12. Fit new mounting grommets and ensure the condenser is fully seated in the correct position. Ensure all hose union nuts are tightened to the correct
torque.
13. Flush the system, fit a new receiver/dryer, evacuate and recharge the system.