
XJ-6 L6-3.6L (1989)
NOTE: The bolts nuts remain captive.
- Carefully lower the assembly from the vehicle. Ensure that the calipers, pipes and lower column do not foul during removal.
- Change over all ancillary components to the new crossmember.
- Position the crossmember assembly on the jack under the vehicle.
- Raise the assembly into position and align the shock absorbers.
- Align the engine mountings, P.A.S. pipes, lower column and rear mountings.
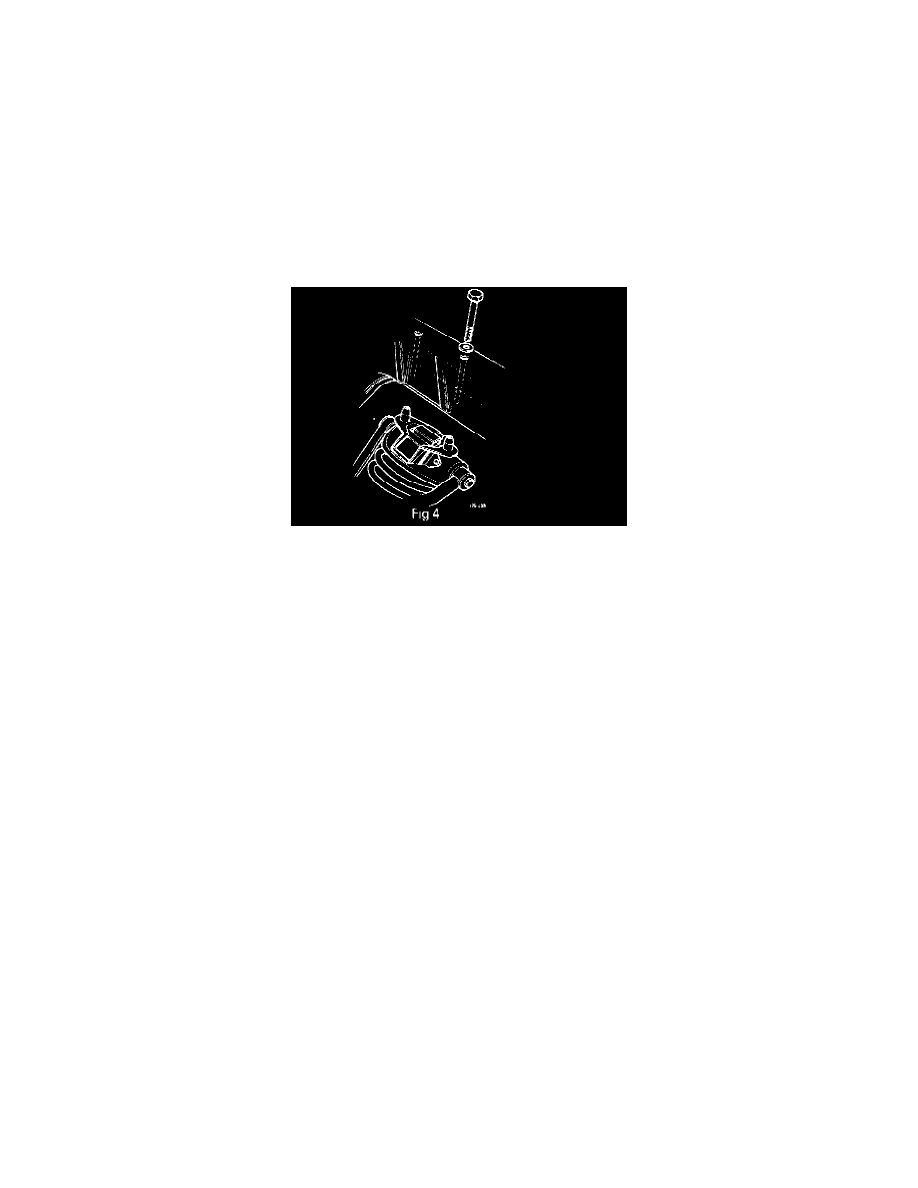
- Align the front crossmember mounting securing bolt holes.
- Fit and tighten the front mounting securing bolts (Fig 4). Using a second jack, align the left hand rear mounting (Fig 3).
- Fit and align the outer spacer.
- Fit the bolt through the chassis, the outer spacer and the mounting.
- Fit the inner spacer.
- Push the bolt fully home, fit but do not tighten the nut. Lower and remove the jack from under the mounting. Repeal the above procedure for the right
hand rear mounting.
- Lower and remove the jack from under the crossmember. Finally tighten the rear mounting securing bolts/nuts. Tighten the rear mounting clamp plate
securing bolts. Ensure the steering wheel and rack are in the straight ahead position.
- Re-position the lower column on to the pinion and align the clamp slot.
- Fit and tighten the clamp bolt/nut.
- Remove the blanking plugs from the P.A.S. pipes and rack.
- Fit new 'O' rings to the pipes. Connect the pipes to the rack. Tighten the union nuts.
- Refit the P.A.S. pipe clamps.
- Slacken off the MS 53B hook nut. Remove the hook. Remove Service Tool MS 53B.
- Remove the lifting eye.
- Fit and tighten the engine mounting securing nuts. Refit the calipers. Refit the brake pads.
- Refit the road wheels.
- Lower the vehicle from the axle stands. Settle the suspension.
- Refit the shock absorber upper buffers, washers, and securing nuts.