
1991 XJ-6 L6-40L Instrument Panel: Driver Info Display
Driver/Vehicle Information Display: Service and Repair
INSTRUMENT PACK LCD MODULE
RENEW
Disconnect the battery.
Remove driver's side dash liner securing screws, release securing clip, and remove liner.
Release steering column clamp, fully extend steering wheel, and re-tighten the clamp.
Remove Instrument Pack assembly securing screws. Disconnect block connectors from rear of pack.
Displace and remove Instrument Pack assembly.
Remove Instrument Pack cowl-housing screws and cowl-housing. Place pack face-down on bench, ensuring cowl/lens is protected with a suitable cloth
or similar.
NOTE: To minimize risk of contamination and damage, repairs to Instrument Pack should be performed in a non-static dust-free environment. Avoid
touching connector pins and PCB track/components, to minimize risk of static damage.
Remove electronics pack cover securing screws and remove the cover.
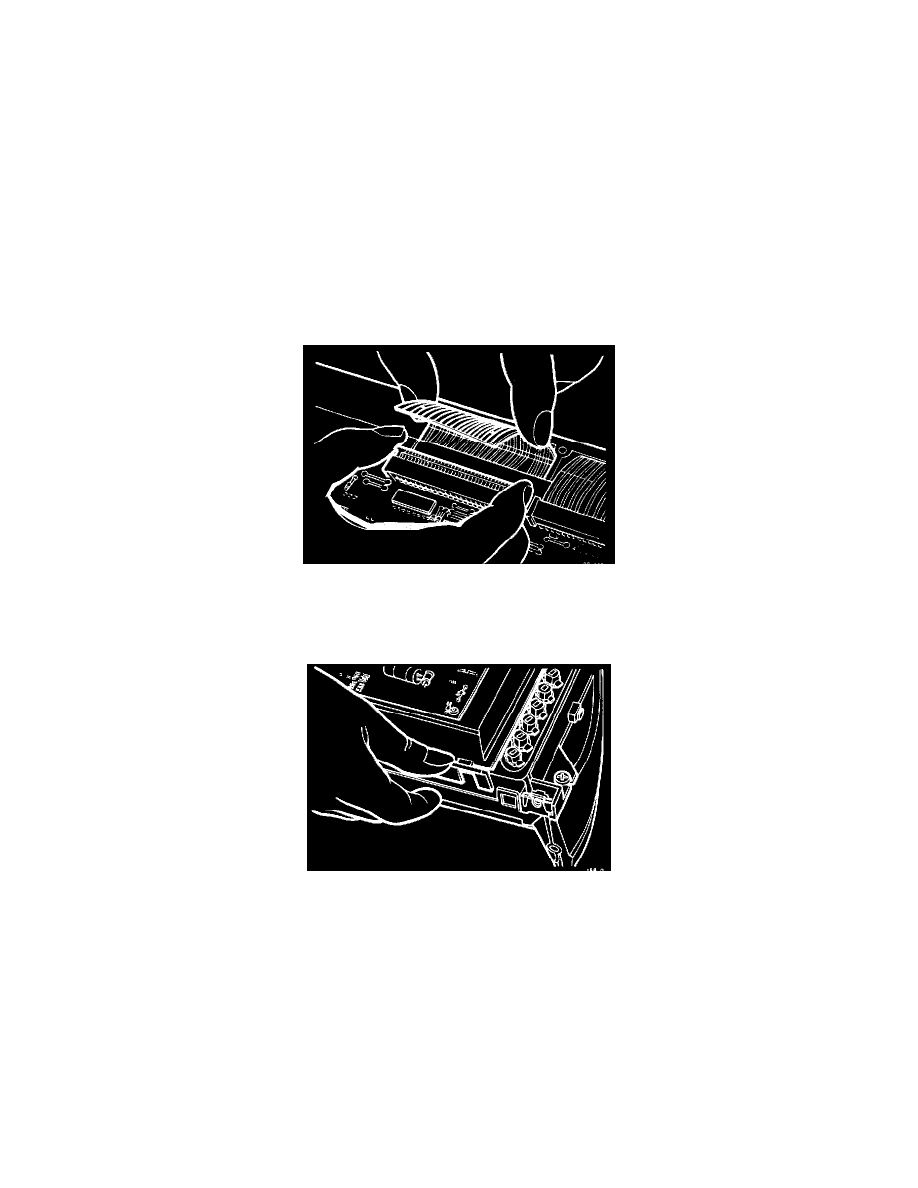
Fig 1
Carefully release the flexible printed circuit ribbon-ends from edge-connectors, by squeezeing grips between thumb and forefinger while sliding out
connector-latch (Fig.1).
Fig 2
Release electronics pack retaining clips and pivot pack upwards (Fig. 2)
Displace and remove electronics pack from instrument pack by lifting off from hinges.
Displace and remove 6 warning bulbs, 2 both sides located adjacent to LCD module, and the 2 bulbs located in module itself (bayonet fitting, twist
1/8th turn anti- clockwise to release).