
XJ-6 L6-4.0L (1991)
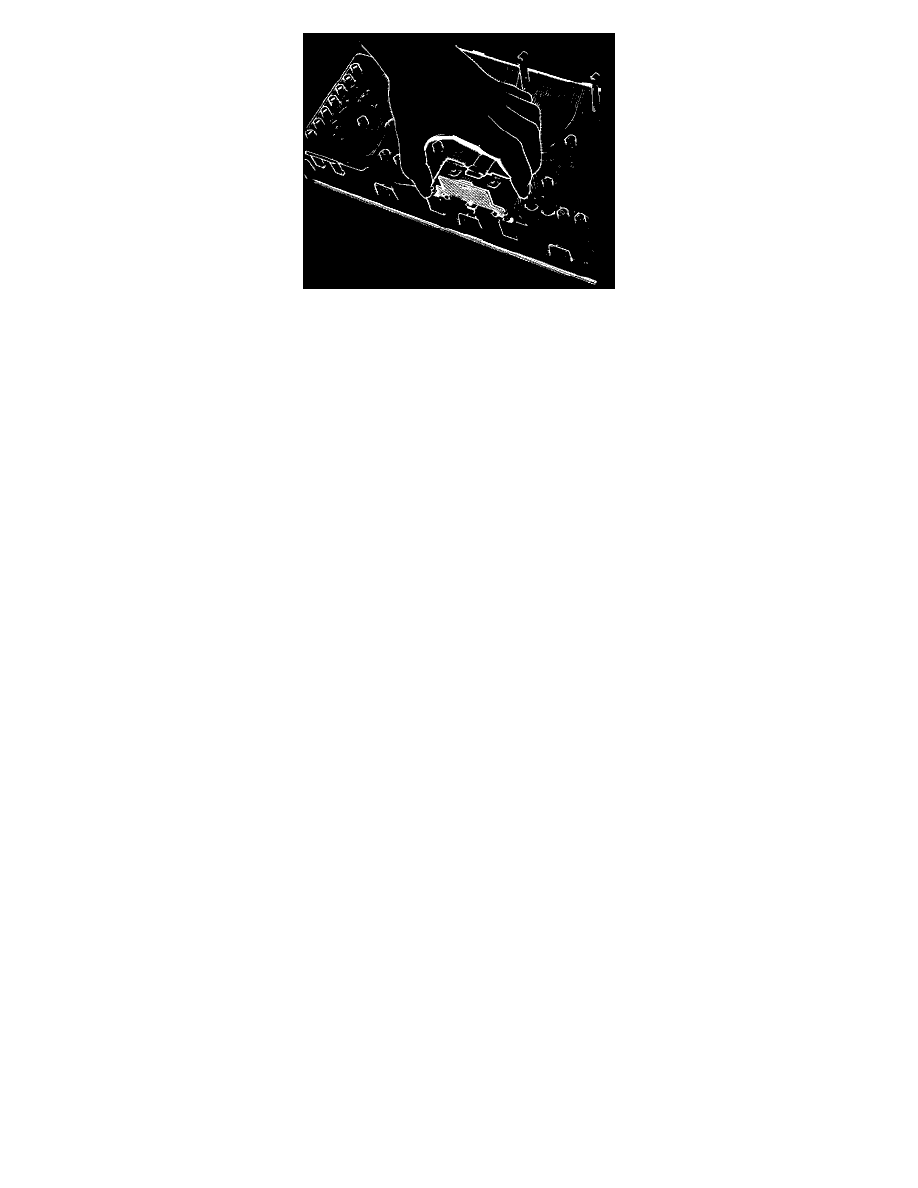
Fig 3
Disconnect the flexible printed circuit to LCD multi-plug. Remove LCD unit securing screws and unit (Fig.3).
Fit new LCD unit into position, fit and tighten LCD module securing screws.
Re-fit the warning bulbs into the empty sockets.
Re-connect the flexible printed circuit multi-plug to the LCD unit.
Carefully fit the electronics pack over flexible printed circuit connections and locate onto hinges.
Pivot pack downwards and fit into securing clips.
Fit flexible printed circuit to edge-connectors, by positioning holes in flexible printed circuit membrane over connector-latch locating pips and sliding
latch to the fully closed position.
Align and fit back cover to the electronics pack. Fit and tighten the securing screws.
Fit the cowl-housing to the pack.
Fit and tighten the cowl-housing securing screws.
Fit the instrument pack assembly into dashboard position, re-connect the block connectors.
Align assembly, fit and tighten the securing screws
Return steering wheel to original position
Refit the dash liner.
Reconnect the battery.
NOTE: On re-connection of the battery, it is important that the ignition is cycled and the bulb check is completed. The odometer reading will then be
restored to the correct value.