
XJ-6 L6-4.0L (1991)
-
Remove the lower ball joint securing nut, fit service tool JD 100 and break the taper.
-
Remove stub axle assembly.
-
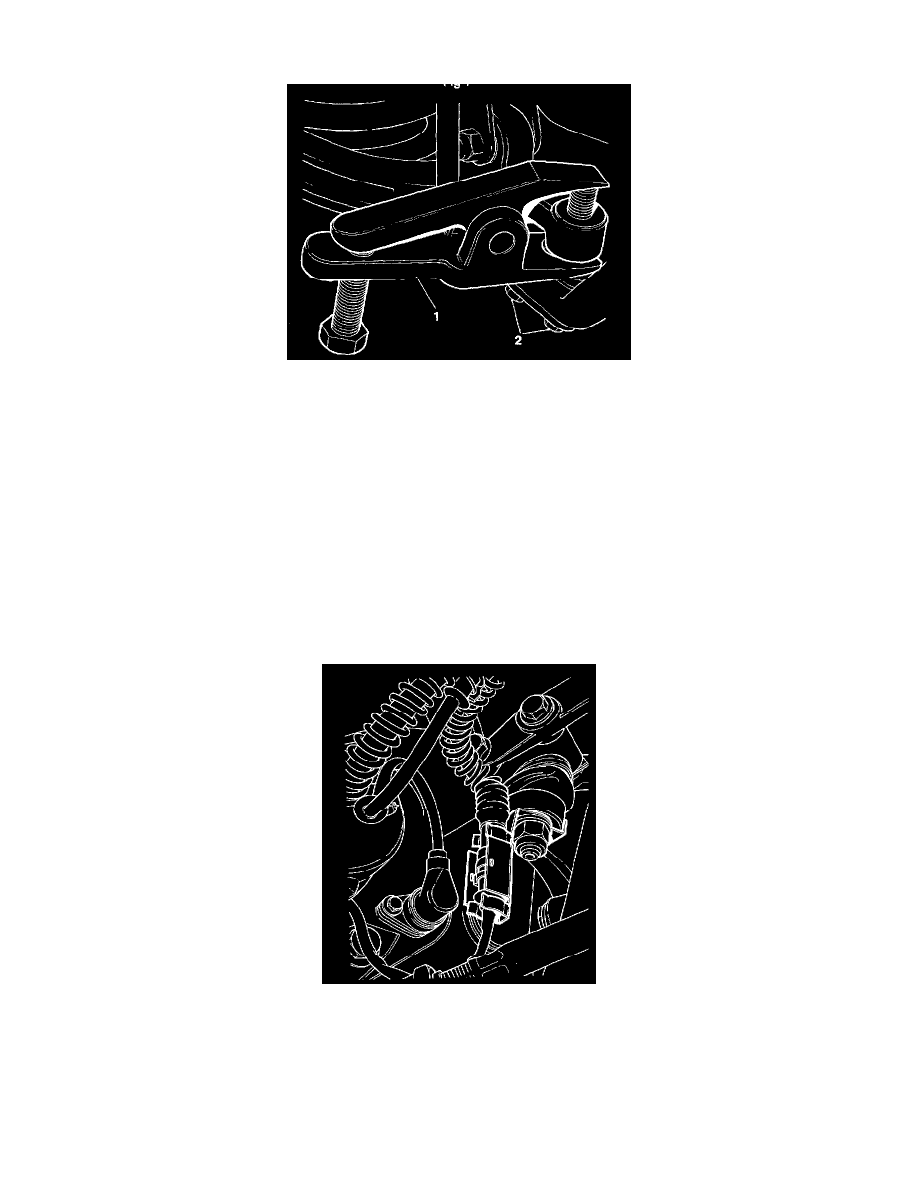
Remove the lower ball joint to lower wishbone securing bolts (2), and remove the ball joint assembly.
-
Clean the mating faces and shims.
-
Fit new ball joint assembly.
-
Fit and tighten the ball joint securing bolts.
-
Refit the stub axle to the lower wishbone.
-
Fit and tighten the lower ball joint securing nut.
-
Fit the upper ball joint securing bolts, do not fully tighten at this stage.
-
Refit the caster shims.
-
Finally tighten the upper ball joint securing bolts.
-
Reconnect the track rod end to the steering arm.
-
Fit and tighten the securing nut.
-
Refit the caliper to the carrier. Fit and tighten the upper securing bolt.
-
Refit the brake pads to the carrier.
-
Ensure that the caliper piston is fully retracted.
-
Re-position the caliper over the pads and align the lower bolt hole.
-
Fit and tighten the caliper lower securing bolt.
-
Reconnect the pad wear sensor block connector.
-
Refit the road wheel.
-
Lower the vehicle from the stands.
-
Carry out steering geometry check using suitable equipment.
DATA
-
Camber angle 0 to 0.5°
-
Castor angle 3.5 to 4.5°