
XJ-6 L6-4.0L (1991)
Ride Control Solenoid Valve: Service and Repair
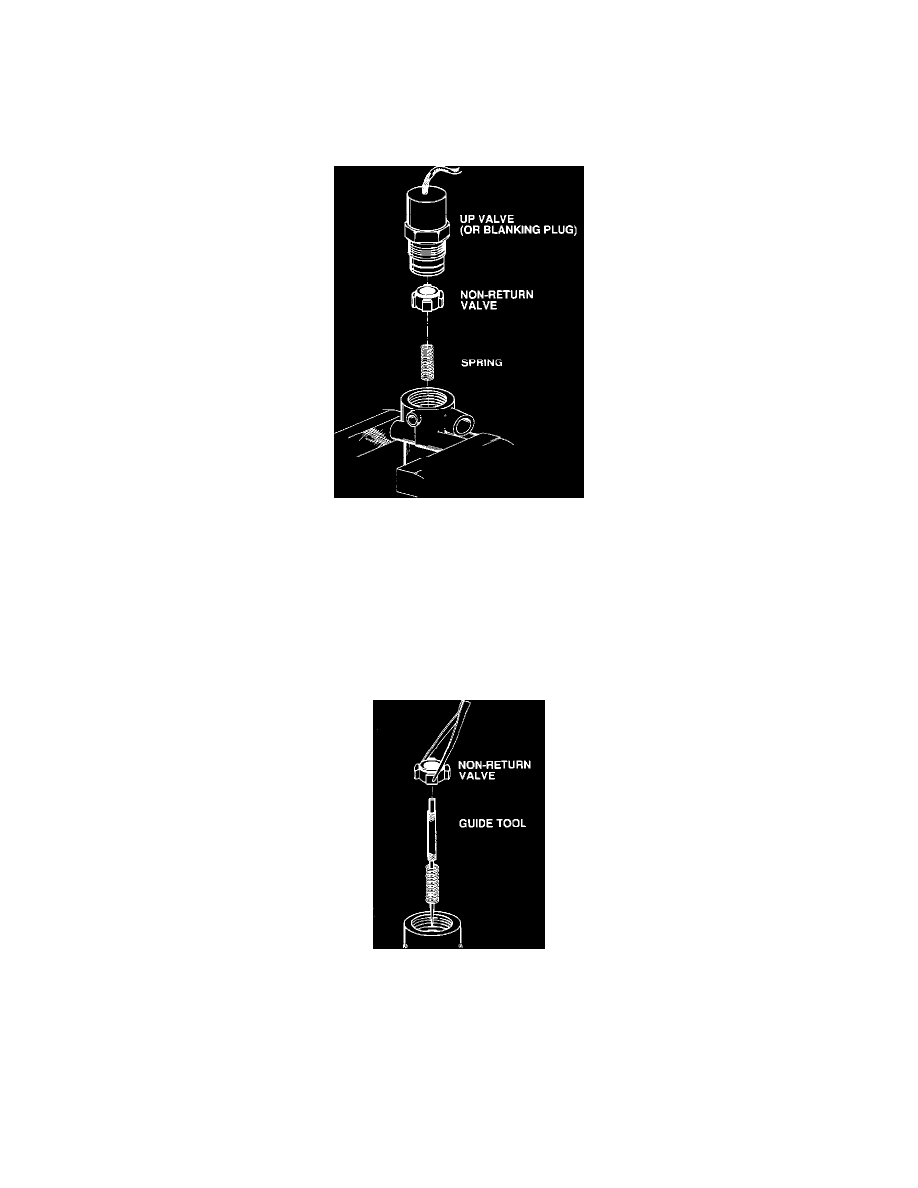
Up Valve & Non-Return Valve
1.
Remove valve block.
2.
Remove anti-backout plate and seals from connector.
3.
Remove required pins from connector using Jaguar tool JD 137 or equivalent.
4.
Clamp valve block in vise by lugs with up valve facing up.
Up Valve
5.
Loosen and remove up valve assembly.
6.
Remove valve block from vise.
7.
Over a clean, flat surface, turn block upside down to allow non-return valve and spring to fall out. Collect parts.
Refit as follows:
8.
When reusing up valve, replace o-rings on valve.
9.
Clamp block in vise by lugs with up valve facing up.
Non-return Valve
10.
Install spring in valve block bore using clean rod or wire as a guide.
11.
Install non-return valve on top of spring using a pair of long tweezers. Be sure that valve seal faces up and valve is centered over spring.
12.
Screw valve assembly into block. Tighten to:
26 - 33 ft lb (35 - 45 Nm)
13.
Refit pins to electrical connector and install seal and anti-backout plate.
14.
Wrap wires with insulating tape.