
XJ-6 L6-4.0L (1991)
-
Place the bearing replacer tool SL 7 to output shaft / bearing (Fig 2).
-
Press the bearing fully home and displace and remove tool SL 7, Fit a new bearing retaining collar to the shaft assembly and fit and align SL 7 to
the collar.
-
Press the retaining collar full home and displace and remove SL 7.
-
Remove the output shaft assembly from the press and fit and align shims to final drive.
-
Offer up the output shaft assembly WITHOUT the 0 ring seal.
-
Fit and fully seat the assembly.
-
DO NOT fit the securing bolts.
-
Measure the gap between the bearing housing and the casing.
-
The correct gap should be 0.003 - 0.005 in.
-
If the gap is correct, remove the shaft assembly, fit the 0 ring seal, and refit the assembly to the casing.
-
Fit and tighten the securing bolts.
-
If the gap is incorrect, remove the shaft assembly and re-shim until the correct clearance is obtained.
NOTE: There should always be three shims behind the bearing.
-
When the clearance is correct, fit the 0 ring seal and fit the assembly to the casing.
-
Fit and tighten the securing bolts.
-
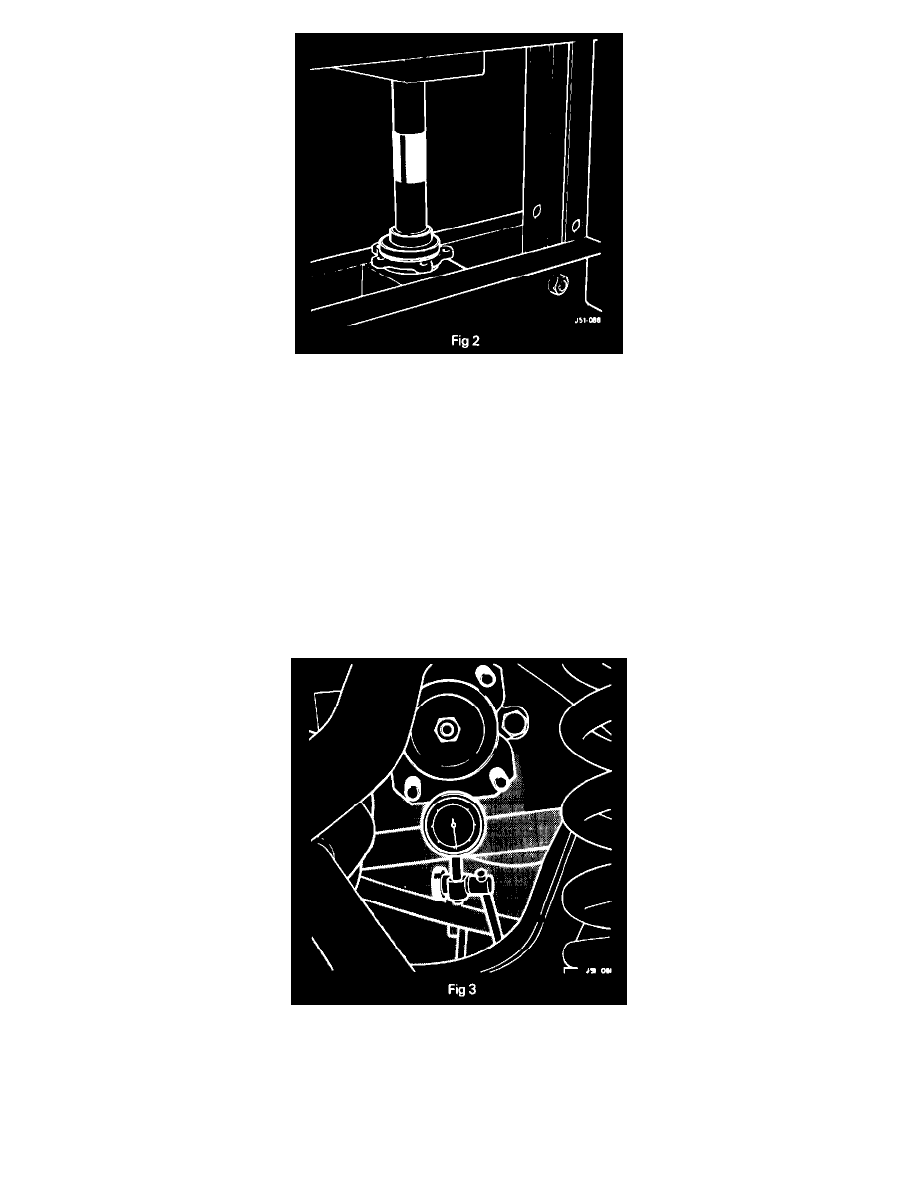
Fit a magnetic dial gauge to the output flange and measure the end float (Fig 3).
-
The correct end float should be 0.001 - 0.006in (this end float is pre-set, built into the bearing).
-
If the end float is outside the given tolerances, the output shaft bearing must be replaced.
-
Reconnect the output shaft.
-
Fit and tighten the securing bolts.
-
Refit the road wheel.